Play Drums Without Bothering Anyone – From Silence to Soundproofing
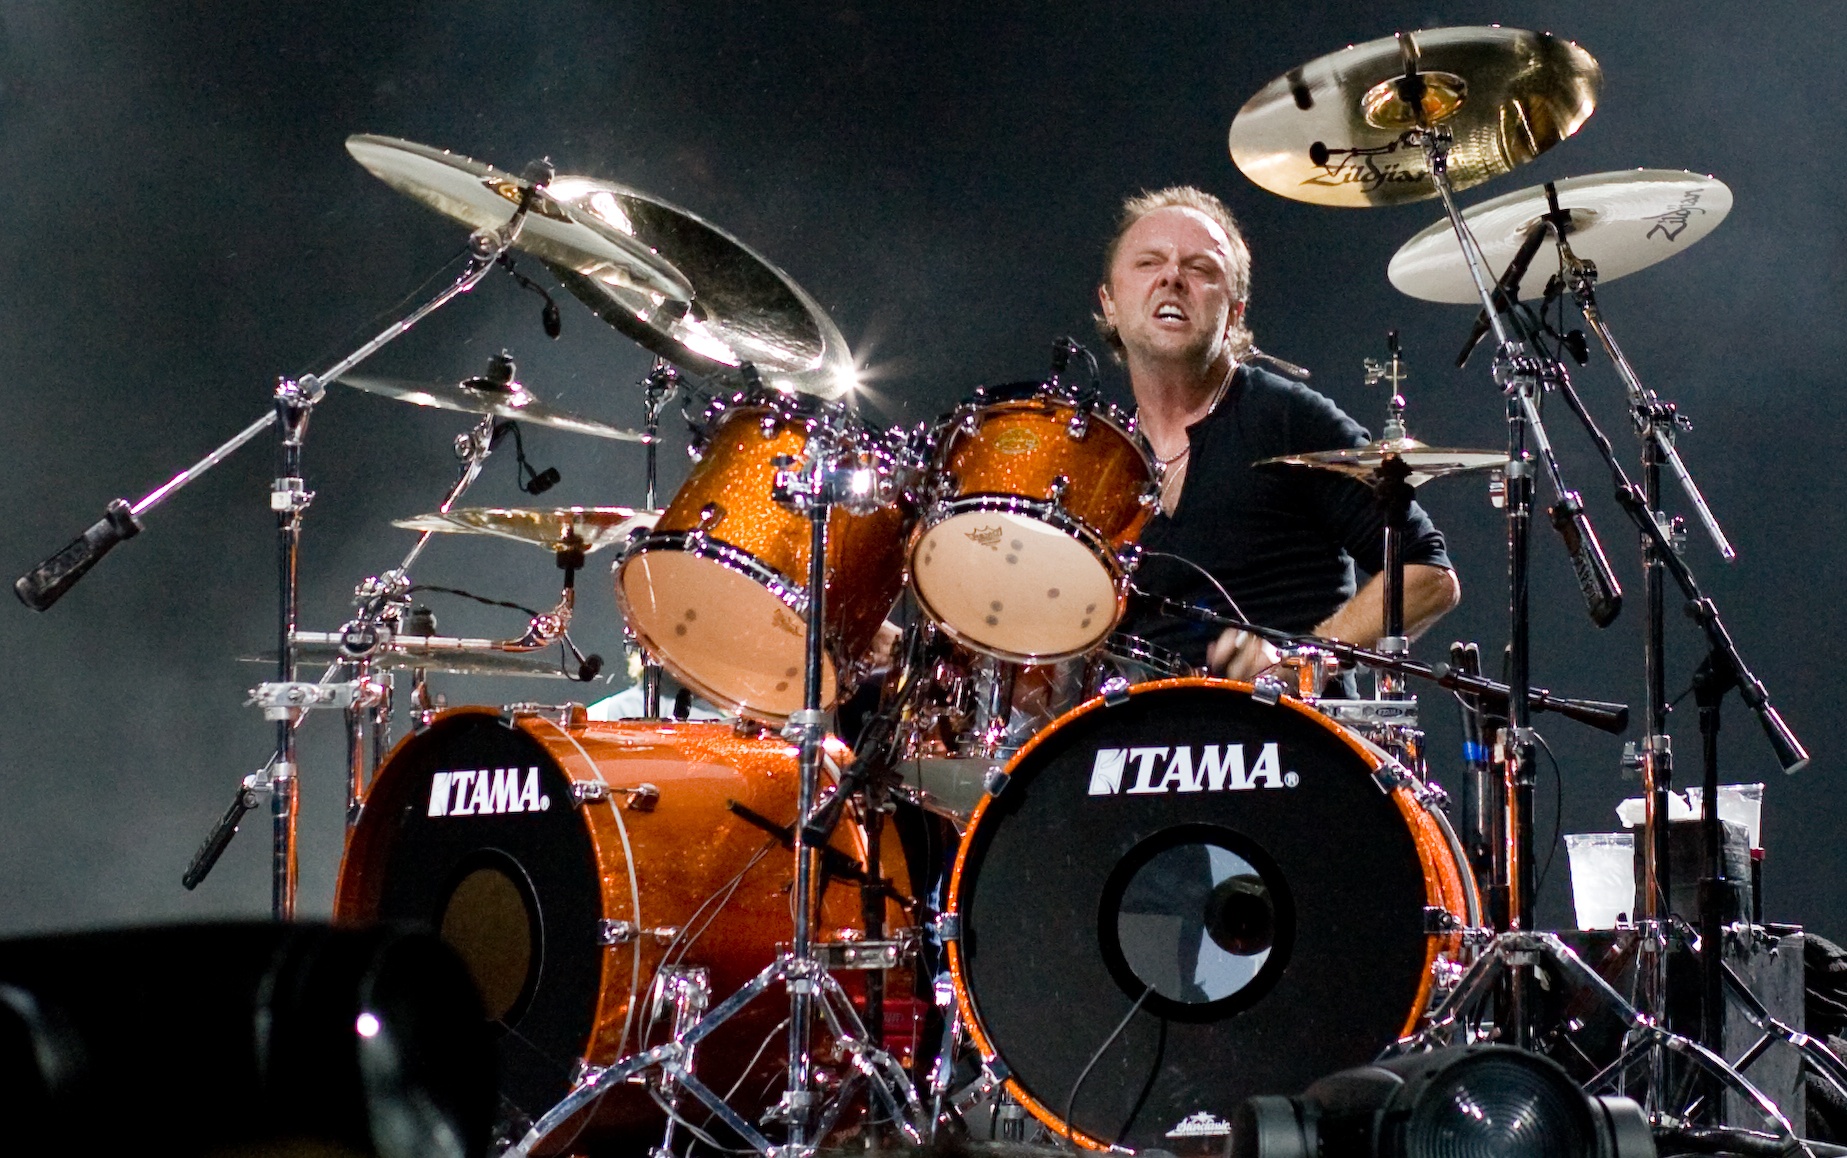
One of the biggest problems we face as drummers is finding a space to practice without bothering anyone. We’re loud and we don’t have a volume knob...well sort of.
I’m going to give you every option you have to make practice possible at almost any time of day. Some options are expensive, some are not. Some are a quick fix, some are not. You need to decide what will work for you.
Location, Location, Location
First of all, there are some natural options you should consider when you are selecting which room to practice in. Select a room that is in the basement or partially underground and located as far away from the “irritated party”. The sound will carry a lot more from a land level or upstairs room. If it is the neighbors you are concerned with, choose the side of your house that is further from your neighbors house OR the side where your neighbors garage might be located. Hopefully they don’t hang out in their garage as much and wouldn’t be as bothered as if you were practicing next to their living room. Also, a room with less windows will conceal the sound better too.
Disclaimer
I would like to explain that some of these options might provide an opportunity to practice at the expense of feel, convenience, or normalcy. You have to recognize that and not let it change you playing for the worse.
I mentioned that we, as drummers, don’t have a volume knob. However, we can learn to play with quiet dynamics. It’s actually very important but also difficult...especially when your just starting out. Learning to play everything loud AND quiet will help your playing immensely. Remember that. Some of these options give a volume knob or remove the volume of your drums prohibiting you from practicing dynamics.
Some of these options will change the feel and/or rebound of the drums. If your playing on rubber or mesh pads, the bounce may feel considerably different than real drums. This can help or hinder you.
Being aware of these differences will help you adjust when your back in a full volume situation.
Simple Solutions
I’m going to start with the easiest and/or least expensive options and go on from there.
Acoustic Drum and Cymbal Pads
If you don’t have the room for a separate pad kit, you might just want to put pads on your acoustic kit to mute them. These may seem convenient but they can drastically change the rebound of the drum. They make them for any size drum and even cymbals. These are more ideal for working coordination or new beats rather that intricate nuances or feels.
There are two options for drum pad sets. You can get the quality drum pads from Vic Firth or this really inexpensive off-brand.
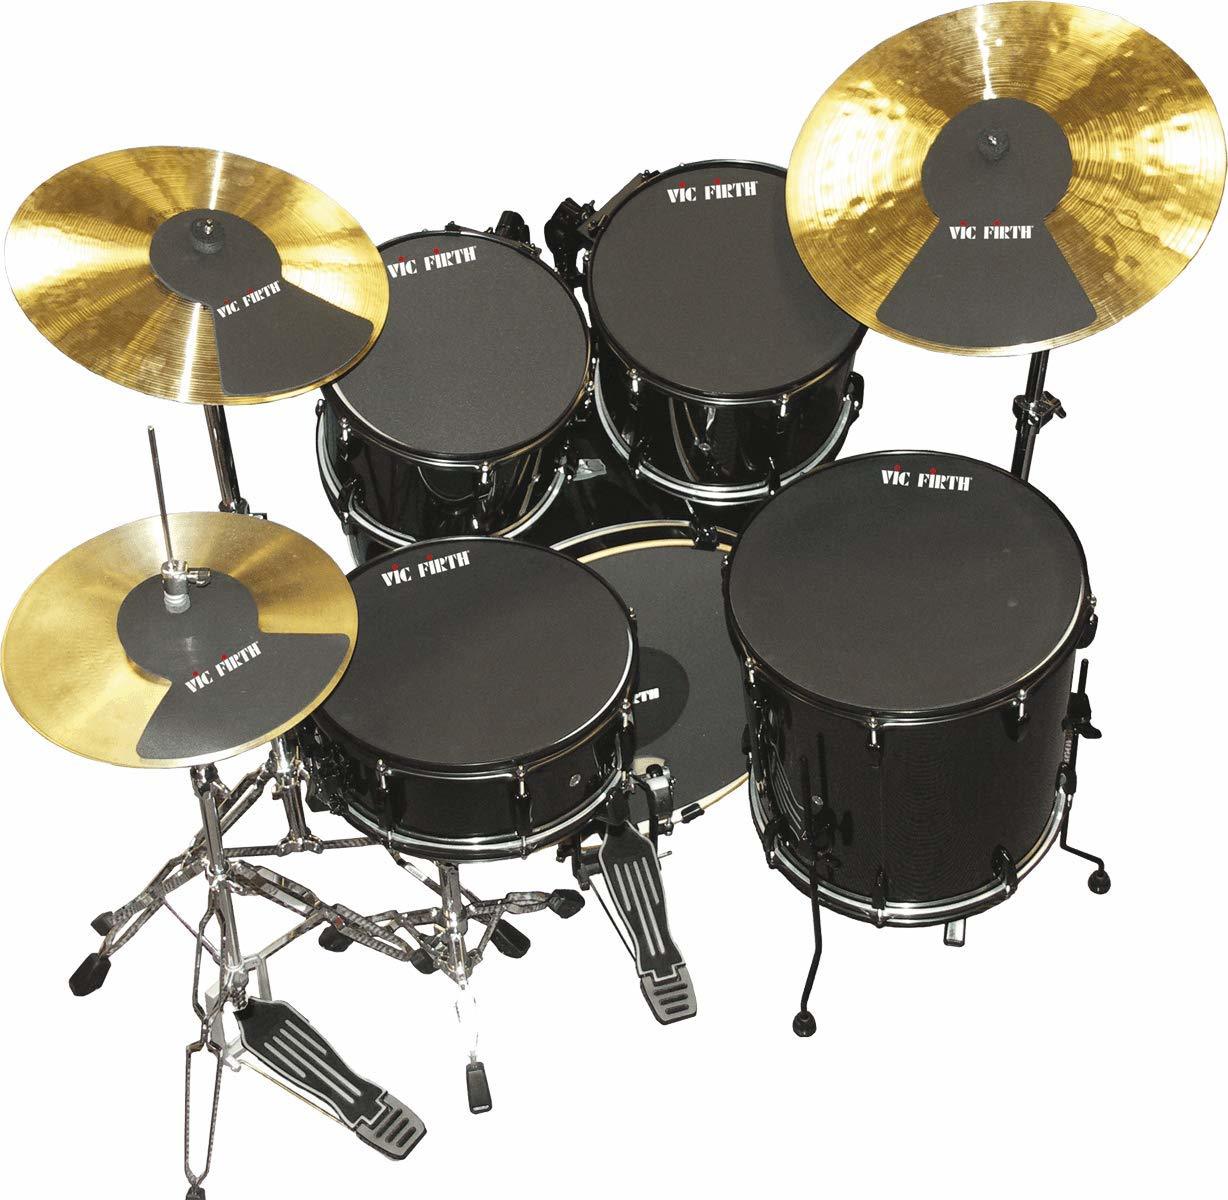
Vic Firth Drum Mute Prepack (view item on Amazon) (commissioned links)
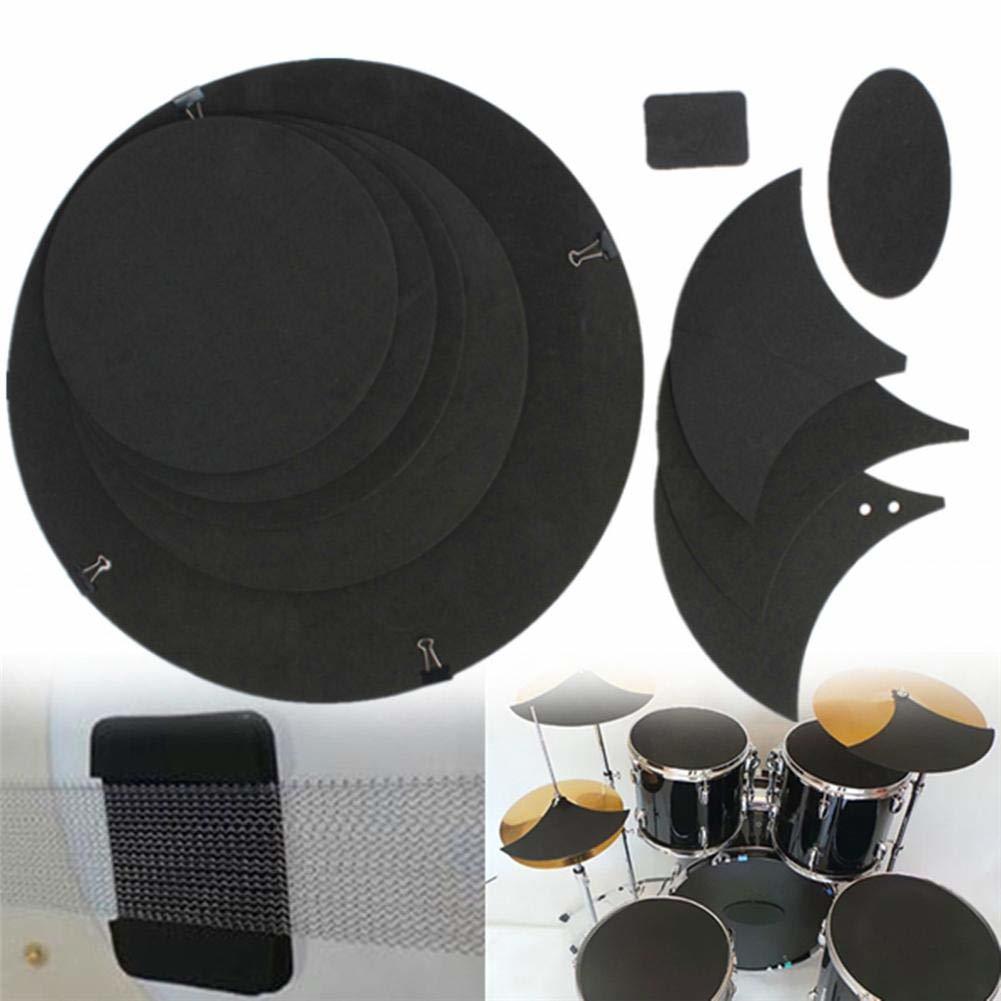
10Pcs/Set Rubber Foam Bass Snare Drum Mute (view item on Amazon) (commissioned links)

DW Go Anywhere Pad Set with Stand (view item on Amazon) (commissioned links)
This little kit got me through years of practicing while living with roommates. It’s a simple one pole setup with widely adjustable rubber pads and a bass drum pedal attachment at the bottom. There were a few adjustments I did to make this feel as normal as possible.
There’s no hi-hat pedal so you need to use a double-kick pedal to mock as the hi-hat pedal or just add a hi-hat stand without a cymbal. I also found the rubber bass drum pad was too bouncy so i took it off and wrapped a cloth on it.
You can adjust the pads to almost any angle and height but you do have to be imaginative as to which pad represents which drum. I added a separate pad with a straight stand to sit in as my snare drum between my legs and used the other pads for cymbals and a tom.
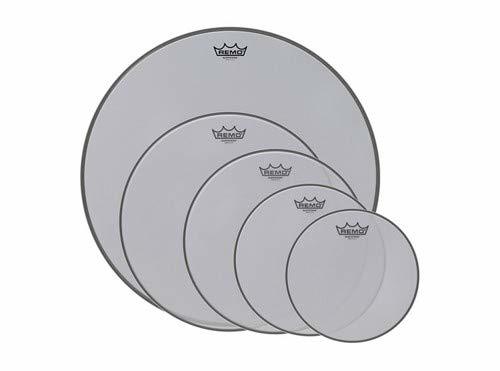
Remo Silentstroke (view item on Amazon) (commissioned links)
These mesh drum heads feel almost like the real thing but they are inconvenient in that they are a drum head so you have to switch out your regular drumheads on the kit with these. If you have an extra practice kit or even a tom and a snare, you can just leave them on those drums for practice.
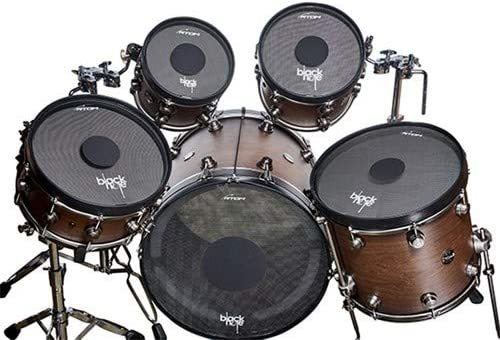
RTOM Black Hole Practice System (view item on Amazom) (commissioned links)
The Black Hole Practice System is a newer product similar to the Remo Silent Strokes but they easily clamp onto the rim of your drum without having to remove your drumhead. They claim to bring down the volume by 80% and boast that the feel is better than any other option. They are a bit more spendy but the simple setup can outweigh the cost! They offer this entire kit or single pads. I have not used these but I have gotten numerous suggestions to add this to this article!
These cymbals are probably the best option out there because they feel amazing. Switching these cymbals out isn’t that bad either. Using the Zildjian Low Volume Cymbals in combination with the Remo Silent Stroke is my favorite option. For quick swapping, use the Zildjian Low Volume Cymbals along with the Vic Firth Drum Mutes.
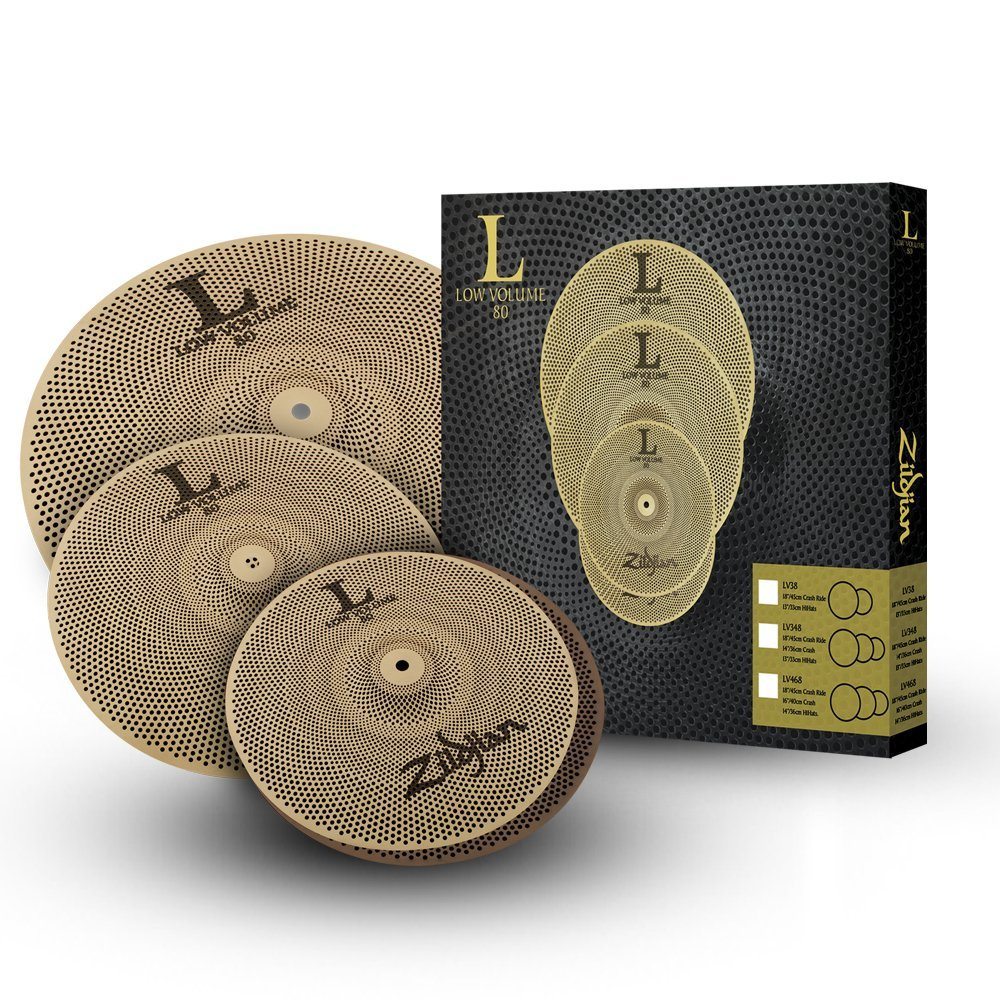
Zildjian L80 Low Volume Cymbal Set (view item on Amazon) (commissioned links)
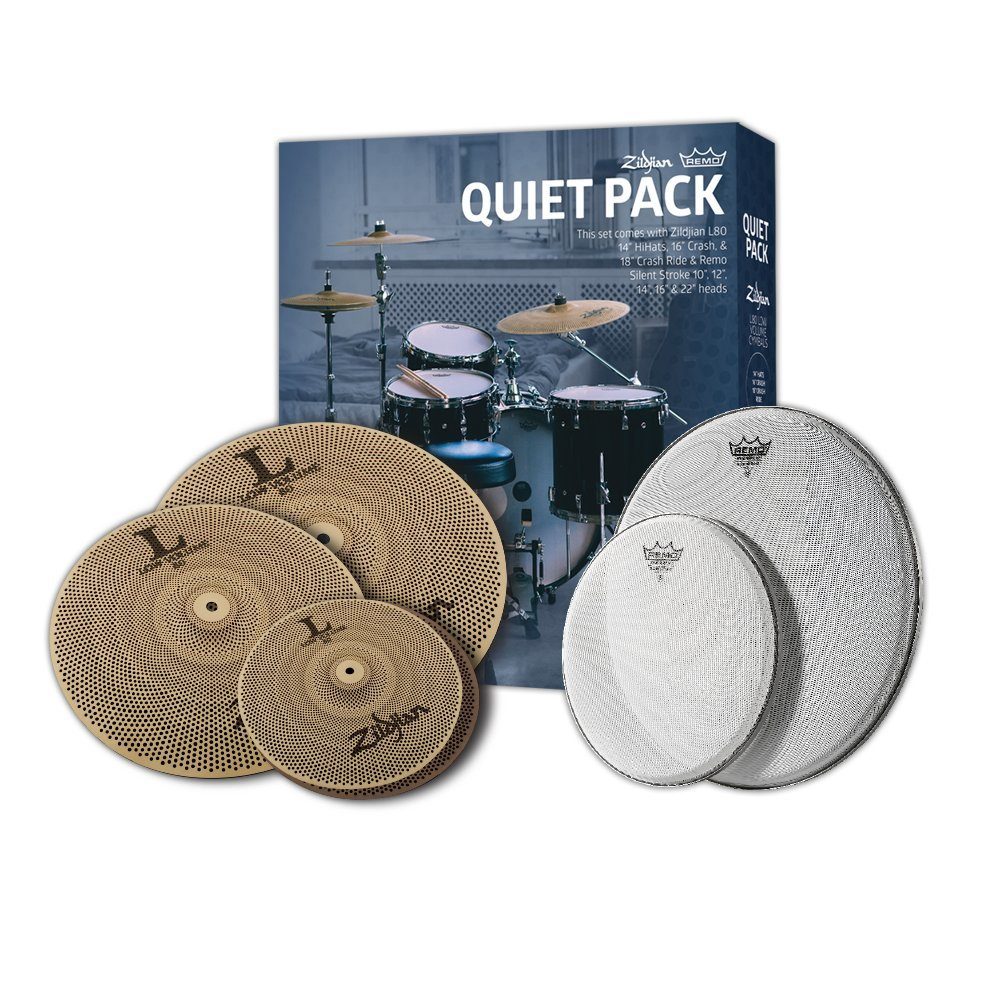
Quiet Pack - Zildjian Low Volume Cymbals with Remo Silentstroke (view item on Amazon) (commissioned links)
Electronic Drum Kits
Obviously E-drum kits are a great option but they can be expensive. They play just like rubber or mesh pads but, with headphones or speakers, sound like a professionally mixed drum kit. Some can also have built in metronomes and songs to practice with. There are so many out there so I will break down some of the best ones in different price ranges.
As with my disclaimer earlier, e-drums can also feel a bit different than real kits. They will create a beautiful sounding drum kit when you hit the drum regardless of whether you are using good technique. When switching to a real kit, it might take some adjustment to create a good sound on an acoustic drum (ie. good rebound, clean strokes, etc.). Keep that in mind.
The drum heads are usually made of rubber or mesh with a sensor inside to sense the hits. You can tune the mesh heads to have a tighter feel giving you an easier bounce. The rubber pads tend to have a harder surface than regular drum heads. This will prove difficult when you switch to a real drum set where the nicely tuned drum doesn’t have the same rebound you were used on the mesh or rubber pad. Another thing to note!
Note: Roland and Yamaha hi-hat pedals are not interchangeable! Without getting technical, the technologies basically work in opposite ways. Something to note when adding on to your kits or piecing together used pieces of equipment!
Roland
Best

Roland TD 25-K (view item on Amazon) (commissioned links)
These are high end electronic kits and they have all the features you would ever want to perform with very realistic sounds. The sound module is a simplified version of the TD-30 and it’s really easy to use. It doesn’t really have any of the experimental sounds on it because it’s focused on being a traditional drum set. The drums have mesh heads that can be tightened/loosened to feel like a real drum. The cymbals sit on a stand just like a real cymbal and naturally sway when struck. They allow chokes (grabbing the cymbal for staccato hits) and have 3 zones so they can provide 3 different sounds depending on how you hit them. You can record your own performances right onto the module so you can assess your performances and share them with drum teachers, friends, etc.
Some have said that the rack is a bit small for setting up but I think it works just fine. I like to have the lightest and smallest hardware possible in case I have to set up on a tight stage. As with most setups in apartments, the heavy hi-hat ‘cymbals’ seem to thump the floor a bit more than desired. You can remedy this by putting a rubber pad down or switching to a lighter cymbal style pad.
It’s worth mentioning that this particular kit does not come with some essential items: drum throne, kick pedal, hi-hat stand, headphones, and drum sticks. These are generally personal items that drummers can be particular about so it is left up to you to decide on the brand/types of these that you want.
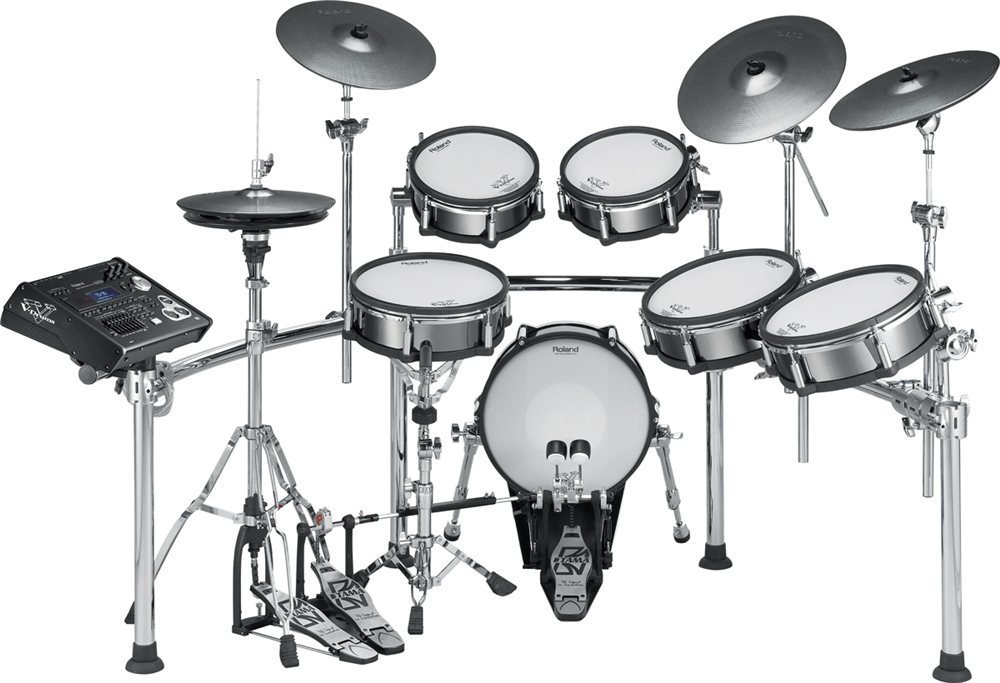
Roland TD30-KV (view item on Amazon) (commissioned links)
This monster literally has everything. Of course, it’s really expensive, but it’s the best. It has every feature of the TD-25KV and even a bit more. The hardware is better. Some of the drum and cymbal pads are better. The hi-hat cymbals are less clunky. The drums look like real drums despite the fact that they are e-drums. The module contains all kinds of extra sounds of which you can tweak. Again, this one does not contain the "personal" items such as the kick pedal, hi-hat stand, snare drum stand, throne, sticks, and headphones. Every e-drum loving drummer would love to have this kit but it is a bit too expensive. I would personally rather build a soundproof room (look below!) and use an acoustic kit!
Not Too Expensive But Worth It
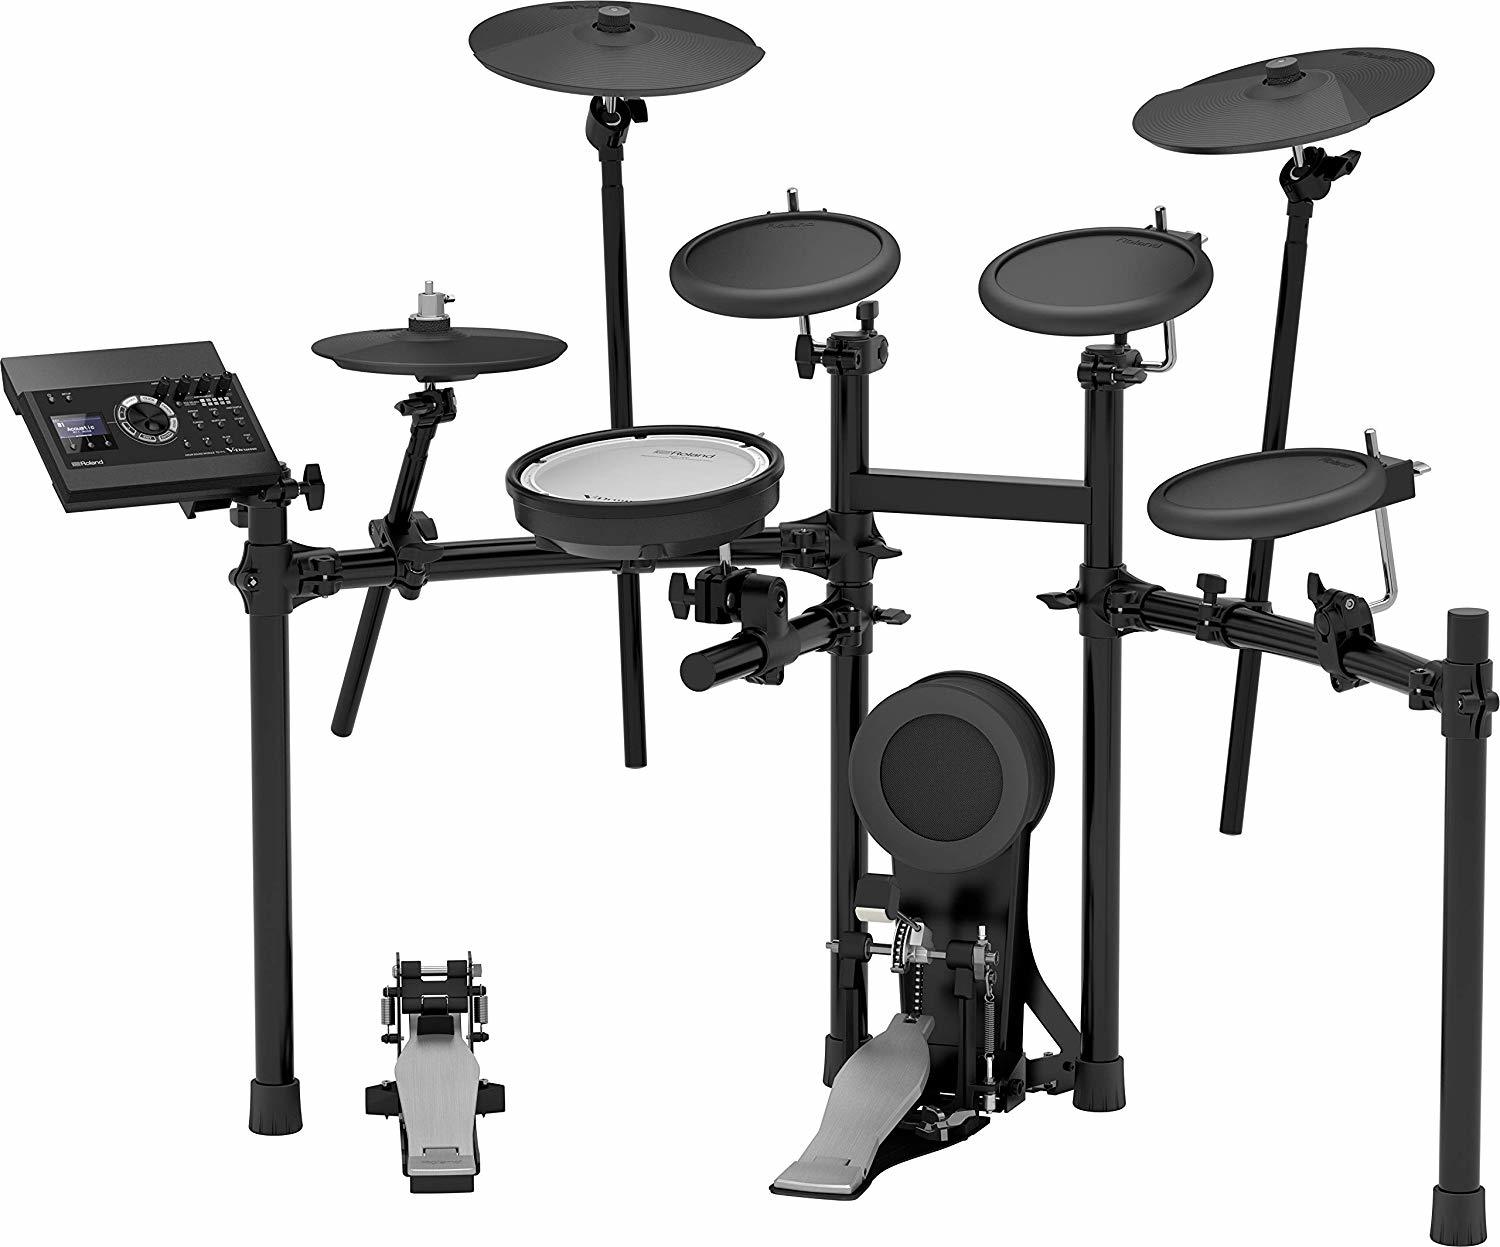
Roland TD-17KL-S (view item on Amazon) (commissioned links)
If this price point works for you, you won’t be disappointed. This kit has many features you get on the nice kits but simplifies everything. It has the play-along features, click track, recording, etc. The module has some basic but great sounding kits to choose from. The only mesh pad you get is the snare drum pad, the rest are rubber. They are still responsive but you don’t get as good of a feel as you can from the mesh pads. The cymbals have 2 zones so you won’t get to hear a ride cymbal bell sound.
If I was buying a starter kit or a second practice kit and I didn’t want to disturb others with the noise, this is the one I would go with. Anything less, you will miss some quality and features, and anything more would be too expensive for what you’re using it for. You could still perform with this kit as well.
This particular one has some options on Amazon to add cords, sticks, headphones, etc. Remember though, you need a throne and kick pedal and possibly some other items depending on which package you select!
Beginner
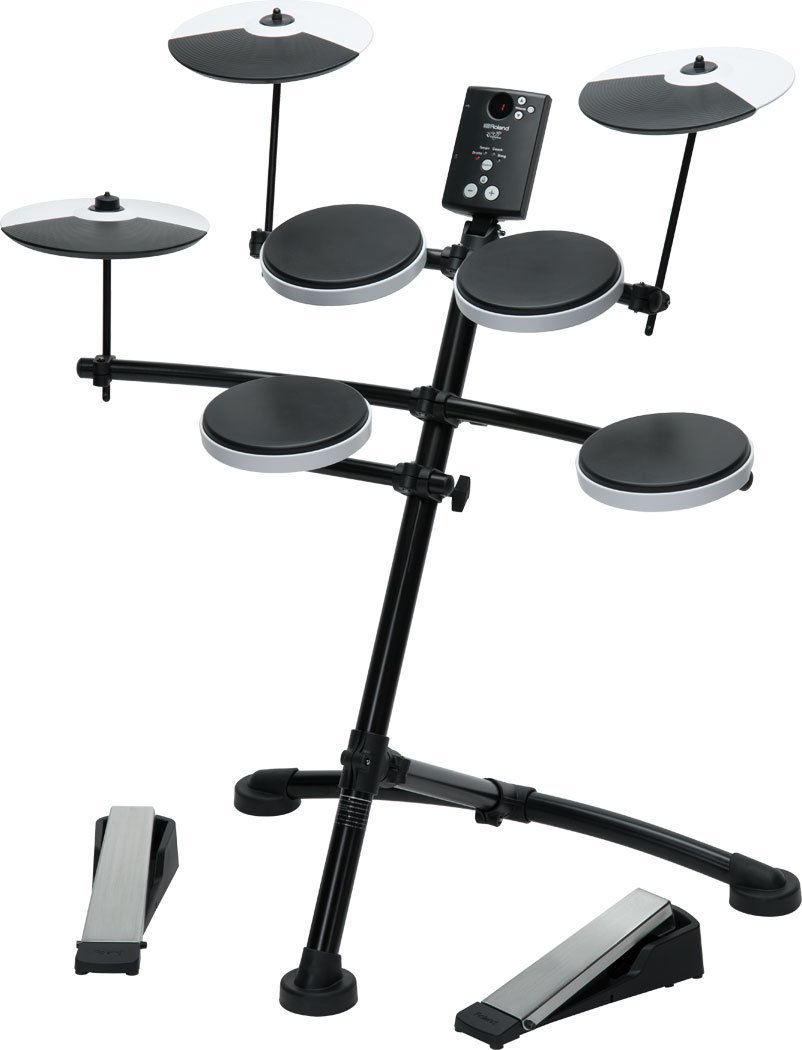
Roland TD-1K (view item on Amazon) (commissioned links)
This is an awesome beginners kit. The price is great and the quality surpasses the price. The module has 15 basic preset kits but they sound really great. You can’t tweak them like you can with the higher end kits but they definitely work from a practicing standpoint. The pedals that come with the kit are very basic and they leave a bit to be desired. The kick drum does not have a beater, just a sensor when your press down the pedal. This kit will feel quite a bit different from the higher end kits or real acoustic drum sets. I have heard of some people gigging with these but I’m on the fence about that. It is, however, super durable and lightweight.
You would only need to pick a throne, sticks and headphones to get rolling with this kit!
Yamaha
Not Too Expensive But Worth It

Yamaha DTX532K with Accessories (view item on Amazon) (commissioned links)
Yamaha’s technology seems to rival just fine with Roland’s. This particular kit comes with everything you need to start playing including the throne, kick pedal, stands, and headphones. The cymbals are great because they support muting and swells. All the drum pads are silicone except the bass drum. With a rubber bass drum head, it might cause a bit of thumping in a 2nd floor or higher apartment. This is something you could upgrade later by buying a mesh bass drum pad. Only Yamaha’s expensive kits come with the mesh bass drum pad. It’s worth mentioning that there are apps you can use in conjunction with the Yamaha e-kits for recording, practicing, or just navigating the menus a bit easier.
Beginner
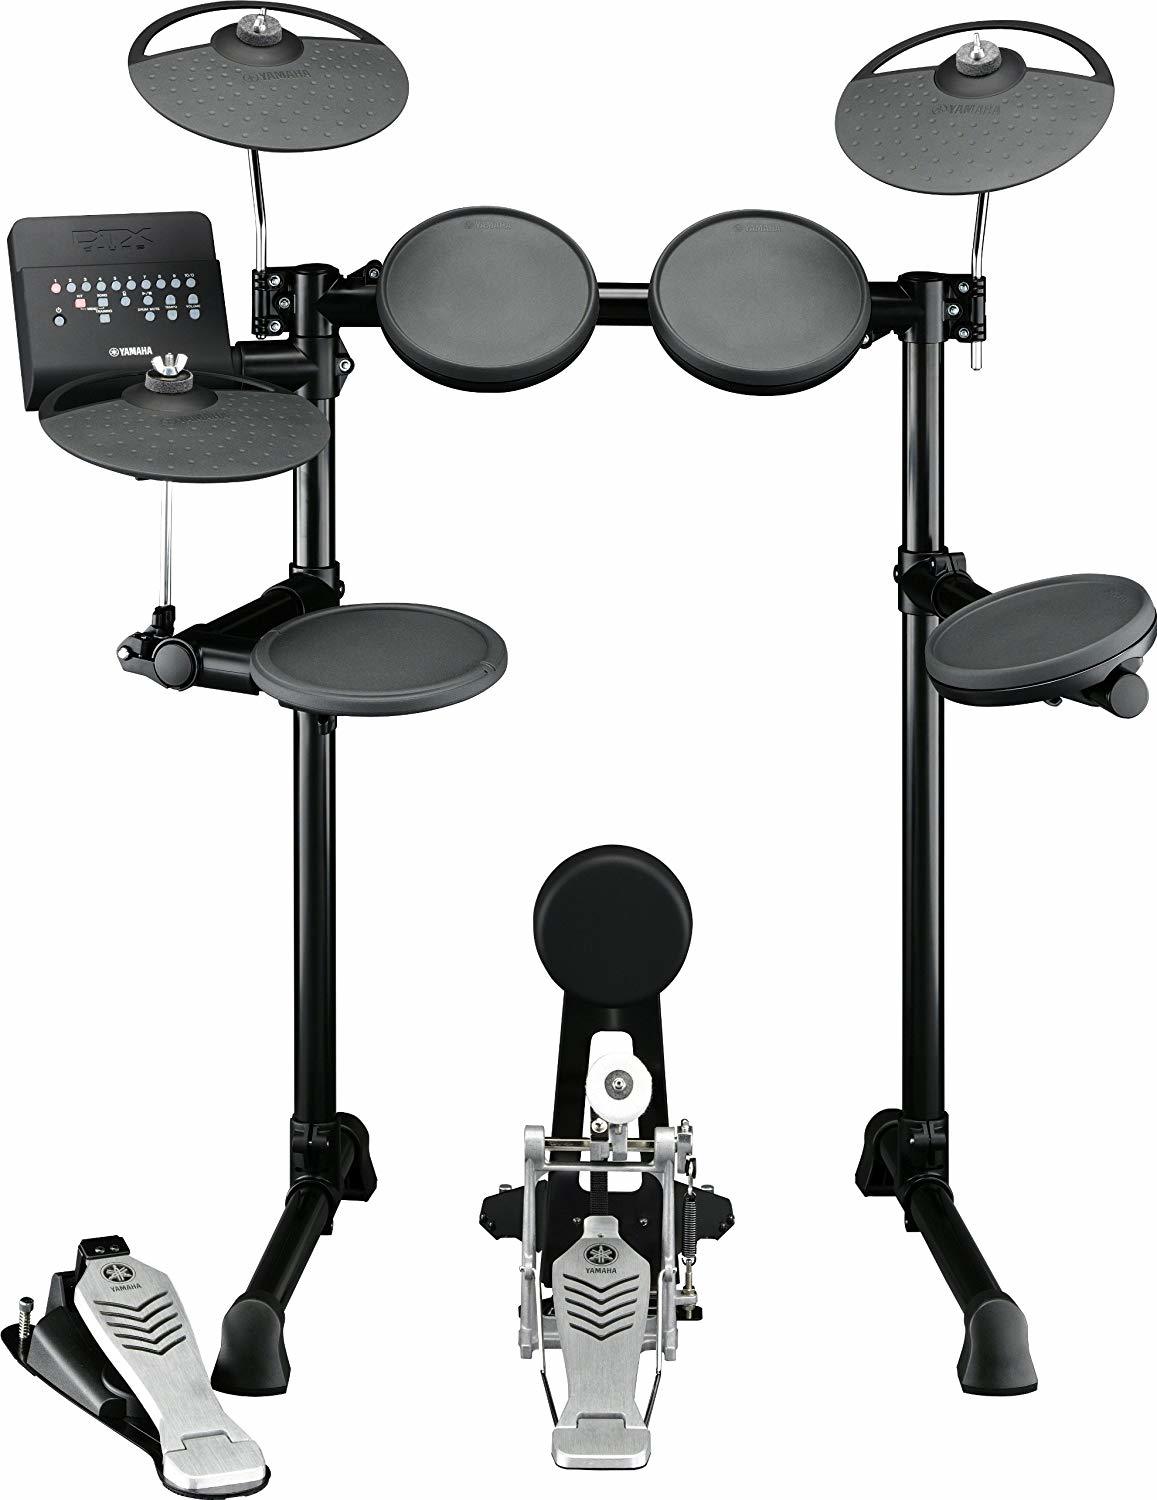
Yamaha DTX450K (view item on Amazon) (commissioned links)
This one has a real kick pedal which goes a long way on a beginner kit. The price is still a little high for a beginner kit though. It’s pretty basic with rubber pads for all of the drums and cymbals. The snare does have 3 zones which allows for rim shots and side stick sounds. I think this one falls short on the cymbals and hi-hat. The hi-hat pedal won’t feel like the real hi-hat on the DTX532K and the cymbals only have one sound—no choke or swells. Again, this one is great for a beginner and the Yamaha line is really great with adding on and upgrading.
I would urge you to check out Yamaha’s homepage for their own comparison chart of all of their e-drum kits. You can go in depth to find exactly what you want out of your kit. Just go here:
Yamaha (USA) E-Drum Kit Model Comparisons
Alesis
Beginner

Alesis Nitro (view item on Amazon) (commissioned links)
I found the price point on this kit to be the most intriguing. Their higher end kits just don’t compare to the Roland or Yamaha kits. For a kit at this price coming with all mesh heads, it’s quite a deal! One thing to note: it does not come with a throne! The pads feel really nice and the sounds are great. But, it always seems a little more difficult to dial in the right response settings on these Alesis kits. You can tell the pads aren’t the same high quality as the Rolands or Yamahas.
Other Beginner Option

Carlsboro CSD120 (view item on Amazon) (commissioned links)
If you are looking for the most simple and inexpensive option to practice quietly, then this is it! This one does NOT come with a throne though. It’s very compact and has some good sounds that can definitely get you practicing. I would not suggest gigging with this kit.
Soundproofing & Treatment
If the muting and practice pad options don’t cut it for you and the e-kits don’t intrigue you, there’s always sound proofing and treatment. You can do as little or as much as you need to get the sound quieter depending on what your needs are.
Sound Treatment
Sound treatment can help a bit more than you might think. Simply placing foam pads across the walls might just be enough to kill the sound. Just buy some foam pads and glue them to a piece of cardboard or a thin piece of plywood and hang them like a picture. Center them on every large flat wall surface. These will help with the sound inside the room too if it is too lively and/or echoey. This is the best deal I found and you can buy these in packages with different amounts depending on how many you need.

12 Pack Acoustic Foam (view item on Amazon) (commissioned links)
Another helpful technique is hanging some foamed frames directly above your cymbals. This will really settle the cymbals down and help drastically inside the room as well. They have to be at least 2’ x 4’ (24 inches x 48 inches) to cover the entire length of the drum set.
I hung up some homemade frames stuffed with foam and wrapped with cloth. These can also be mounted on the wall as well and they look a bit more attractive than the foam pieces glued to plywood or cardboard. You can build them or buy ones like these online for around $50 a piece. These particular panels comes in 3 different colors.
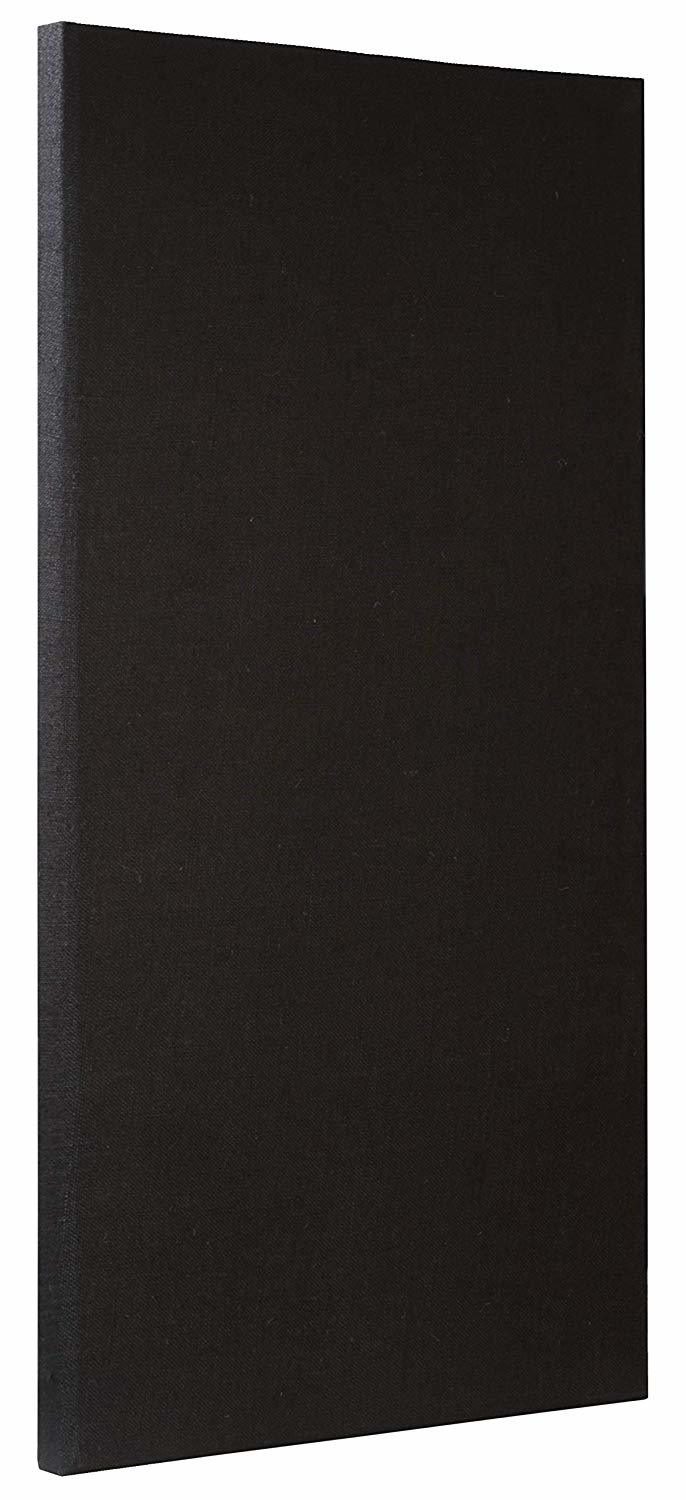
ATS Acoustic Panel (24"x48"x2") (view item on Amazon) (commissioned links)
I measured out the frames and put eye hooks on the ceiling and on the corners of the frames. Then I tied some string to suspend them about 8 feet above the ground where you drum set sits. Hopefully they hang at least 6 inches off the ceiling to allow them to trap reverberant sound in-between the frame and ceiling.

Here’s some instructions on how to build your own panels:
•How to Build Your Own Acoustic Panels at AcousticFreq.com
Soundproofing Windows
Windows can be the main culprit in letting sound escape. I would suggest hanging a vinyl cover or soundproofing blanket like these here. Trademark Soundproofing make some really nice window soundproofing products but they are very expensive—like $300! These here are more in the $100 range.

Audimute Sound Absorber (view item on Amazon) (commissioned links)
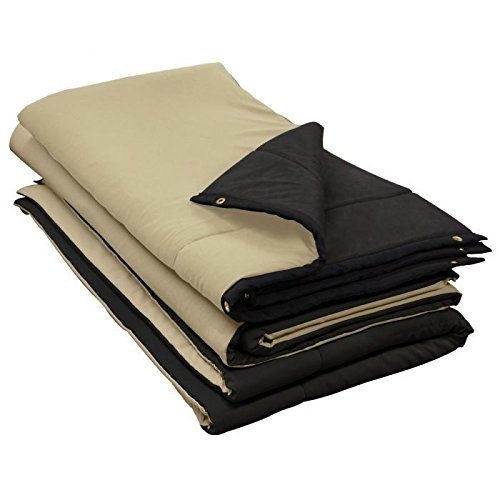
Audimute Sound Blanket (view item on Amazon) (commissioned links)
Soundproofing Walls
The options for soundproofing your walls range from relatively inexpensive to very expensive. There’s a lot of planning that would have to go into your project, assuming you’re handy enough to do the job yourself. Doing drywall can be a difficult job if you don’t know what you’re doing! Hiring out the work isn’t a bad idea as well if you want it done timely and efficiently.
For the more modest and less expensive option, you can use regular pieces of drywall along with this product called Green Glue Compound. Essentially what you’re doing is adding another layer of drywall and putting the green glue in between the old drywall and the new drywall. Then you can re-trim and paint the wall. It’s much easier said than done!
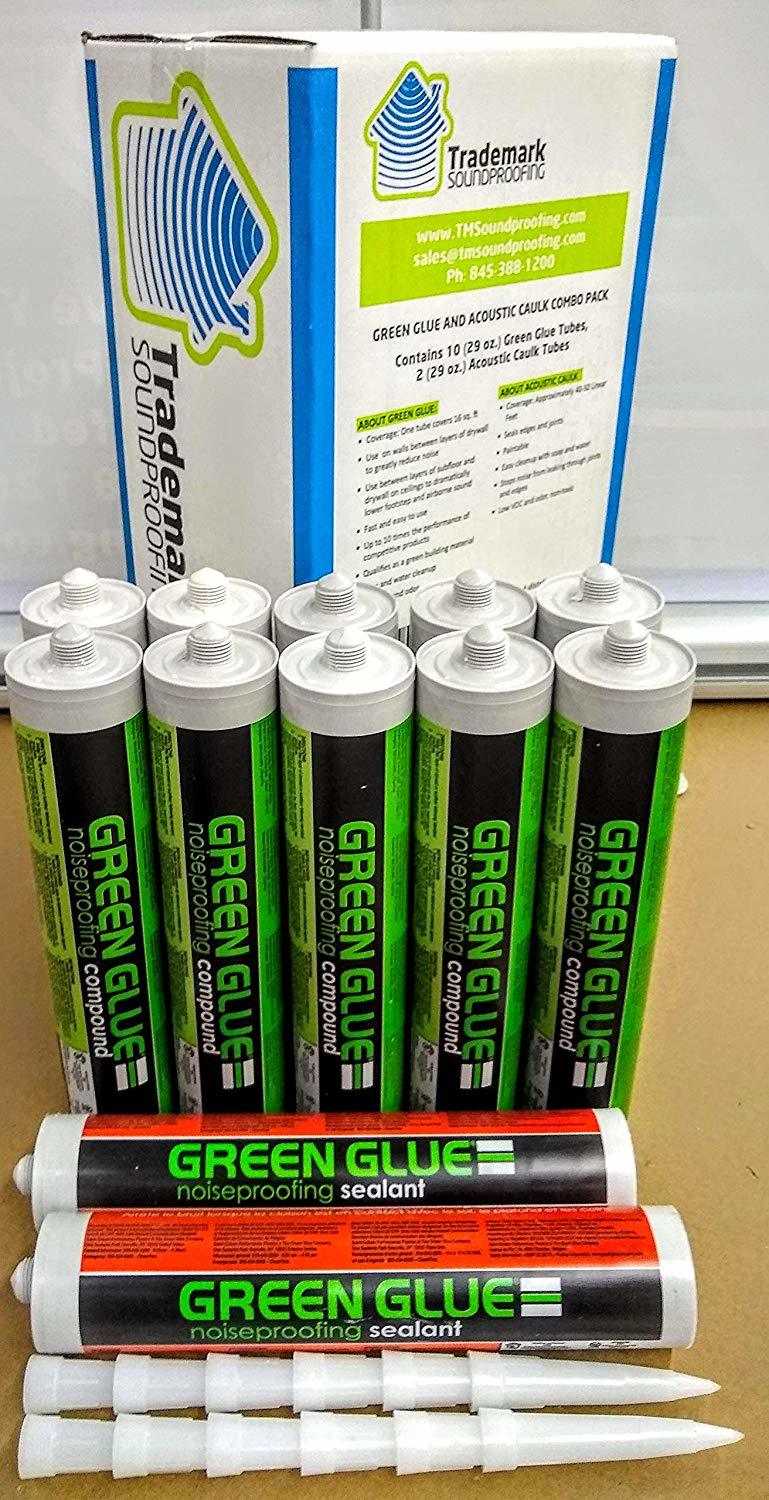
Green Glue Compound & Sealant Combo Pack (view item on Amazon) (commissioned links)
You could also upgrade those pieces of drywall to soundproofing drywall. A regular piece of 4’x8’ drywall can cost as little as $7.50 versus a 4’x8’ piece of soundproofing drywall can cost about $55. You need 2 tubes of green glue per 4’x8’ sheet of drywall which cost about $20 per tube. You can get better pricing if you buy packs of tubes or 5 gallon buckets. There is also a “sealant caulk” which is used on the perimeter of each piece of drywall. One tube of the sealant covers about 50 linear feet for $20. There are packs of the compound and sealant together to help you save a little bit of money.

Green Glue Compound - 5 Gallon Bucket (view item on Amazon) (commissioned links)
There are also vinyl soundproofing rolls that can be applied over studs, joists or in suspended ceilings. I have never tried these myself but if you are doing this yourself, I have heard that the rolls are extremely heavy and bulky and difficult to install because of their weight.
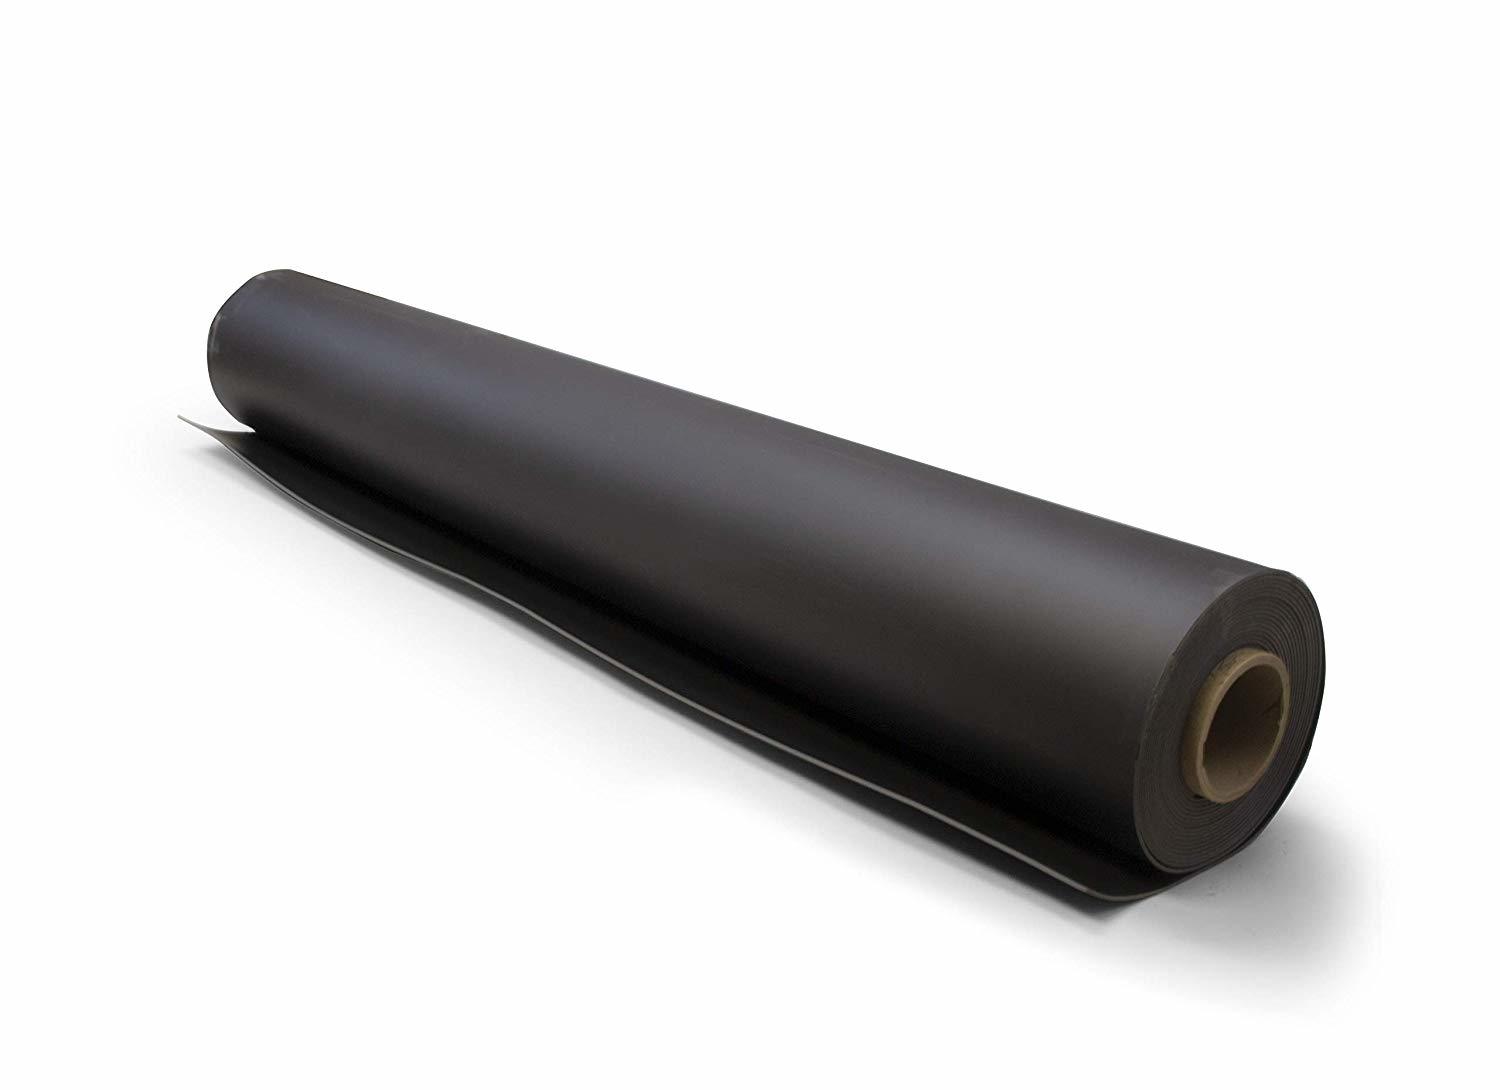
Soundsulate Vinyl Roll (view item on Amazon) (commissioned links)
So what would it cost?
If you hire out the work, drywalling a typical 12’x12’ room without the sound proofing products would cost about $600-$800. You would want to make sure you do the ceiling or floor as well depending if you are in a basement or an upstairs room. You could estimate by adding the cost of the green glue compound at about $400 and the sealant at $200 plus the added labor equalling about $800. If you want the soundproofing drywall, you would add another $600. So a very rough estimate would be about $2500-3000 for a thoroughly soundproofed 12’x12’ practice room. That’s still cheaper than some of the high end e-drum kits!
You can definitely save anywhere from $1000-$1200 in labor if you want to do it yourself. I am handy and like to do a lot of these DIY projects myself but I don’t feel comfortable giving my own directions on how to do this. Here are some resources that I would use for this DIY project.
•Soundproofing at TheSpruce.com
•Hanging Drywall at Homeadvisor.com
•Green Glue Installation at GreenGlueCompany.com
Soundproof a Ceiling
Soundproof a Floor
Soundproof a Window
So that's it! I've given you every option that I found effective to allow you to practice your drums without bothering anyone! And now that you are able to practice...time to get at it! And when you're ready to organize your practicing in a way that's most effective, check out my two part article:
Definitive Drum Practice Guide from Beginner to Advanced - Part 1 - Scheduling and Gear
Definitive Drum Practice Guide from Beginner to Advanced - Part 2 - Practice Session
As a member of the worldwide drum community, please share this to support me and I will do the same for you!
**Full Disclosure: I earn a commission if you click any of these links and make a purchase, at no additional cost to you.**
