Archive
Monthly Archives: March 2019

The Coolest Drum Gadgets You Didn’t Know You Wanted

We’ve all seen the “top gifts for drummers” and “essential gear” articles, but I haven’t seen many articles listing the uniquely useful drum gadgets. Some of these you have probably heard about but I’m willing to bet you haven’t heard of all of these. I use almost all of these regularly and I plan to eventually buy all of them. I just couldn’t wait to share all of the cool drum gear that you didn’t know you needed with optional drum hacks!

Tama Cobra Clutch (DISCONTINUED)
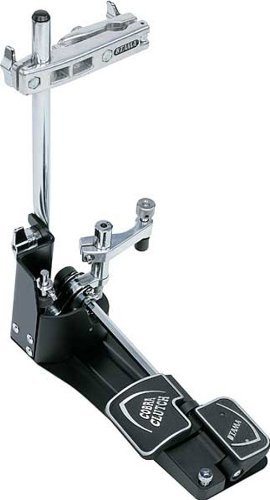
TAMA TAMHH905XP Cobra Clutch (view item on Amazon.com) (commissioned links)

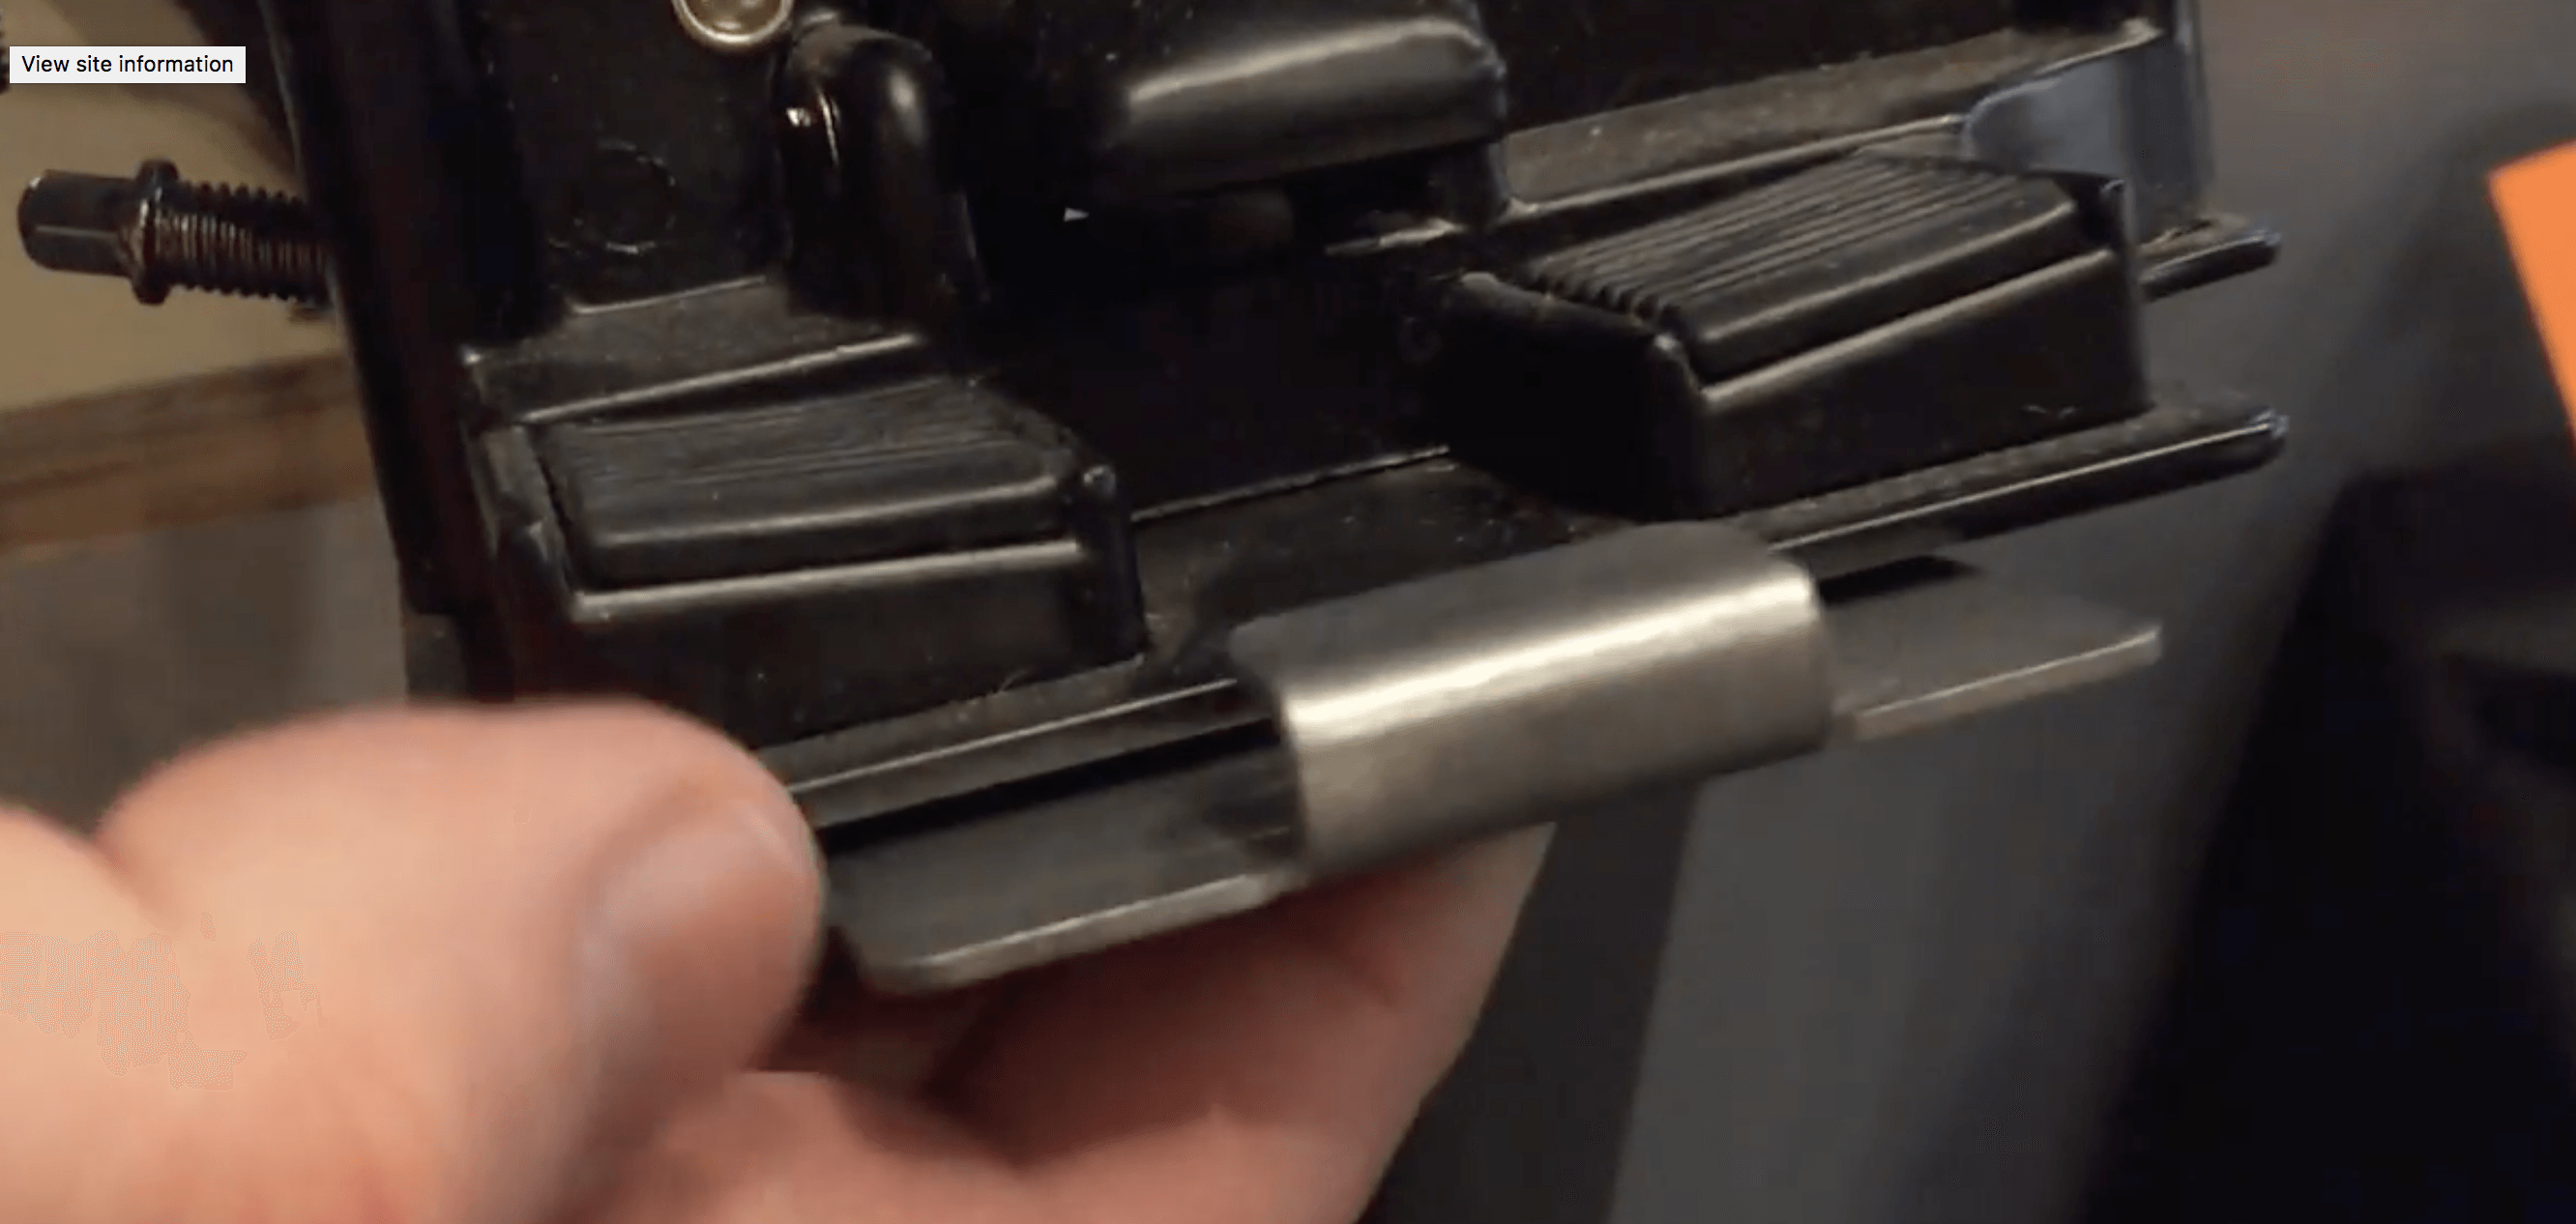
The Tama Cobra Clutch is a product that has solved a problem for double bass drummers ever since Louie Bellson brought them to the bandstand. When you move your foot from your hi-hat to your second bass drum pedal, you relinquish the control of the hi-hat foot pedal and how much you want the cymbals open or closed. This clutch allows you to set your hi-hat at any level of openness with the push of a pedal. You can have your hi-hats tightly closed or slightly open for a sloshy sound while you play double bass.

Regular hi-hat clutch users, such as myself, have long desired having an option for the amount of slosh when playing double bass. Most drummers remedy this by setting their hi-hat to slightly open and never touching it. This is at the sacrifice of not having the option for a hi-hat wide open nor a loud 'chick' sound when using the hi-hat with your foot. At a hefty price tag, you can solve these problems with the Tama Cobra Clutch. This pedal sits to the side of your hi-hat pedal to easily set and unset.

Drum Hack
I think their needs to be a more affordable product to achieve the slosh sound when playing double bass. Long before this even came out, I came up with my own drum hack that literally costs around a dollar. Simply buy a strong spring that can fit around your hi-hat shaft. Most hi-hat stands have a 1/4" shaft so you would need a 3/8" spring like this one: 3/8" by 3/4" spring. Cut it to length and place it in between the two cymbals. This will hold the top cymbal up slightly when your regular hi-hat clutch is dis-engaged for a slosh and still allow for your pedal to work when the clutch is engaged.
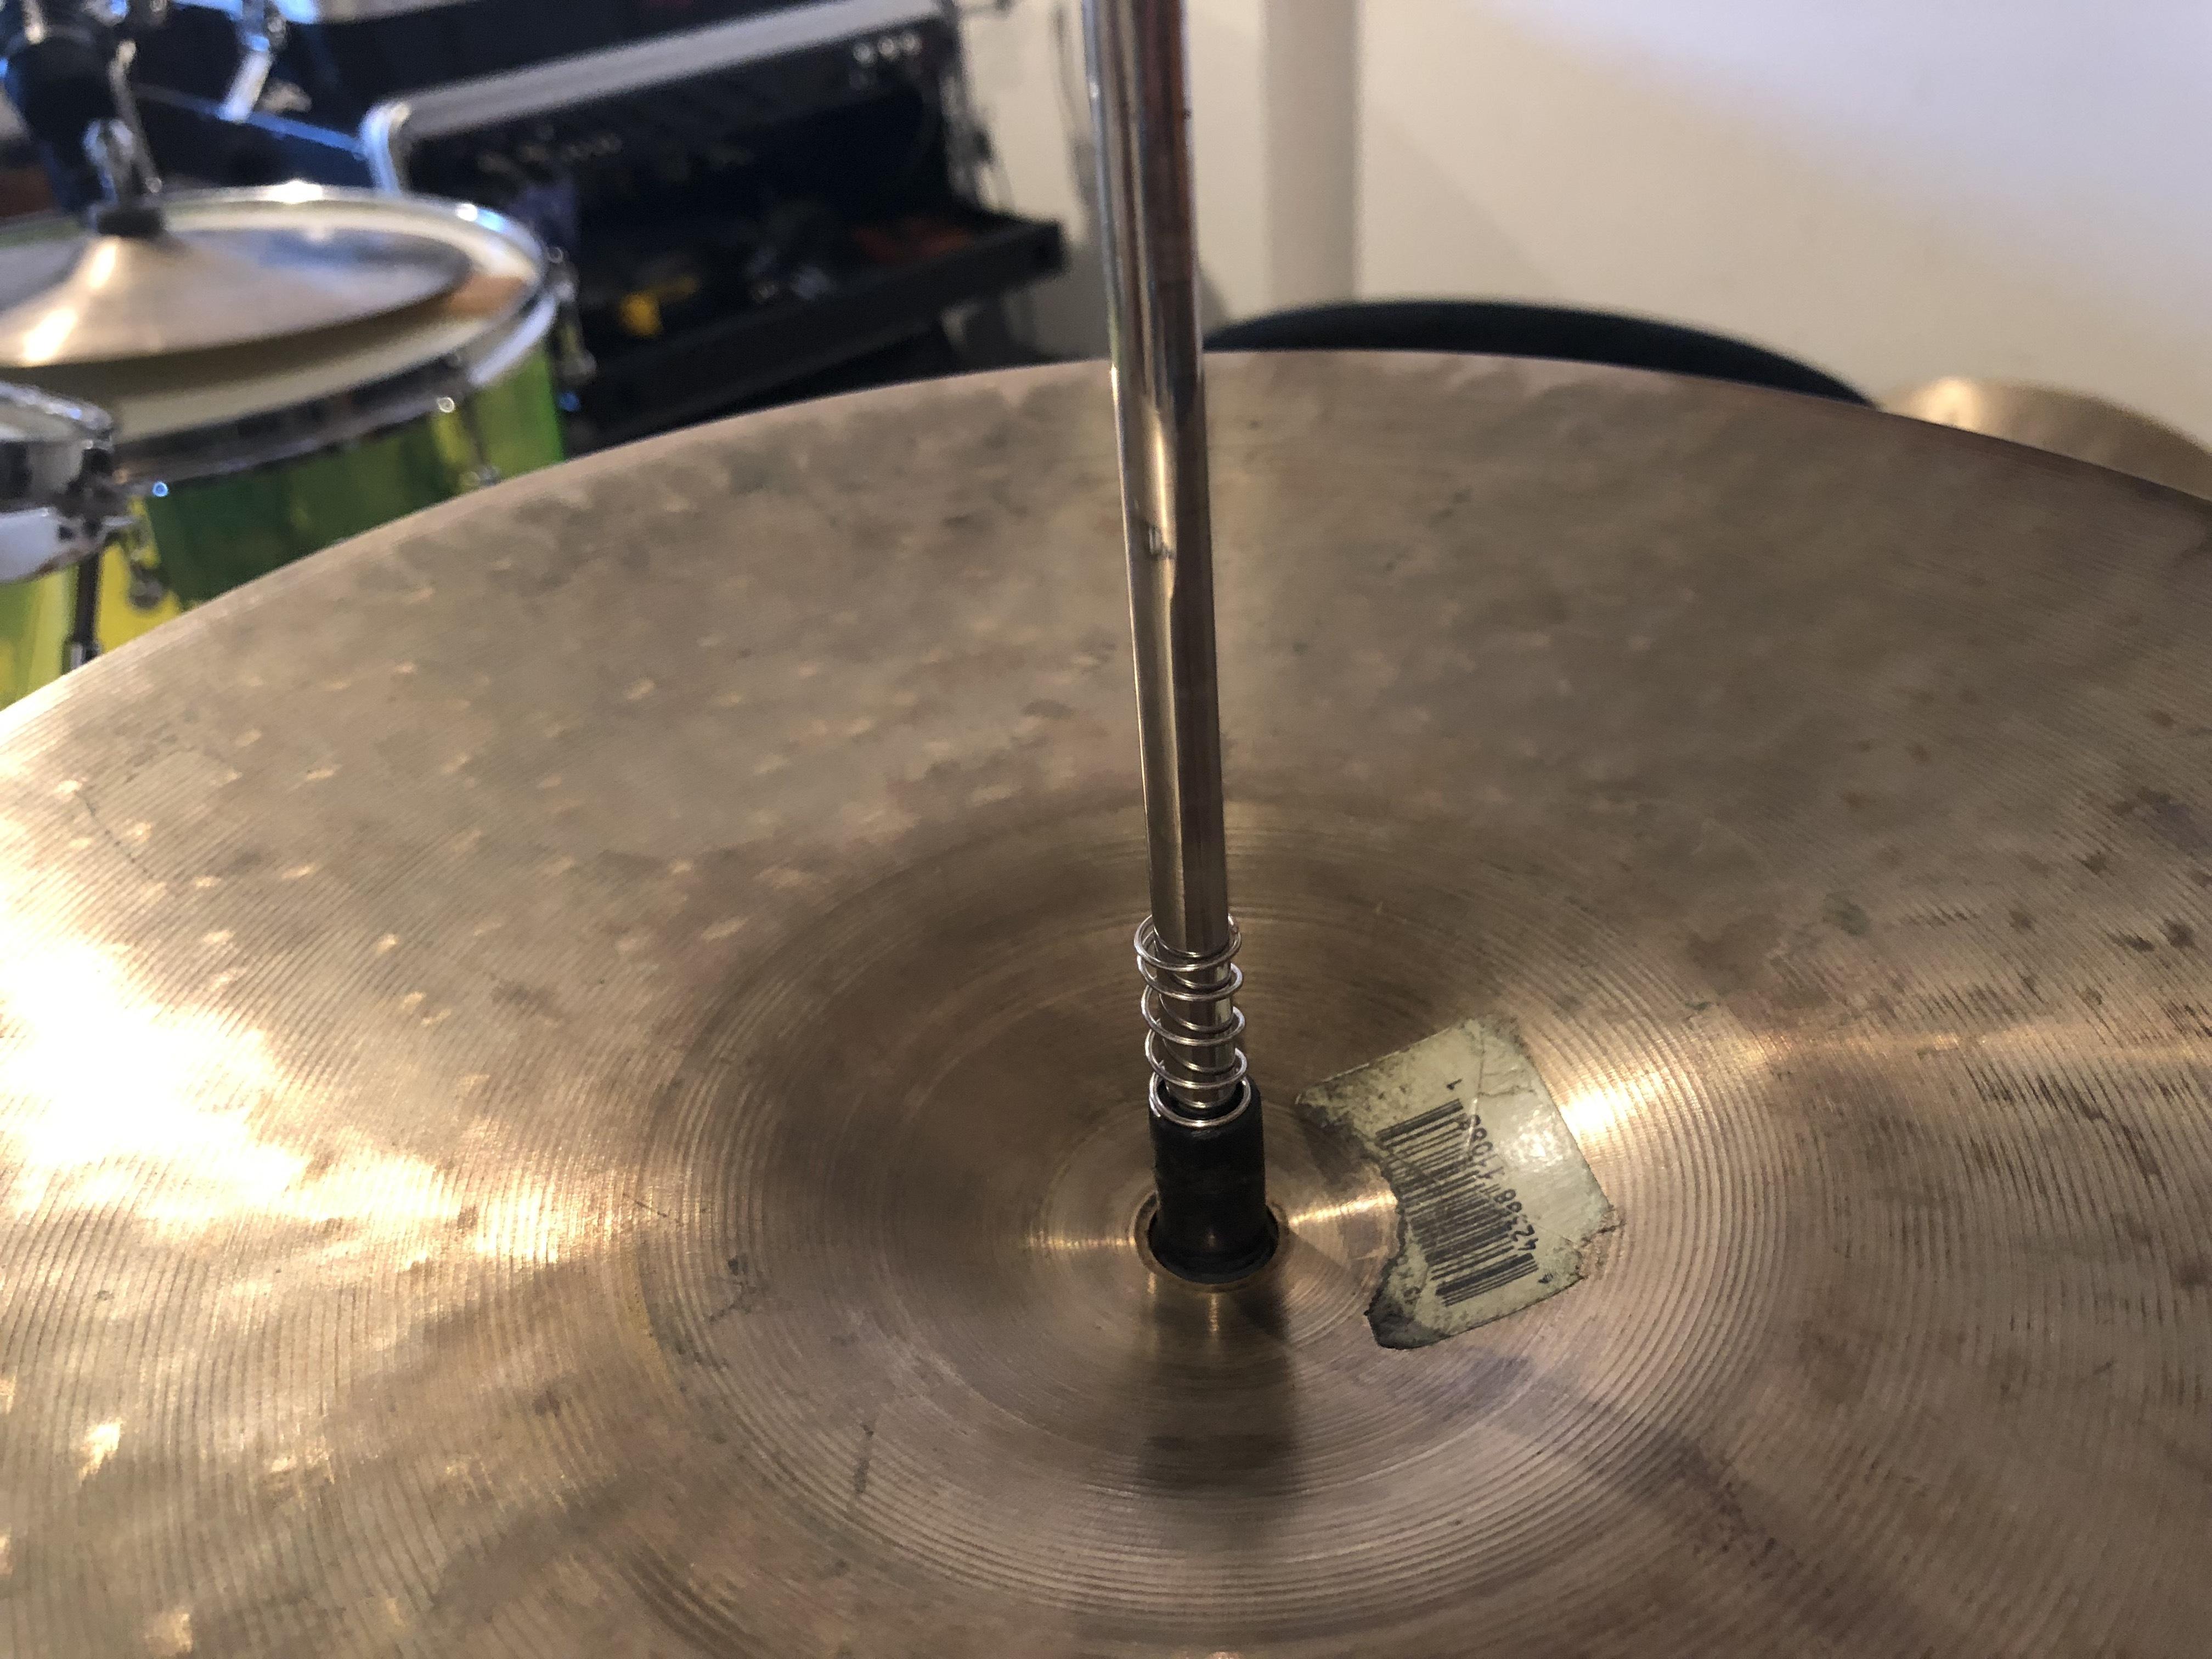
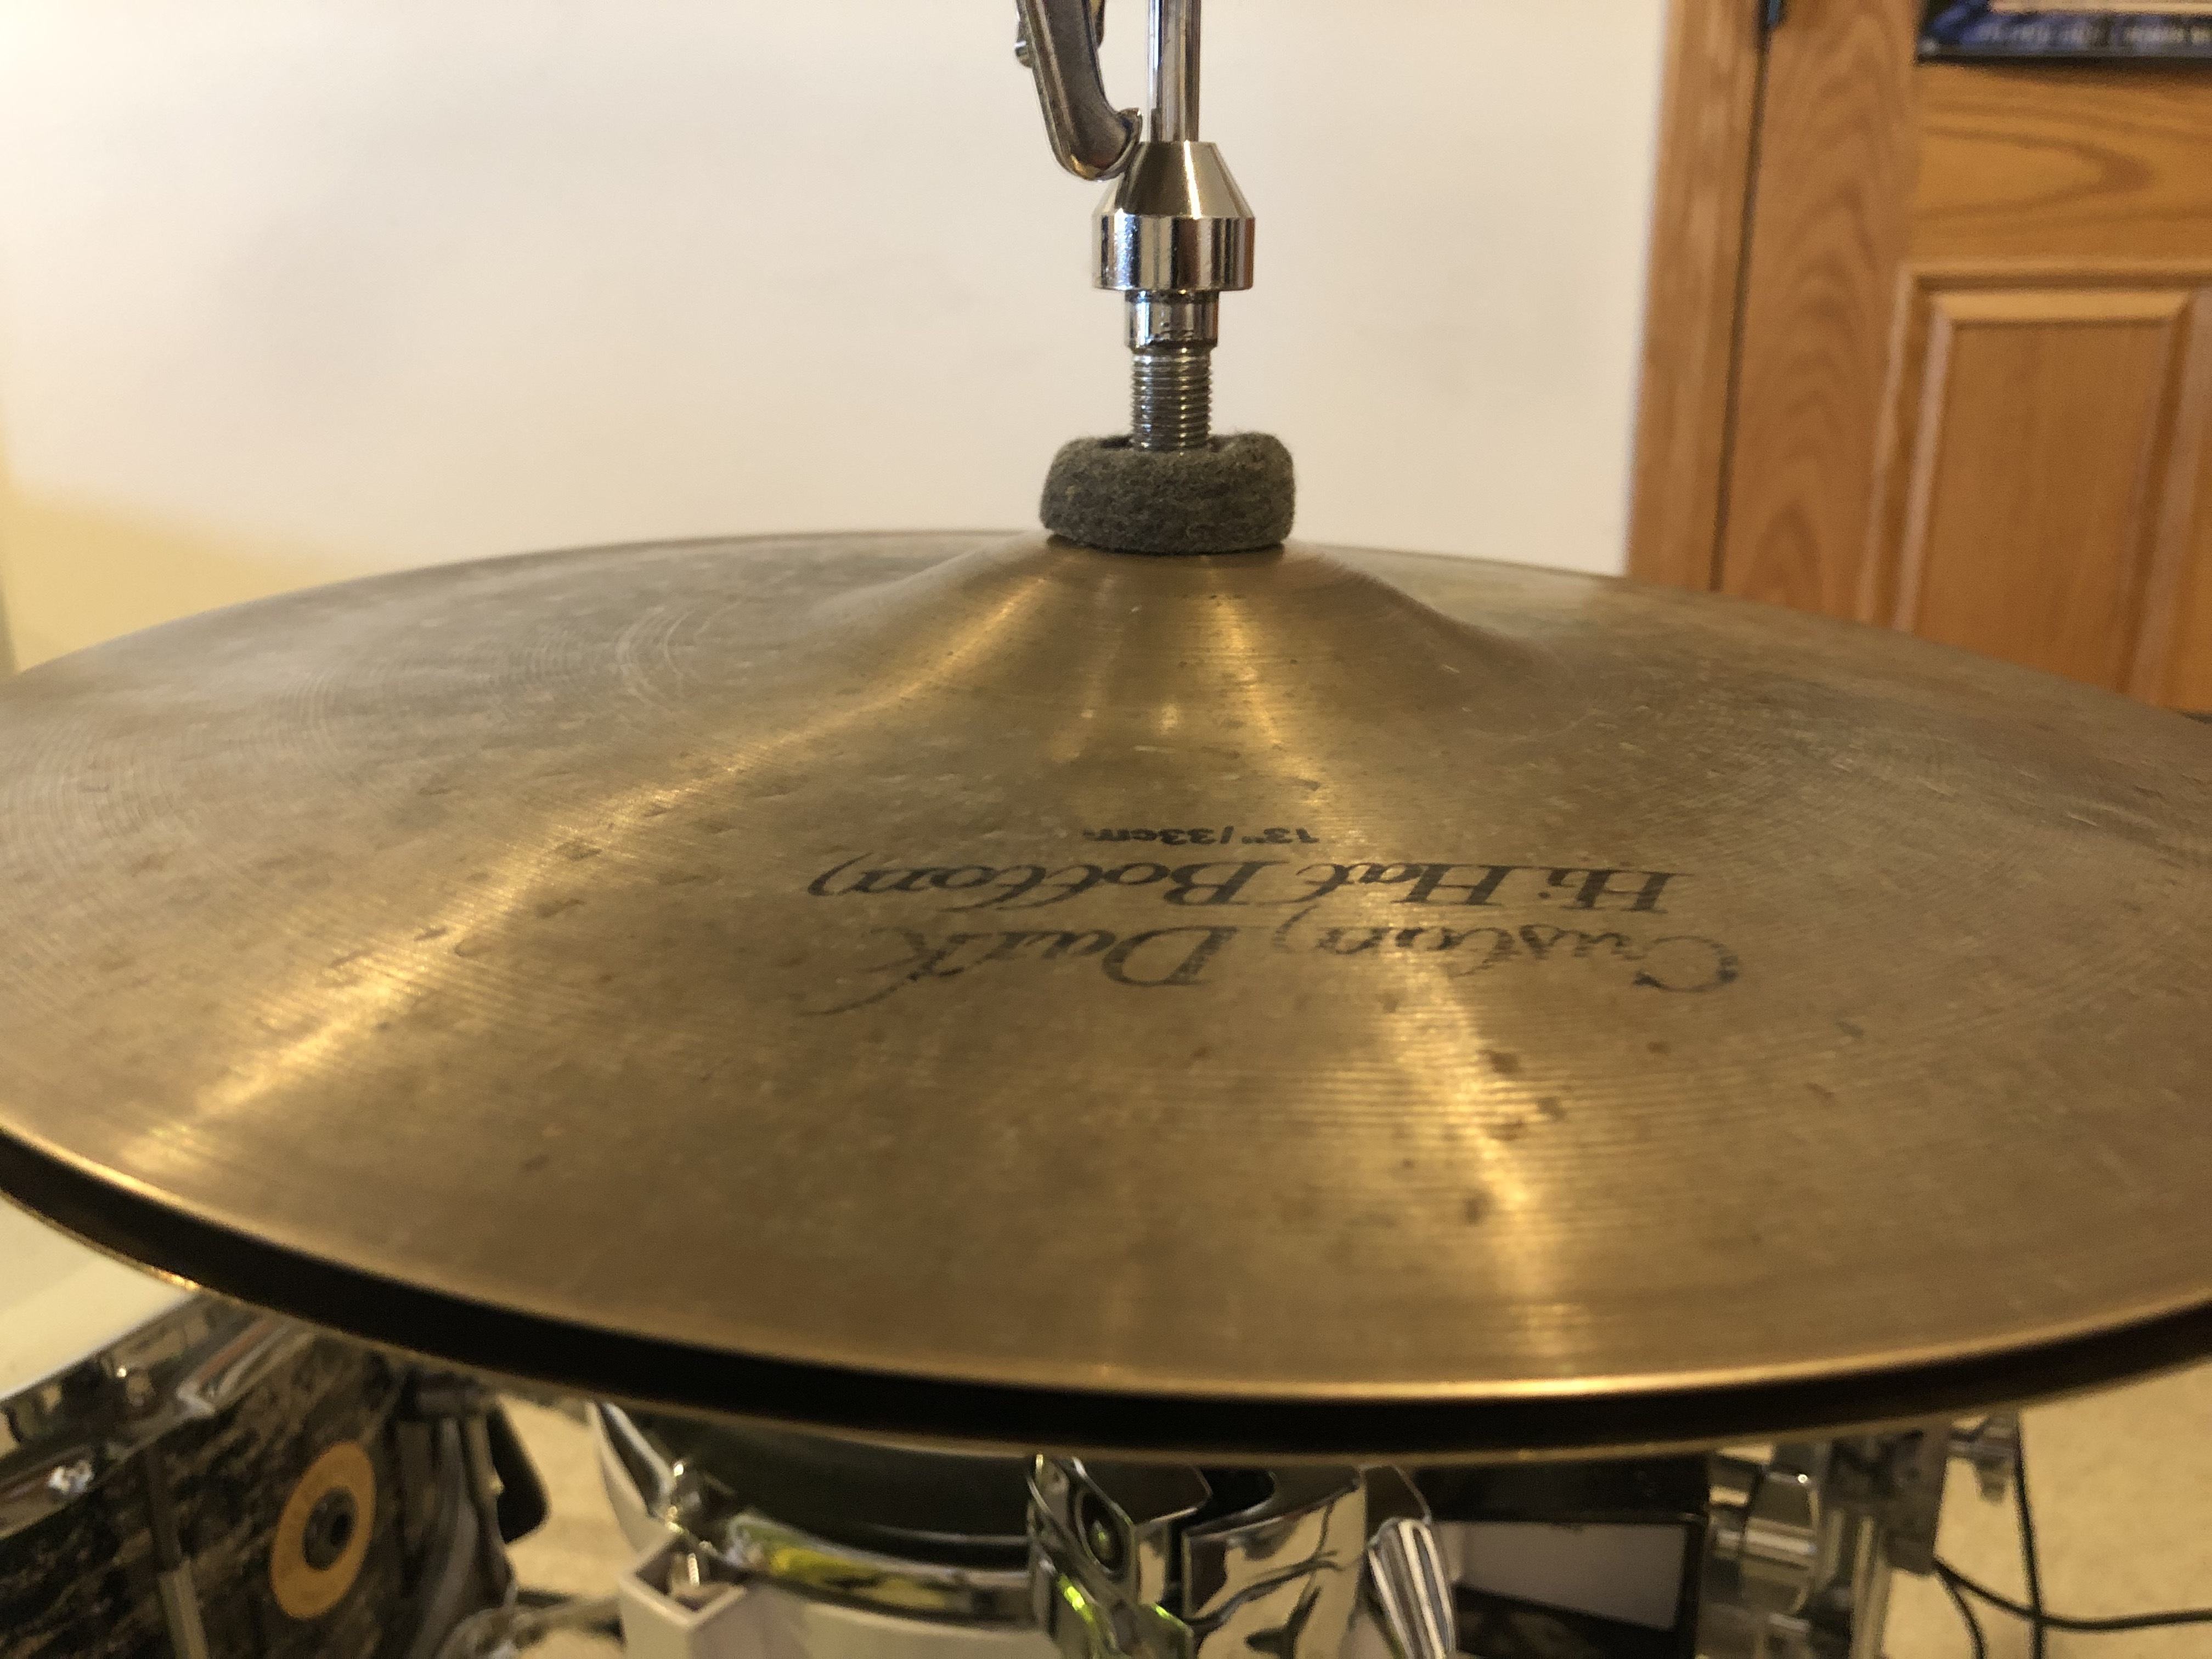
However, this only gives you the option for slosh when playing double bass. Gavin Harrison likes to have the option for slosh or tight as he explains in this official Tama video:

Meinl Cymbal Tuners

Meinl Cymbals MCT Tuners (view item on Amazon.com) (commissioned links)

A lot of people talk about the Meinl tuners in articles like this so you have probably heard of them. There are mixed reviews on these and I think there's a couple things that need to be said about them. First of all, they don't just make you cymbal quieter. They transform your cymbal into a different but more quiet cymbal depending on where you place the magnets. I like the sounds I can get out of these, but it does depend on the cymbal you are using. I would urge your local drum shop to keep a set of these in the cymbal room so you can test them on different cymbals.

So, yes, these do make your cymbals more quiet at the expense of sometimes wanted overtones. If you want quiet cymbals, you really need to learn to play them more quiet with finesse. This is an important skill to work on especially when you're in the studio. If you are playing your cymbals too loud, it will bleed into the other microphones requiring you to gate or use other production techniques. It can also completely take over your overhead mics forcing you to turn down the overheads at the expense of losing bulk and essential overall room sound. Keep that in mind if you buy this product.

Drum Hack
There are some cheaper options to achieve this but they may not work as well as the Meinl tuners. I used to put duct tape on the underside of the cymbal but it left a nasty residue. Then I heard about these super strong neodymium rare earth magnets online for a fraction of the cost. You just need to put some sort of adhesive felt on them so they don't scratch your cymbal. I have not tried this but have heard that they work just as well. Comment below if you have tried this!

Nexlevl Super Strong Mini Fridge Magnets 1/4" x 1/16" (view item on Amazon.com) (commissioned links)

Gibraltar Shock Mount Cymbal Adapter

Gibraltar SC-GMCMA Shock Mount Cymbal Adaptor (view item on Amazon.com) (commissioned links)

I usually have more cymbal stands sitting around rather than mic stands. This is perfect for that. It mounts to most cymbal stands. This product is intended for use on a cymbal stand when you have a cymbal mounted as well, that is why it also has shock absorption. It also absorbs the shock when you mount the stand on a rack.

I have wrapped tape onto cymbal stands so I could mount mic clips on them but this only works for a while until they fall off, damaging your microphone. I was definitely happy to find this product! I see the reviews aren't very good but that's because the rubber piece, which absorbs the shock, breaks...just be careful!

Drumgees
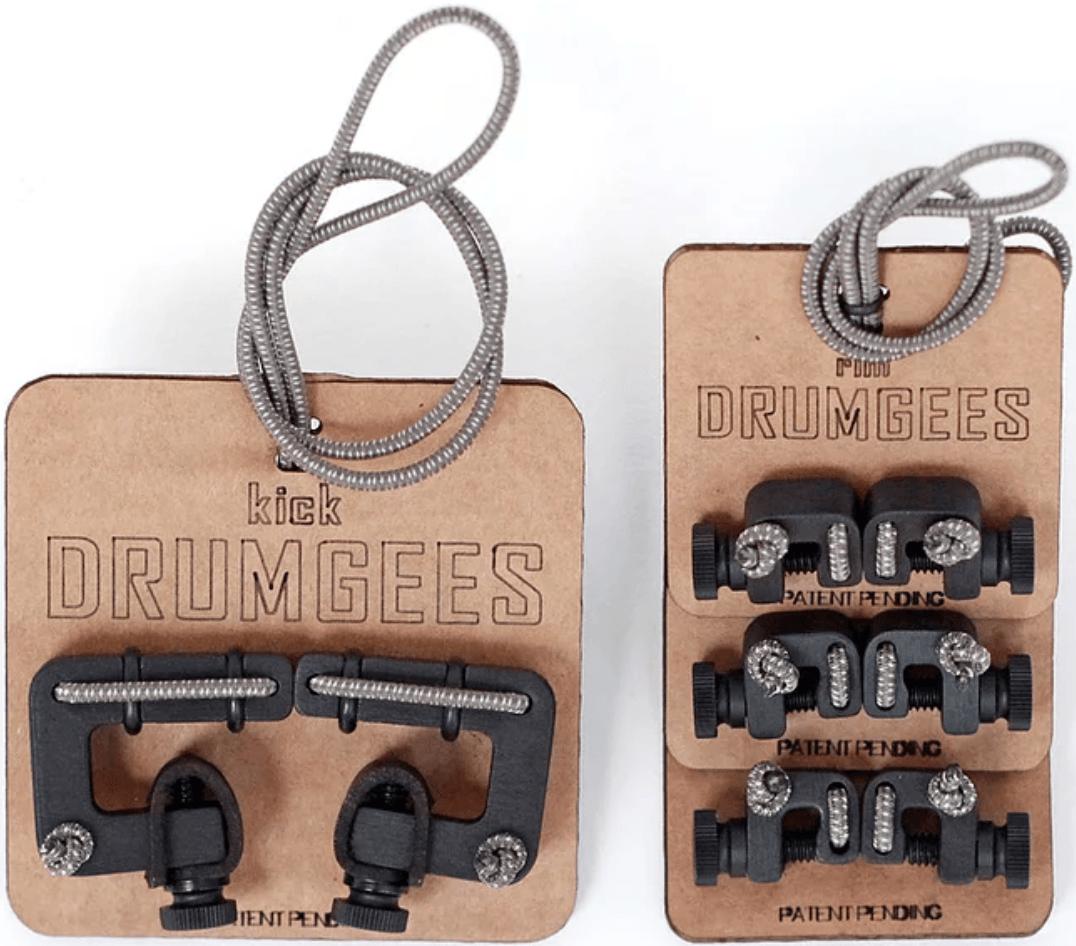
Drumgees (view item on Drumgees homepage) (commissioned links)

This product allows you to "bungee" any sound source to a drum. If you have ever experimented with putting pans, towels, or anything else on your drums, these hold them in place. They also have clips that can quickly and easily secure them into place. This is right up my alley, I just wish they weren't so spendy!

Drum Hack
I hate to suggest this option because I like to support small businesses but there are some decent options that are WAY cheaper. Just buy a mini bungee cord with a plastic hook (to prevent scratching). I found these elastic buckle cords on Amazon and the hook works well with a drum rim. You can untie the bungee and put a second hook on it. They won't work as well as the Drumgees though...especially with their the ease of use when playing live.

Drumlites
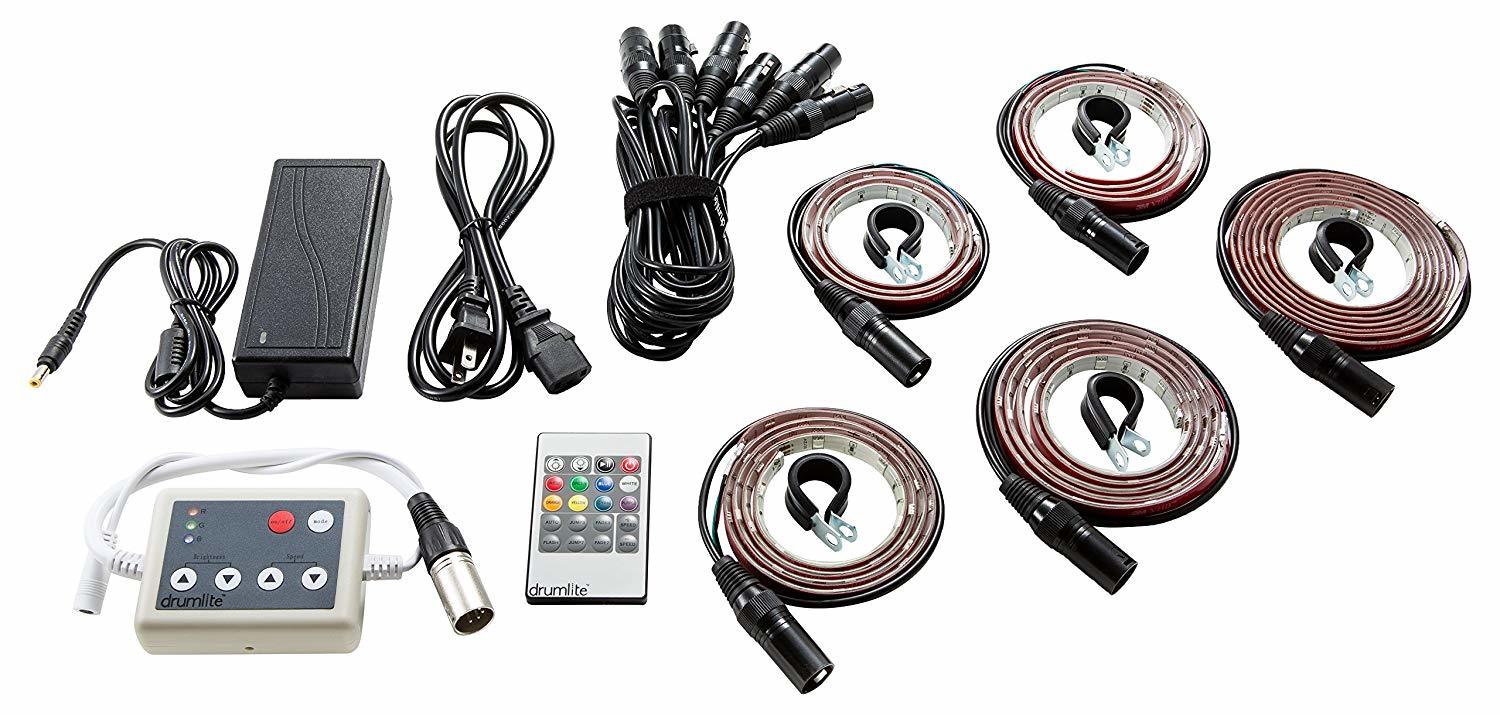
DrumLite Electronic Drum Accessory DL2N (view item on Amazon.com) (commissioned links)

These Drumlites are amazing! I have an acrylic "see-through" drum set but these also work great with wooden kits. The remote control allows you to pick a bunch of different presets and colors. I chose to buy the Global DMX Controller so I could have the lights react to my music. This is definitely the way to go because with DMX control, you can do anything.

I will mention that the Global DMX Controller only allows you to show the same color on all the Drumlites you have (hence the name global). However, the Independent Controller with DMX Function allows you the ultimate control to do anything...at a really hefty price tag!

They also sell Drumlites that are triggered by sound, but they are not interchangeable or upgradable to the DMX controlled lights. I easily found a way to trigger the DMX controlled lights by sound with my setup in Ableton Live. But, in order to use it on each drum separately, I would have to buy the independent controller. That's where the triggered Drumlites are much more affordable. I still chose the Global DMX Controller for now with hopes to eventually upgrade to the independent controller.

My drum transcription video of "Moon" by Little People shows the first time I programmed my Drumlites in sync with the music. Check it out here: Moon by Little People - Drum Transcription by Robin Rapsys

Here are a couple official videos from Drumlite with Coop3rDrumm3r explaining their setup and uses. The second video shows their "triggered" version which cannot be interchangeable with the DMX controller. Like I said, with a little setup, you can easily do this with Ableton and a DMX controller. I will be releasing some videos on how I do this soon.

Trick Drums Cymbal Quick Release
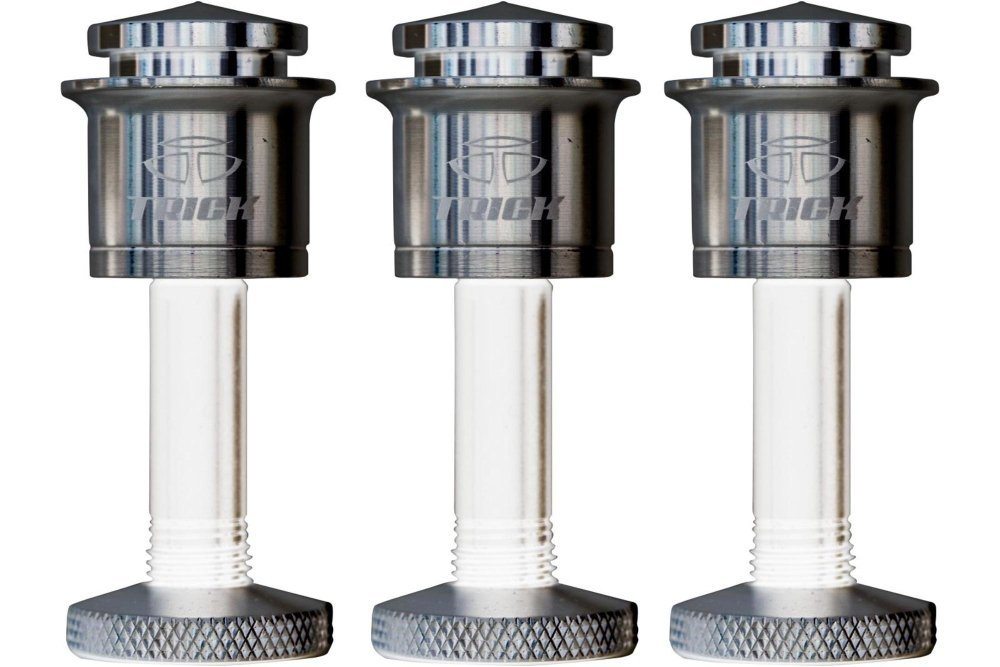
Trick Cymbal Quick Release 3-pack (view item on Amazon.com) (commissioned links)

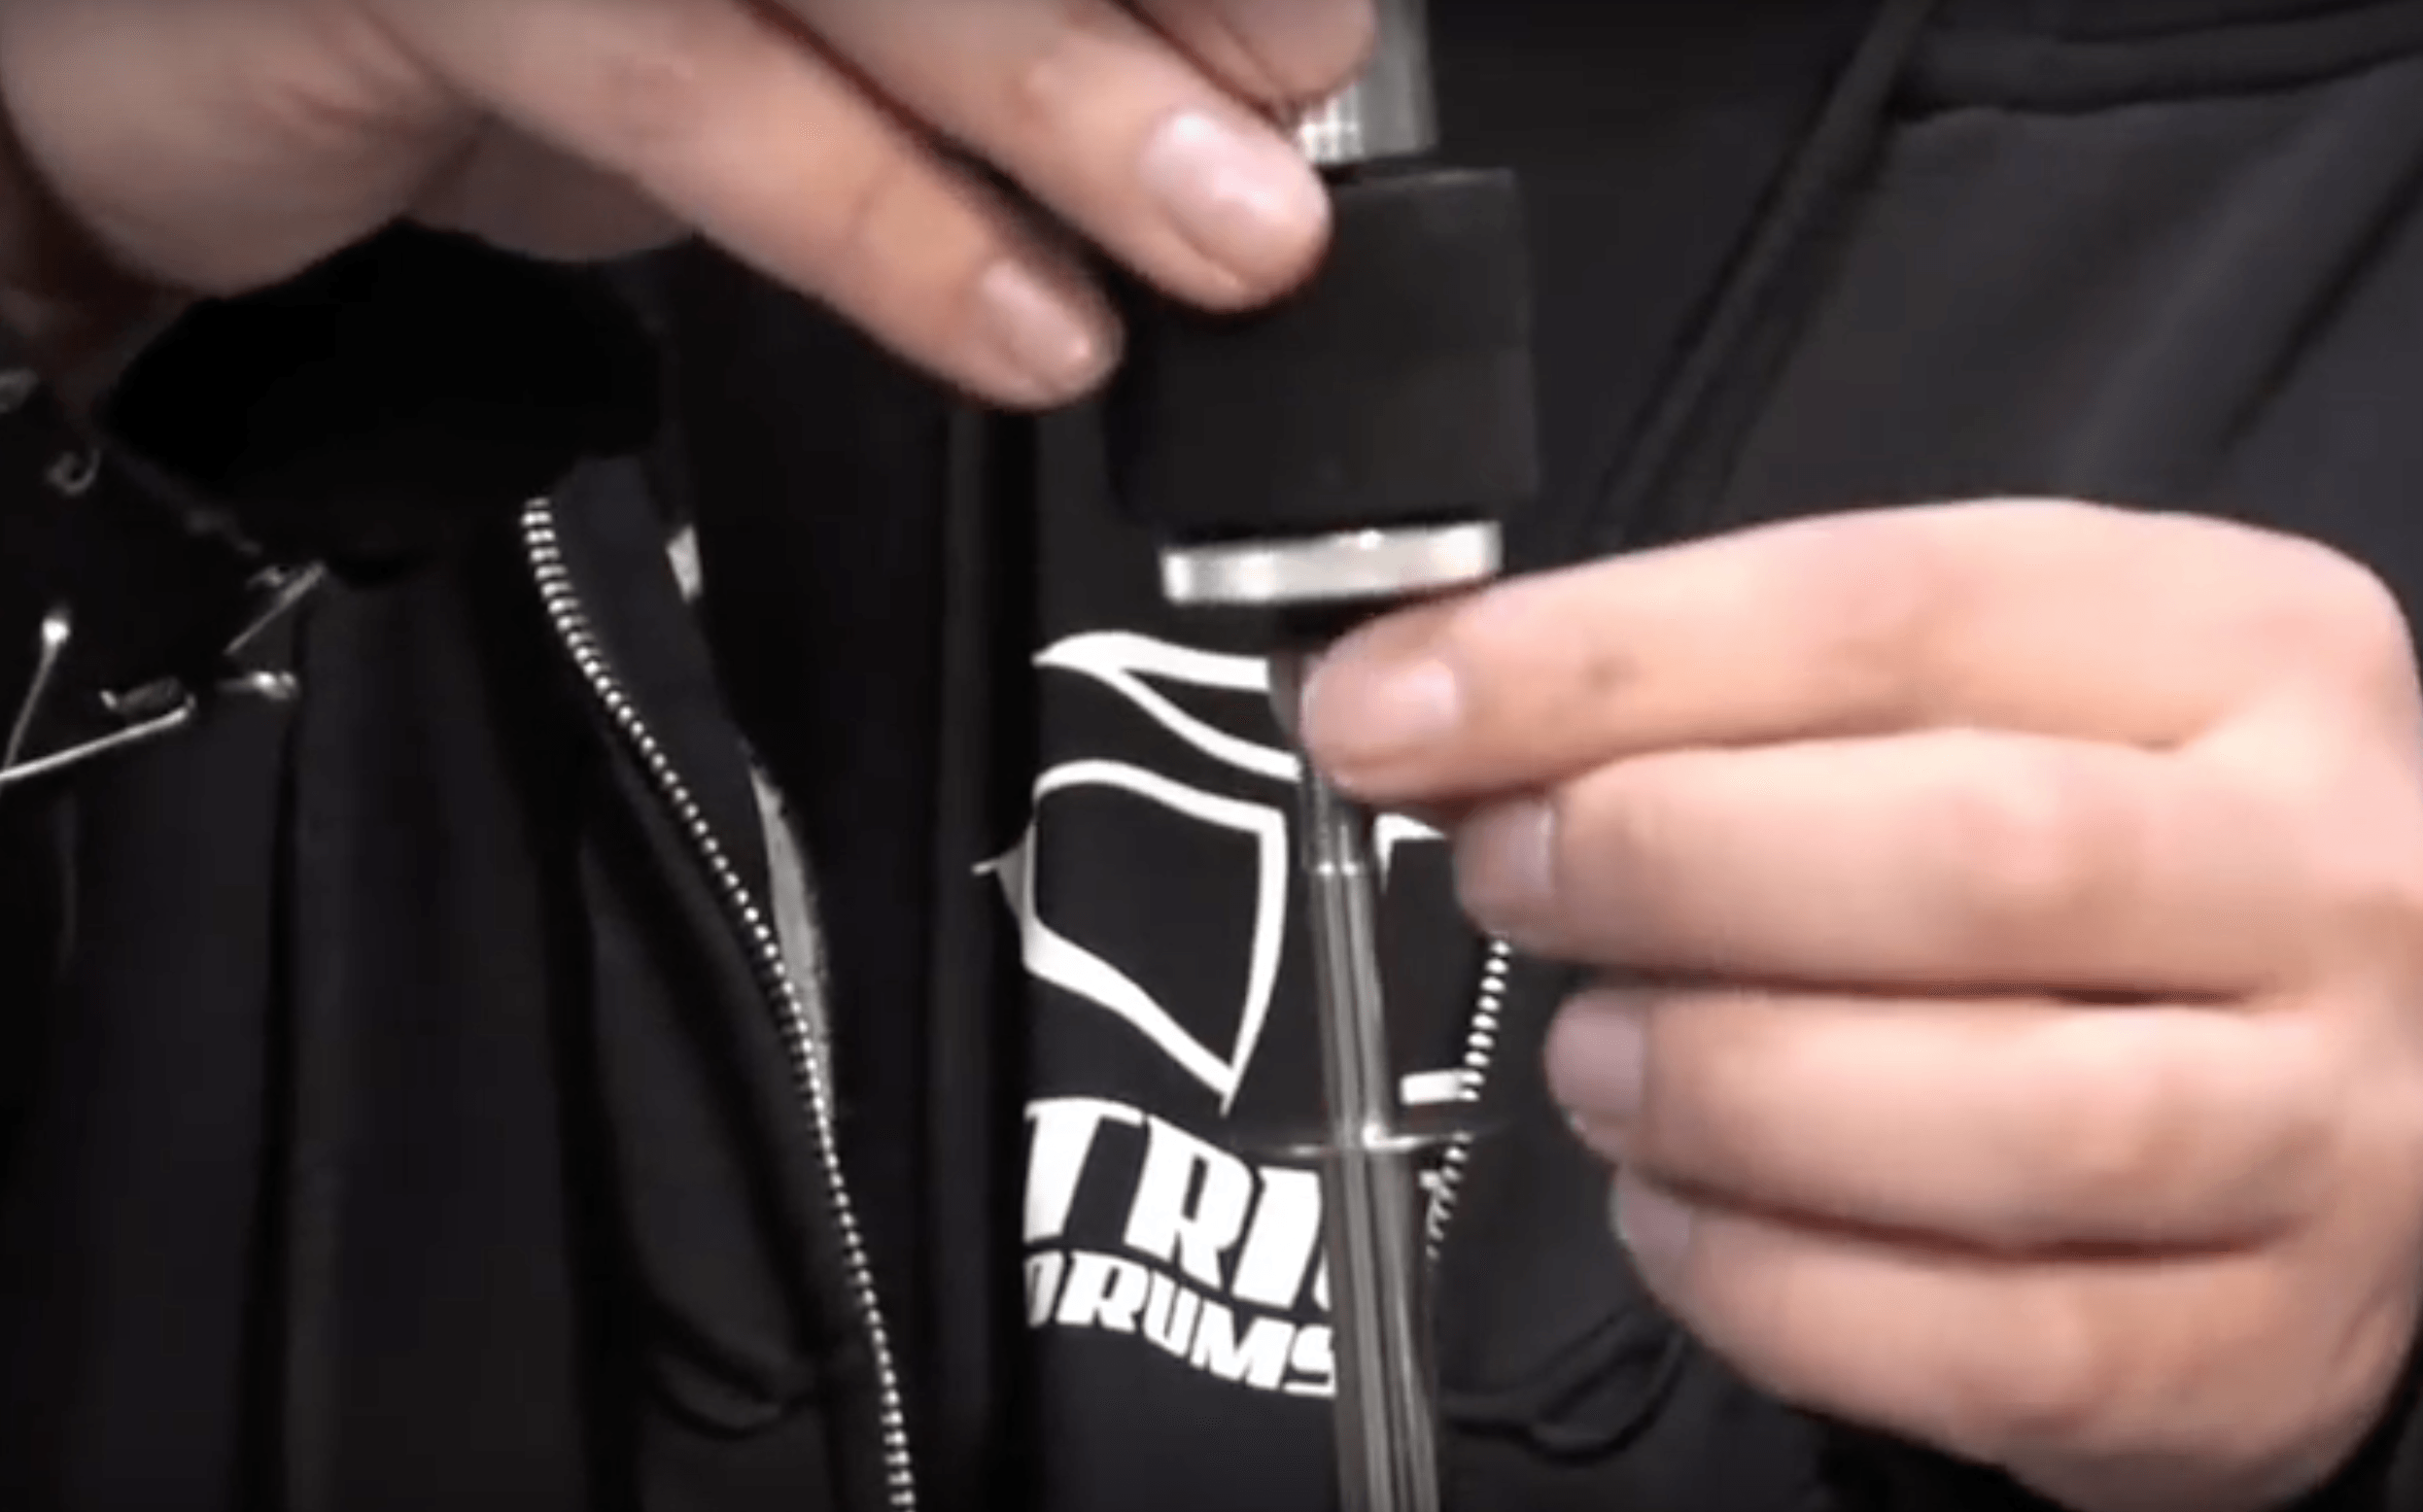
The Trick Drums Cymbal Quick Release is by far the best of its type. There's a reason they're so expensive! They screw onto almost any cymbal stand, include felt washers, adjust for tightness, and of course...quick release when you pull on the top. And trust me, they do not "accidentally" pop off.

I have to be honest, the Tama Quick-set Cymbal Mates do not work very well; they fall off numerous times on a gig. The Vater Slick Nut works pretty well but you do have to adjust them with an allen wrench every so often and they can also mess up the threads on your stand. I spent $60 on three of the Trick Quick Releases and I am set forever...no more problems! Amazon also offers the Trick Cymbal Quick Release as a 2-pack or a 1-pack.

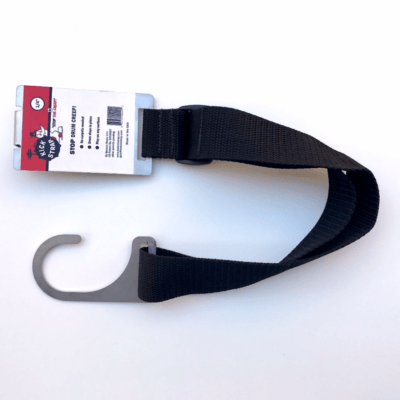
The KickStrap - Bass Drum Creep Solution

This is the best solution for bass drum creep I have found. It's basically a strap that hooks to your bass drum pedal or hi-hat foot pedal and then to the center pipe of your drum throne. There's another product out there called "KickLock" which is similar to this product. However with KickLock, the strap hooks to one of the throne legs so I would have a concern of accidentally lifting my throne leg while I'm playing and disconnecting the KickLock. It also wouldn't work with raised bass drums because the strap attaches to the lugs of your bass drum causing the strap to sit up off of the ground and trip you up when you move or stand during play.

The people at Kickstrap are very nice and have great customer service. That kind of thing goes a long way and I like to support businesses that care about their customers! When you order, they will help make sure you are getting the correct KickStrap that will fit your pedal. I had a great experience overall with Benson's Music and the KickStrap.
Meinl Cymbal Bacon
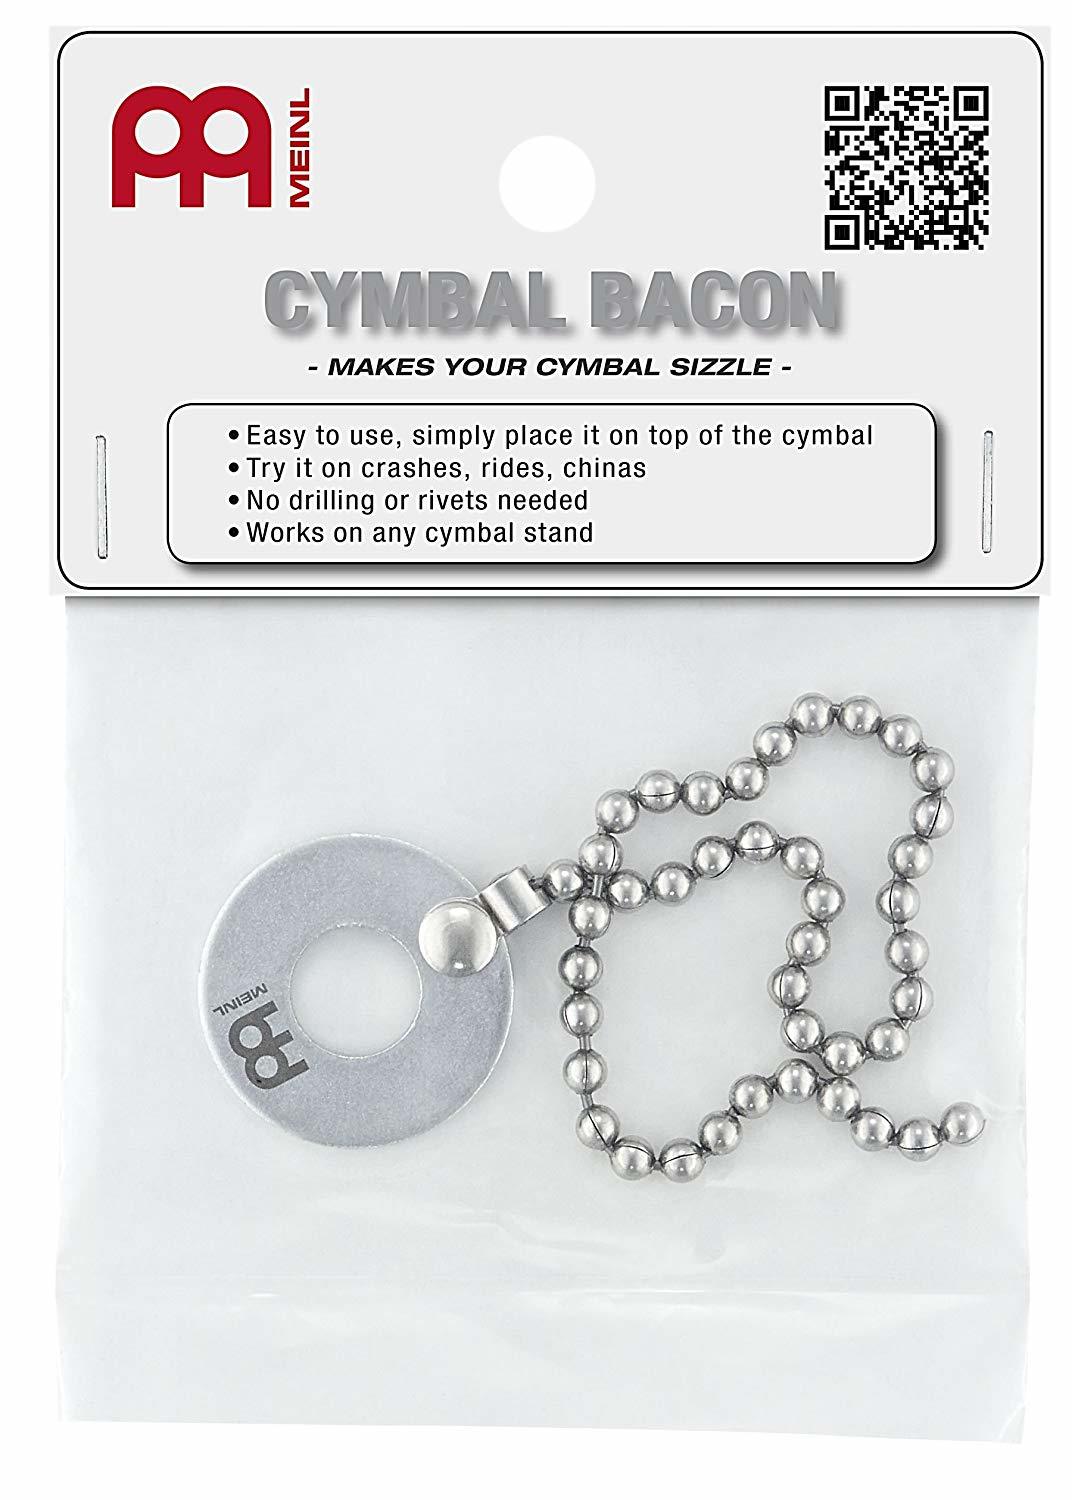
Meinl Cymbal Bacon (view item on Amazon.com) (commissioned links)

The Meinl Cymbal Bacon is a pretty well known product to create a sizzle effect on your ride or crash cymbal. I found this one to work the best because it's not so bulky and the built-in washer fits right on top of your felt washer. I didn't like the Pro-Mark Sizzlers because they were too bulky. The built-in felt and plastic piece didn't fit on some cymbal stands too.

Drum Hack
Of course, you can always take a necklace and drape it over you cymbal stand. Sometimes you need a piece of tape or something to secure it to the cymbal stand. I found that the "dog tag" style necklaces create the best sound which is the same material as the Cymbal Bacon. However, most necklaces will cost more than the Cymbal Bacon and require an extra step to secure it. But, if you have an extra necklace lying around, it could be a quick solution.

Zildjian Anti-Vibe Sticks
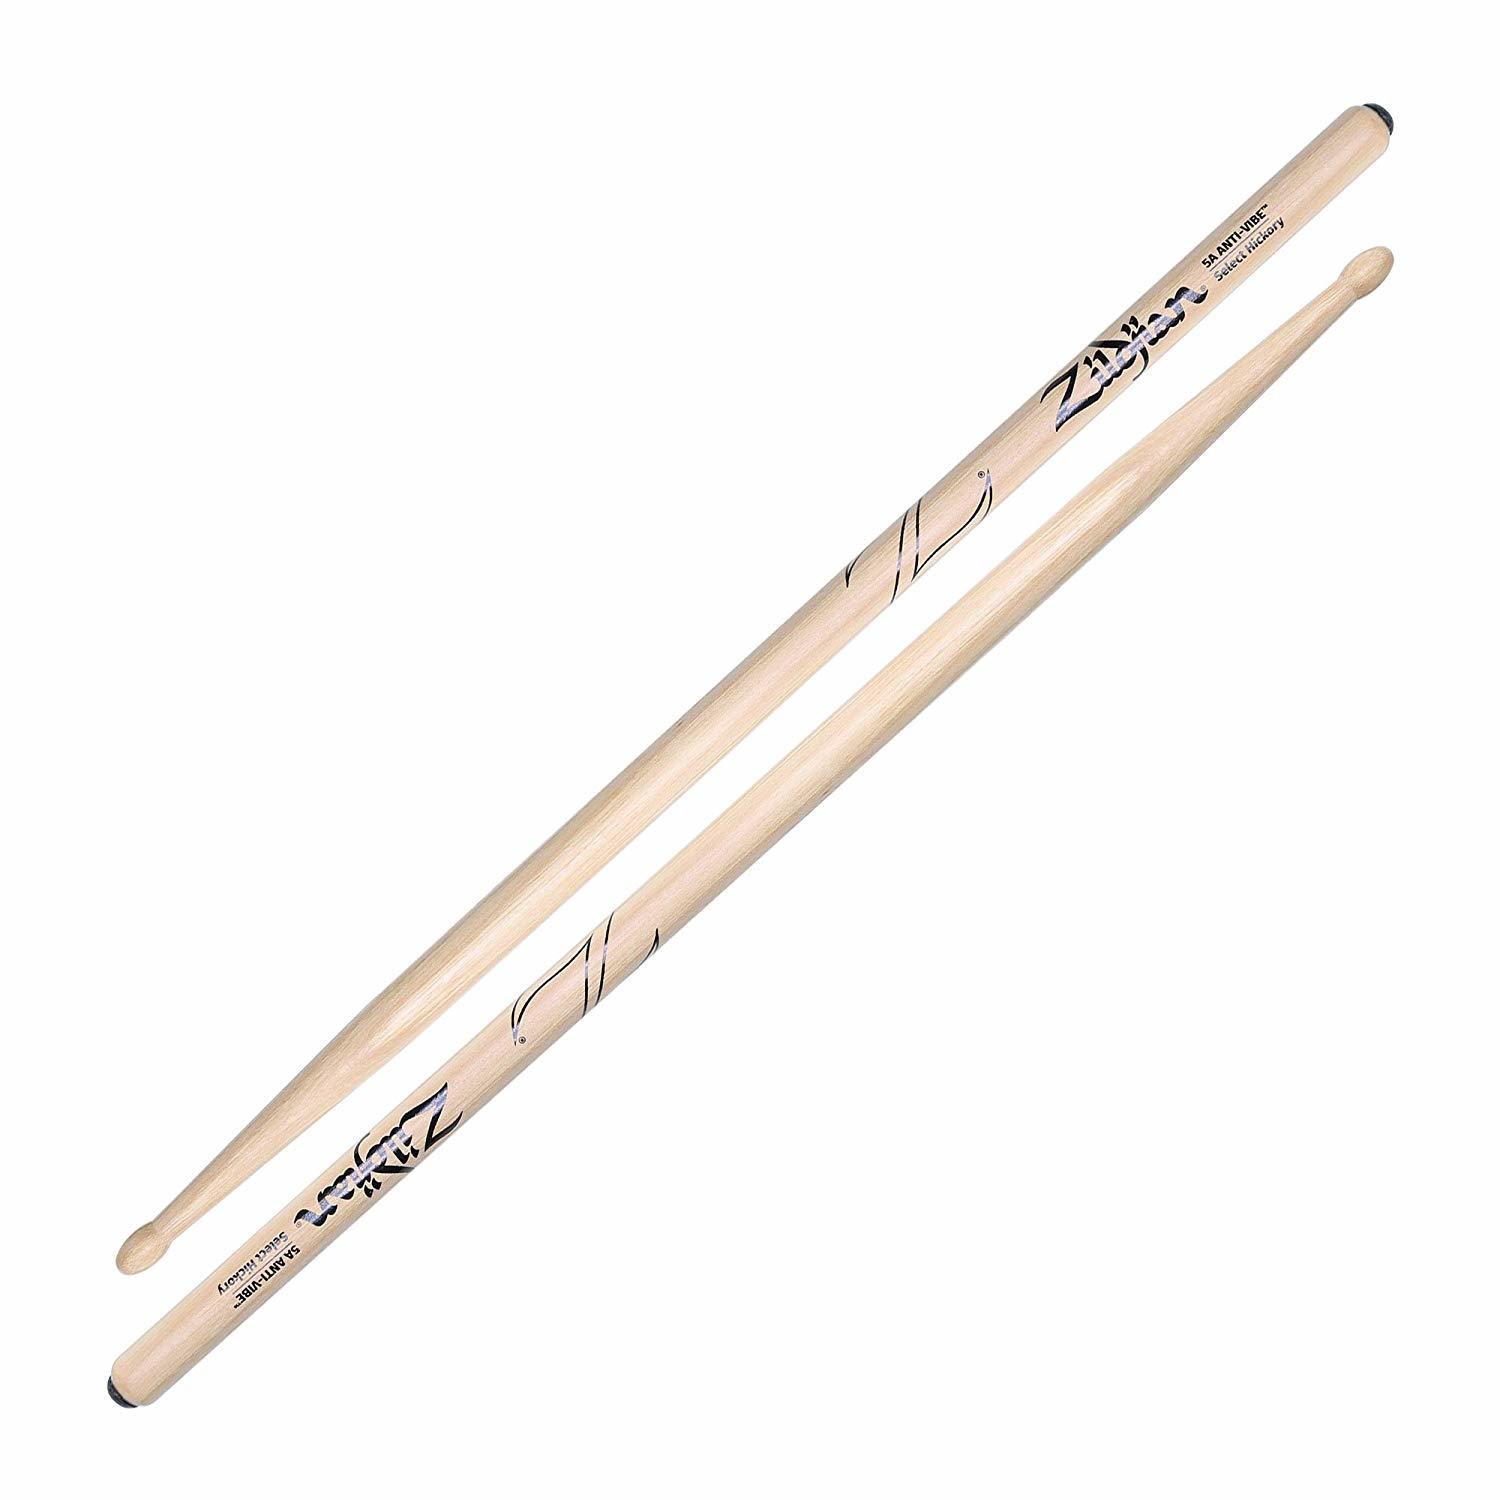
Zildjian 5A Wood Tip Anti-Vibe Sticks (view item on Amazon.com) (commissioned links)
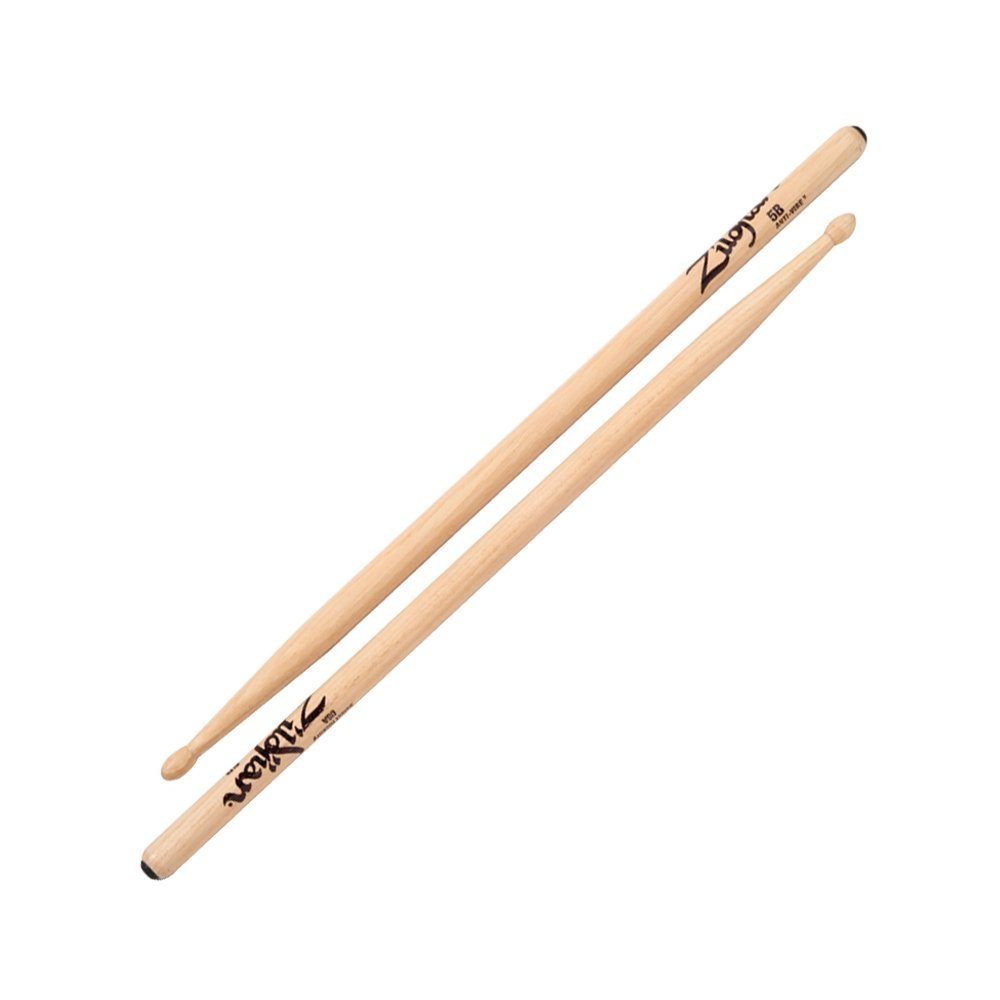
Zildjian 5B Anti-Vibe Sticks - Nylon or Wood Tip, Colored Dips, Birch, Natural, Maple (view item on Amazon.com) (commissioned links)

Have you seen the Zildjian Anti-Vibe Sticks before? They've been around for a while, but they've come a long way. They now offer them with colored dip grips, birch, natural, or maple and nylon or wood tips. There is a little nub on the back end that drastically reduces vibrations from coming down the stick which can cause wear on your wrists, elbows, and shoulders. They feel really nice but the rebound is very different and they take some getting used to. If you have any sort of pain in your hands, wrist, or arms, these sticks can help with that. I think the vibration reducing sticks will become more common in drumming. Anything to prolong the ability to play drums is a good thing!

Pearl Drum Key (Multi-Tool)
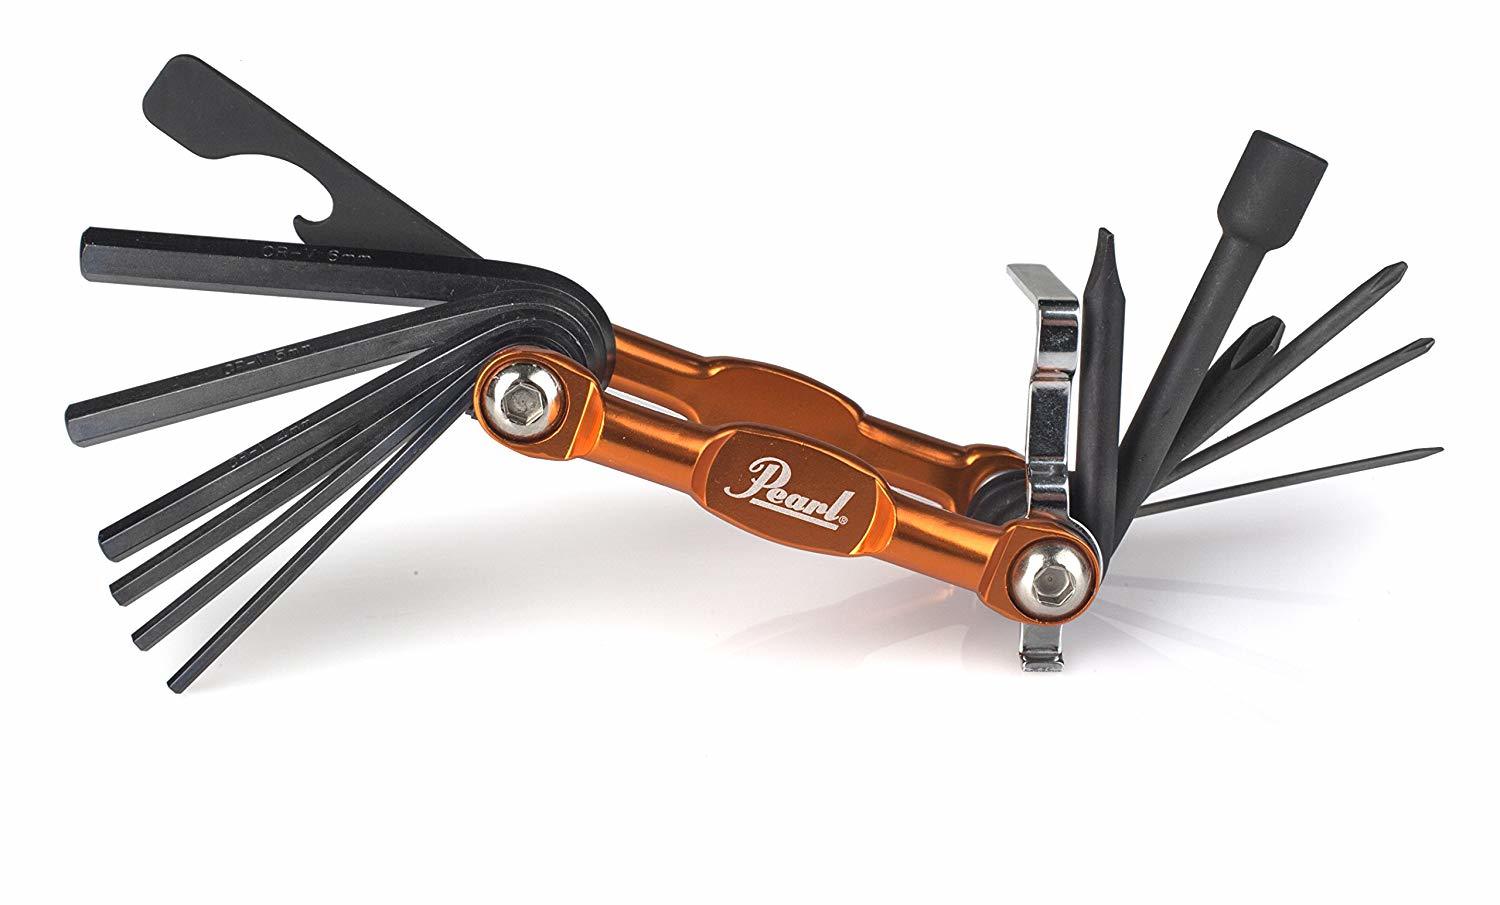
Pearl PTT13 Drum Key (view item on Amazon.com) (commissioned links)

I used to keep a little ziplock bag in my stick bag with allen wrenches, screwdrivers, drum keys, etc. This Pearl Drum Key Multi-Tool alleviates all of that. Vic Firth, Tama, and Zildjian all make a similar version of a multi-tool but Pearl's design is better. It has more allen wrench sizes, more screwdriver sizes, and longer shafts. CruzTOOLs also makes a very similar product that is great, but Pearl 'one-upped' them by adding a bottle opener and a couple more screwdriver sizes. I prefer using this to tune my drums as well because the grip is better than any standard drum key. Definitely the best drum multi-tool on the market.

Tama Tension Locks

Tama Tension Locks (view item on Amazon.com) (commissioned links)

Tama Tension Locks lock your tension rods in place so your drums don't go out of tune while you're playing. There are a bunch of other products out there for this issue but these are the best ones. Why? Well, some of the other products out there wrap around the tension rods underneath the drum hoop which make tuning and changing heads a complete headache. The products that snap onto the top of the rods (Gibraltar Lug Locks, Pearl Tension Keeper, Tuner Fish Lug Locks) are easier but Tama Tension Locks are the only product that allow you to tune the drum while they are installed.

They just push onto the top of your troublesome tension rods and the O-ring allows you to tune the drum while they are on. These are probably one of the more expensive products of this kind but that is because they are the best! You don't need to put these on every rod of every drum either. Only install these on the lugs that seem to fall out of tune due to rim shots.

Evans Torque Key
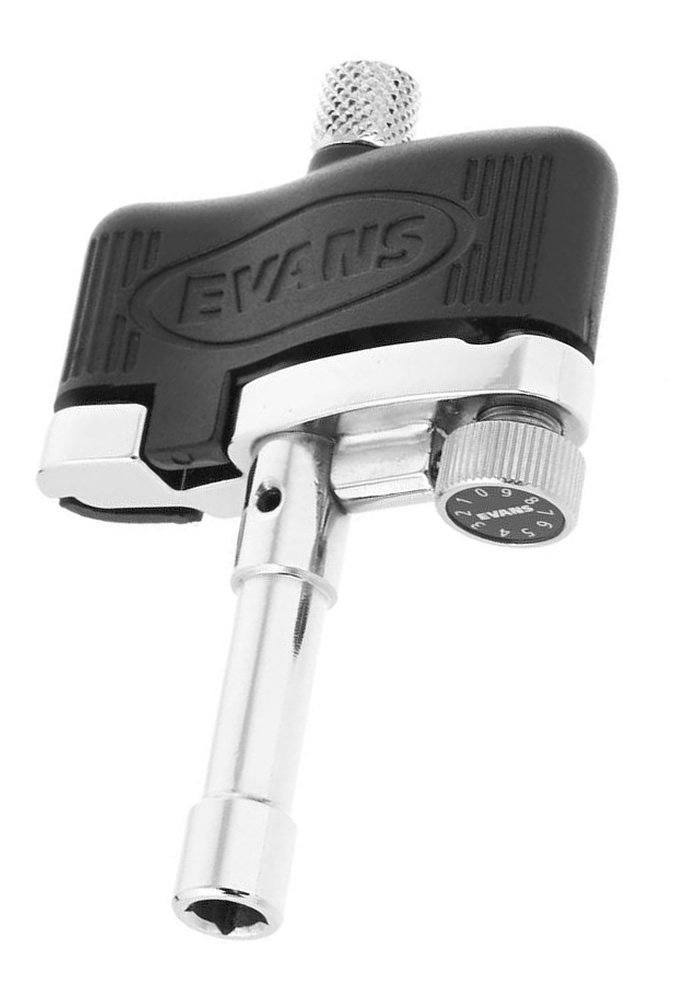
Evans Torque Key (view item on Amazon.com) (commissioned links)

I am a big proponent of tuning your drums by ear. Recognizing pitches and overtones is an important skill for any musician in general. That is why the Evans Torque Key is the best aid in getting your drums close to "in tune" followed by fine tuning by ear. The DrumDial and Tunebot are so much more expensive of a product when you are only using them to get close.

To use the Torque Key, just turn the bottom dial to a desired tension and turn the key on the tension rod until it clicks. After tuning that same tension on every rod, the drum should be very close to in tune. Record your "tension number" when you find the best tuning for each drum.

I will mention that the Torque key only works well with higher quality drums and tension rods free of rust. Lower quality drums will tend to have inequalities in their tension rods that can lead to uneven torque.


Thank you for reading! I hope the products and/or hacks were helpful in simplifying your drumming life. If you haven't checked out some of my other helpful articles, do so below!

Part 2 of this series:
The Coolest Drum Gadgets you Didn't Know You Wanted - Part 2

Other articles that may interest you:
Everything You Need to Become an Online Session Drummer - Part 1 – Getting Gear
Definitive Drum Practice Guide from Beginner to Advanced - Part 1 - Scheduling and Gear
Definitive Drum Practice Guide from Beginner to Advanced - Part 2 - Practice Session

**Full Disclosure: I earn a commission if you click any of these links and make a purchase, at no additional cost to you.**

Definitive Drum Practice Guide from Beginner to Advanced – Part 2 – Practice Session

If you didn’t see part 1, go to: 

Definitive Drum Practice Guide from Beginner to Advanced - Part 1 - Scheduling and Gear

It covers some very important things like scheduling what you practice and when. We’re about to move onto our actual practice session, but there’s one topic that I need to cover: lessons.

Should I get lessons?

I have an opinion on “lessons vs. self-taught” that I would like to explain so I can help you decide on whether you should get lessons or not. If you are self-taught or would prefer to be a self-taught drummer, then ok, but hear me out.

When you self-teach, in any subject or discipline, it only takes you longer to reach your goals if you do it without the direction of someone that has already reached similar goals. I understand that everyone learns a bit differently, but as long as you have a good teacher, they will always find a solution faster than you can. Otherwise you're just taking shots in the dark to try to figure out techniques, licks, etc.

Bottom line is, good teachers will always help you reach your goals faster. But, if you prefer to take longer in facilitating your drumming skills just so you can have the pride of being self-taught, then I won’t stop you. I understand there could be other reasons, but hopefully it’s not the pride thing. Anyway…

Setup

I am sure you already have some sort of setup that you may be particular about. If it’s working, then that’s great. Just remember that the “no pain, no gain” model is not ideal here. You’re essentially doing millions of repeated movements over time and if that movement is causing pain, it will become a problem. I would like to point out that I am not a doctor and you should consult a physician for any definitive answers. I just have some suggestions that could help you on a basic level.

Seat Height

Your current seat height will almost always feel the most comfortable because your accustomed to it right now. However, a physician did tell me that in the seated position, the human body will have the most control of it’s leg movement when the knee is at a 90 degree angle. I would urge you to try this seat height. I chose to “get used” to this seat height and it has worked well for me.

Cymbal Height

When you extend your arm above your head, or your shoulders past a 90 degree angle, you increase the wear on your shoulder. Your arms naturally hang downward as the most relaxed position so you would like to be as close to that as possible. As a suggestion, it’s better to keep your cymbals at eye level when seated or lower.

Stick Grip

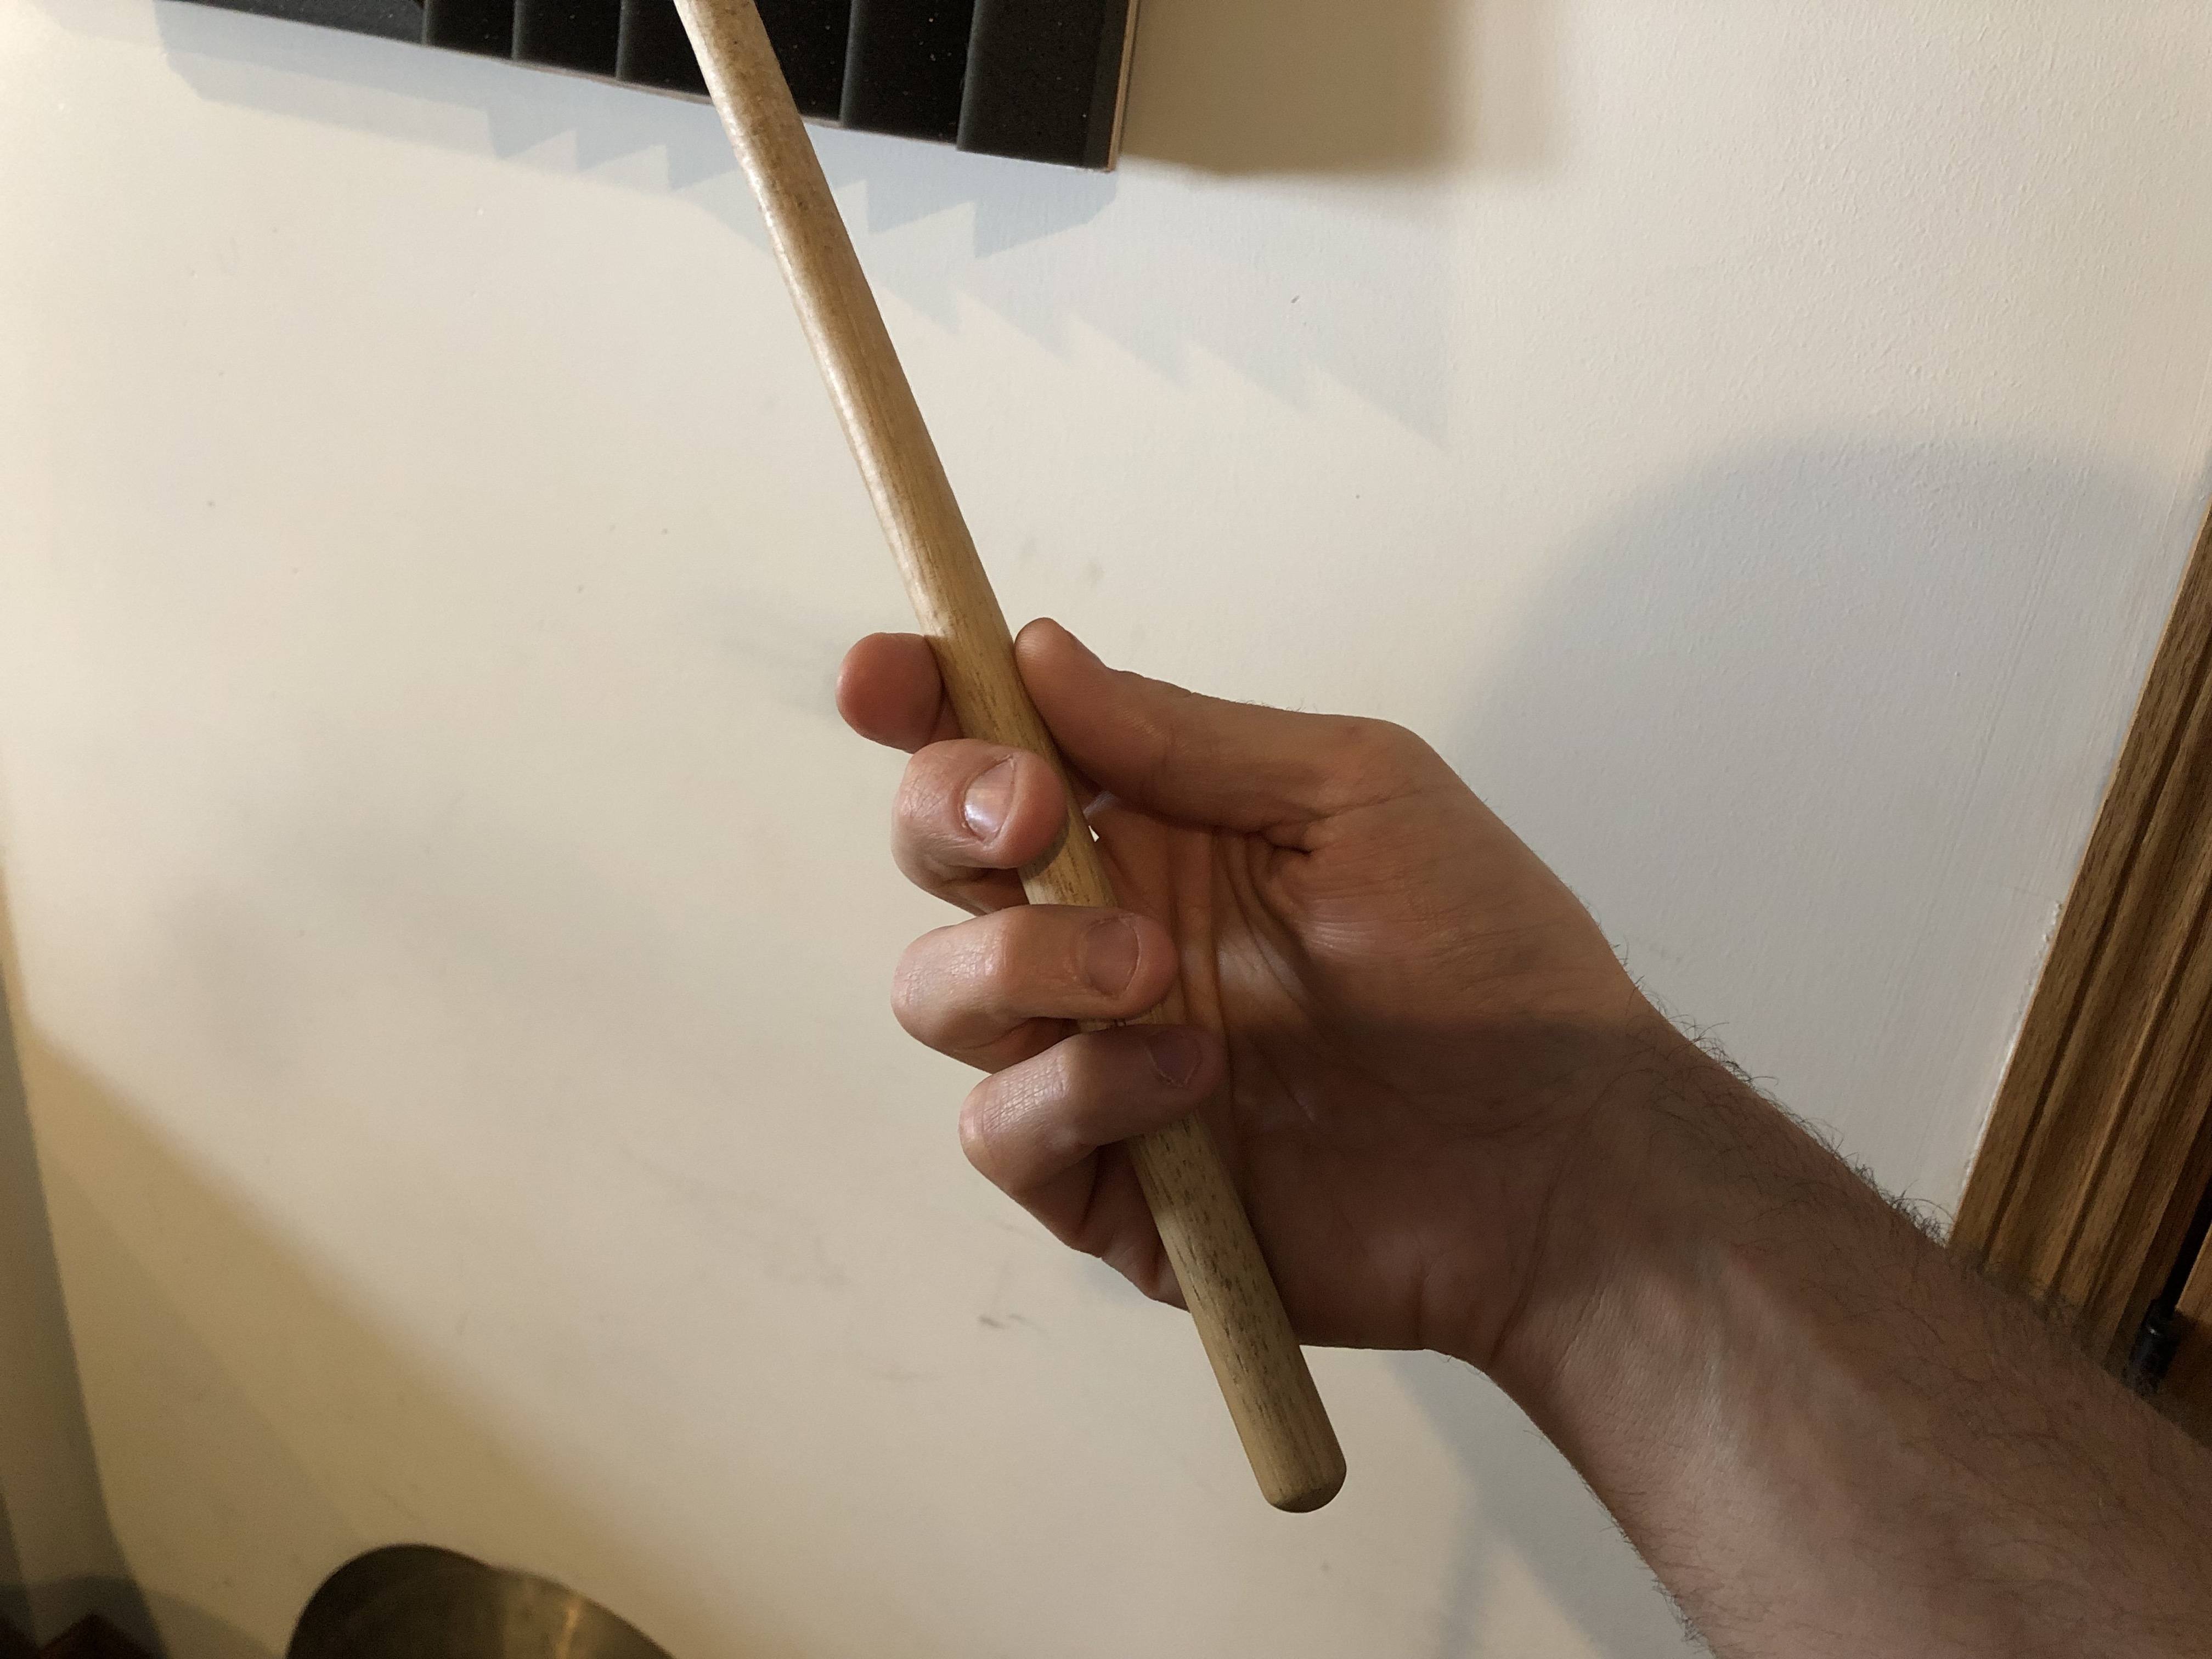
I have a simple exercise that has helps me dramatically when it comes to stick grip. Stand up, drop your hands to your sides and completely relax them. Then, freeze one of your hands in that position and bring it up to look at it. Your fingers will naturally be curled a bit. This is your hands most relaxed position. Now, with your other hand, place your drumstick in your frozen hand. After that, you can unfreeze your hand to grip the stick with your thumb and pointer finger as the “fulcrum” while the other three fingers lightly touch the stick. With minimum movement from a fully relaxed position, you should be able to hold onto the stick with the fulcrum and guide the stick with the other three fingers.

Warm-ups

Warm-ups are essential to a fruitful practice session. To really get the most out of it you should get your body temp up so your not “cold”, then stretch, then play some exercises. All in all, this should not take more than 10 minutes. I know it seems like a long time when you don’t have much, but it is essential. You only have to do it once in a day. If you work out in the morning, you should already be warm and stretched and then you just need to play a few exercises. Just take about 3-5 minutes and stretch these areas out:

  • Neck Rolls
  • Cross-Body Shoulder Stretch (Very helpful in preventing shoulder strains when crashing cymbals)
  • Arm Twirls
  • Wrist Flexor Stretch
  • Wrist Extensor Stretch
  • Straddle Stretch
  • Quad Stretch
  • Hamstring Stretch

Here are some stretches explained if you are unfamiliar with these stretches:

Wrist and Arm Stretches on aaptiv.com
Body Stretches on Self.com

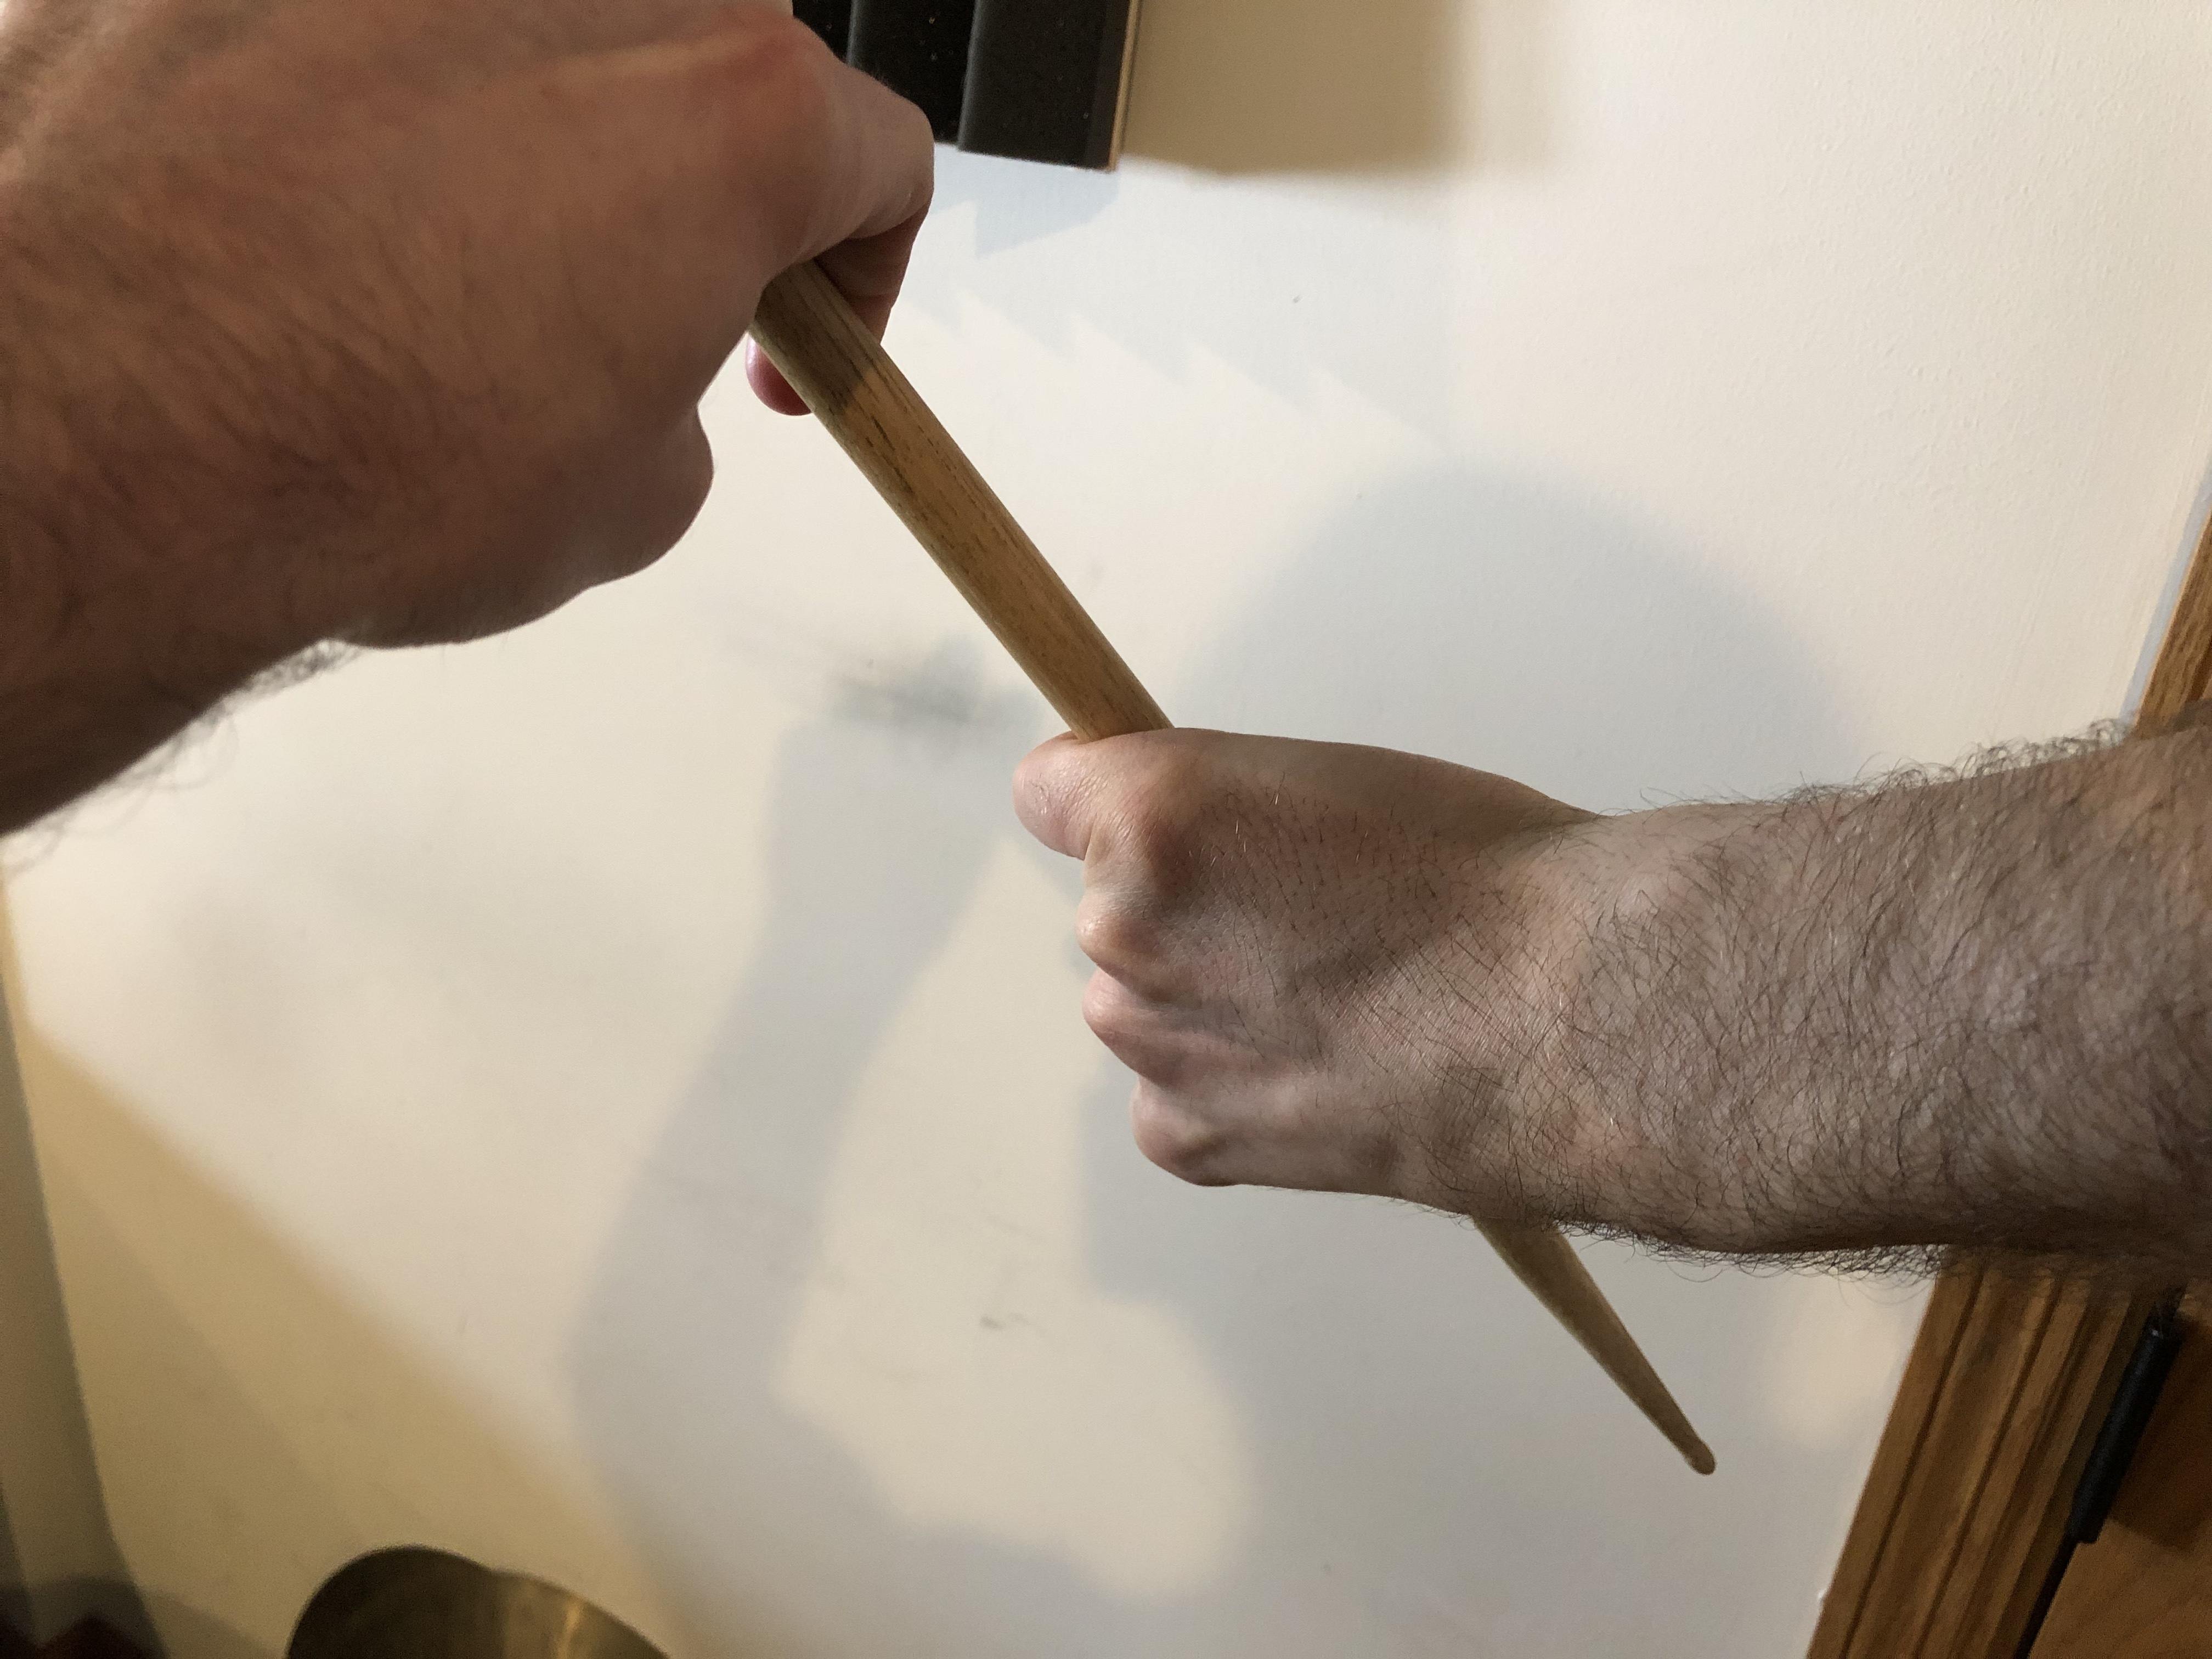
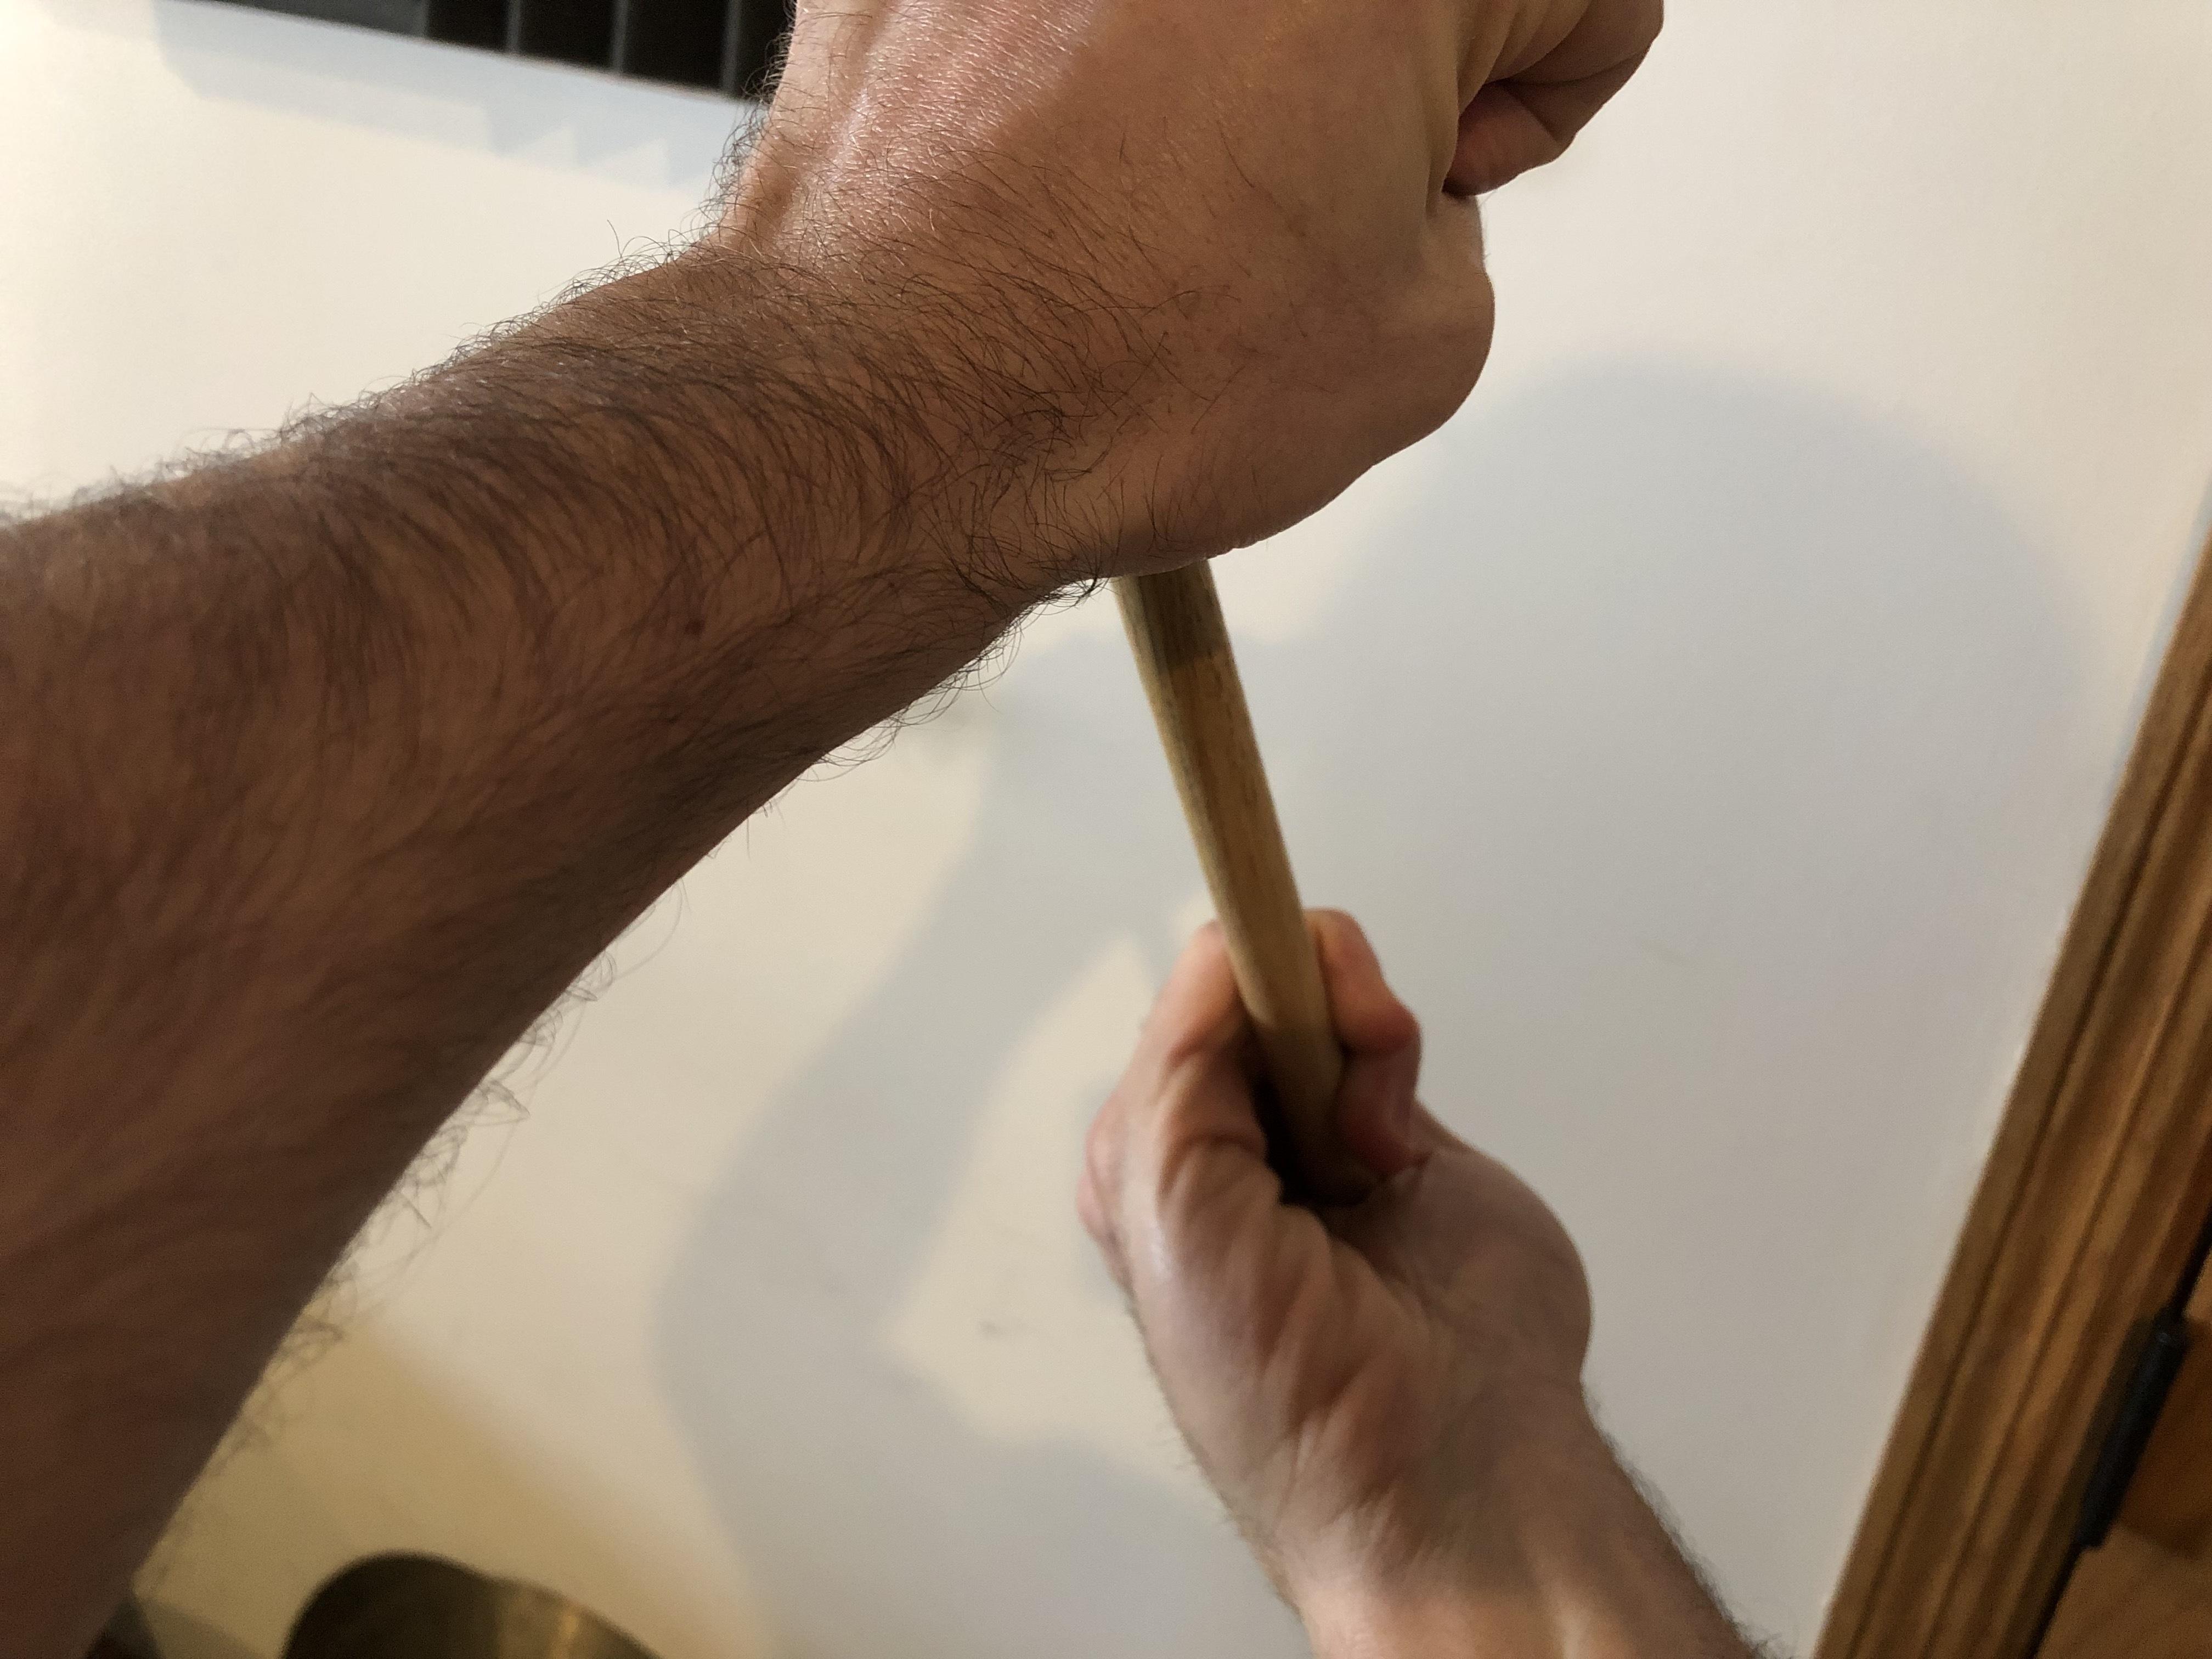
Also, this drummer specific stretch feels great: the stick wrist twist. Just grab your drumstick in the middle and use your other hand to twist the wrist either direction until you feel the stretch and hold for about 10 seconds.

Right hand twisted to the left

Right hand twisted to the right

Hand Warm-up Routine

I have a hand warm-up routine that warms up my hands AND integrates rudimental practice along with polyrhythms over a metronome click to work on timing. It’s not as complicated as it sounds.

I select two tempos; a slow starter tempo and a fast tempo. I set the metronome so that instead of a click on every beat, it clicks every four beats, or every downbeat. I just divide the tempo I want by 4. So if I want to play this at tempo 60, I have to set my metronome to 15. This might take some time to get good at it so don’t allow it to frustrate you too much! I actually have this setup in an Ableton Project if your metronome doesn’t go this low or if you would like to bring some metronome work to a new level. (look below)

It can be very difficult at first. If you need to, you can start at 80 bpm (which means you would set metronome at 20 bpm). I repeat each segment as many times as necessary and move to each segment without stopping while maintaining the same tempo regardless of the polyrhythmic activity. I have provided a PDF download of my warm-up exercises for you below.

Foot Warm-up Routine

For the feet, I do alternating right-hand/right-foot AND left-hand/left-foot groupings. I play them at a slow tempo and a fast tempo and repeat each segment as necessary just like the hand warm-ups. These really wake up my feet and help me sync my hands and feet better in all of my playing. This exercise is also notated in the warmups PDF below.

Metronome Tools

The last piece of the warm-up I sometimes do I call the “Hold Groove”. I pick any tempo and play a groove for 32 bars using my “Hold Groove” clip in Ableton Live. Basically, the metronome plays fewer and fewer times throughout the 32 bar clip. First it’s on every downbeat, then it’s every two bars, and eventually it doesn’t click for 4 measures. This is a test to see how well you can maintain the tempo. Make sure you try drastically different tempos each day.

In this Ableton project, if you switch over to arrangement view, there is a clip that progressively adds 1 bpm to the tempo every four bars. This works great if you’re trying to work up a new lick or groove. The instructions on how to use all of these features will be in the email I send you.

Practice Session

Finally it’s time to practice! So what do you practice? That question could ask a million more questions. What are your goals? What styles do you like? What are you good at and what do you need to work on? I’m hoping I can help you answer those questions by making some suggestions here.

Books

First of all, it is quite difficult to learn new musical styles or exercises without being able to read music. To play music, it’s not essential, but, it will help you move forward so much faster if you learn to read music. It opens an entire world of interesting books with exercises and concepts that would be difficult to utilize without knowing how to read music. Most beginning method books for any instrument teach how to read music. Here are some of the tried and true, best drum books out there.

Snare Drum

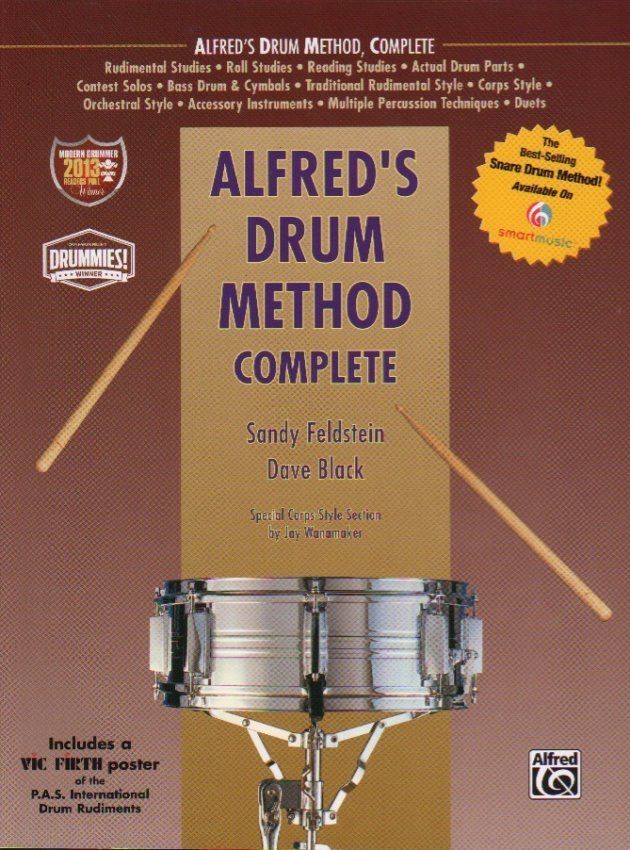
The Alfred series’ are always high quality and this one has been around forever. It has a fantastic method for learning to read rhythms and music and it goes over all the rudiments in a sensical chronology. This one is necessary if you're just starting out. (view item on Amazon.com) (commissioned links)

This book is comprised of snare drum solos that are somewhat advanced. The rhythms can be complex and the dynamics are very challenging. These snare drum solos can help you with drum set dynamics, rhythm, fills, and everything in between. (view item on Amazon.com) (commissioned links)

Rock

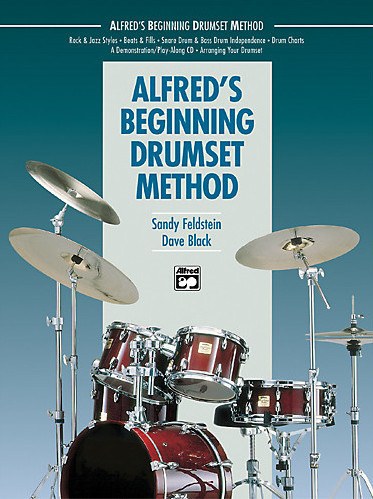
Another Alfred book! I literally learned to play drum set from this book. I still use a bunch of excerpts from this book in my lessons I teach today. It starts with the basics and starts to add simple beats and drum fills. There’s even an introduction to jazz in the second half. I would highly suggest getting it with access to the audio examples/CD. (view item on Amazon.com) (commissioned links)

This book was written by the legendary Peter Erskine of Weather Report (Listen on Amazon Music)  and countless other groups. It is more of a complete series that starts basic and progresses quickly by the third book. I also think the beats in this series are very applicable in music today. I use a lot of exercises from this book in my lessons. Just start with book one and go from there. (view item on Amazon.com) (commissioned links) 

Jazz

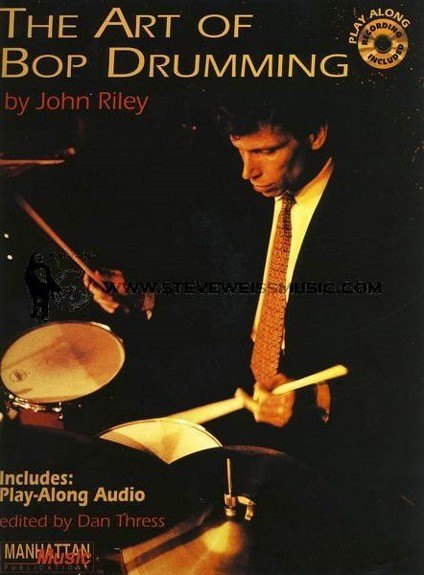
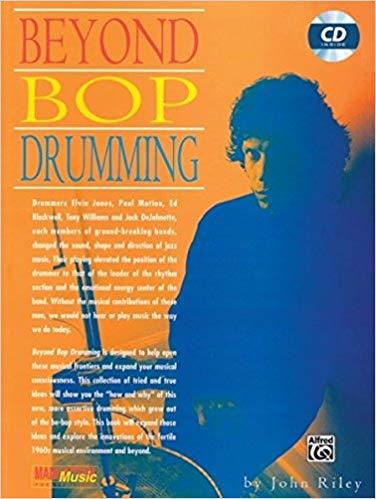
Both written by John Riley, an amazing drummer and educator in his own right, these two books are staples for learning jazz drumming. Not only are the exercises interesting and relevant, these books teach the entire concept behind bop music from forms and phrasing to motifs and soloing. (Art of Bop Drumming on Amazon.com / Beyond Bop Drumming on Amazon.com) (commissioned links)

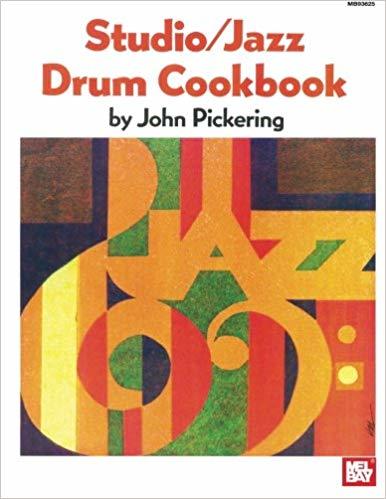
I like this book because it just has a ton of usable swing exercises to go over which can give you new rhythmic ideas for comping. (view item on Amazon.com) (commissioned links)

World Music

This book integrates authentic musical styles from Brazil, such as the samba, and combines their numerous percussion parts into ambidextrous, challenging, drum set grooves. I absolutely love the grooves in this book. (view item on Amazon.com) (commissioned links)

Another book from the same series as “Brazilian Rhythms…” that covers the challenging music of West Africa and applies it to the drum set. (view item on Amazon.com) (commissioned links)

Drum 'n' Bass/Electronic

Extremely thorough book with tons of content and exercises written by the great live drum ’n’ bass drummer Johnny Rabb. It walks you through how to come up with improvised drum ’n’ bass beats that sound interesting and authentic. (view item on Amazon.com) (commissioned links)

All Styles

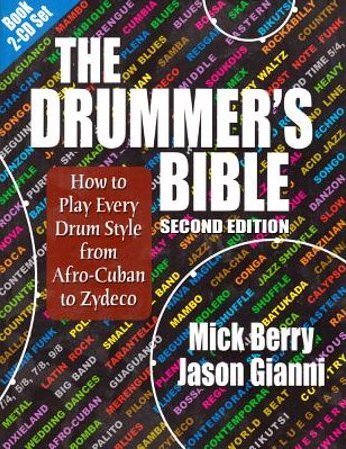
I found this book very thorough and accurate judging by the amount of research the authors did to compile it. This book is a compilation of almost 500 different drum set styles along with a brief history of each and listening suggestions. This isn’t a book you work through from beginning to end. You use it as an encyclopedia when you encounter a new style that you want to learn how to play. (view item on Amazon.com) (commissioned links)

Concepts

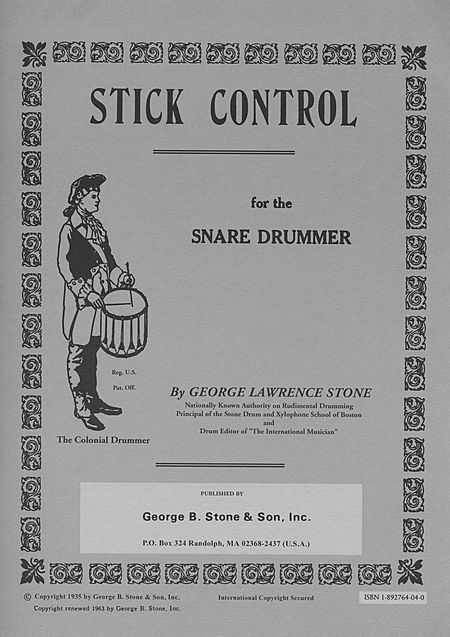
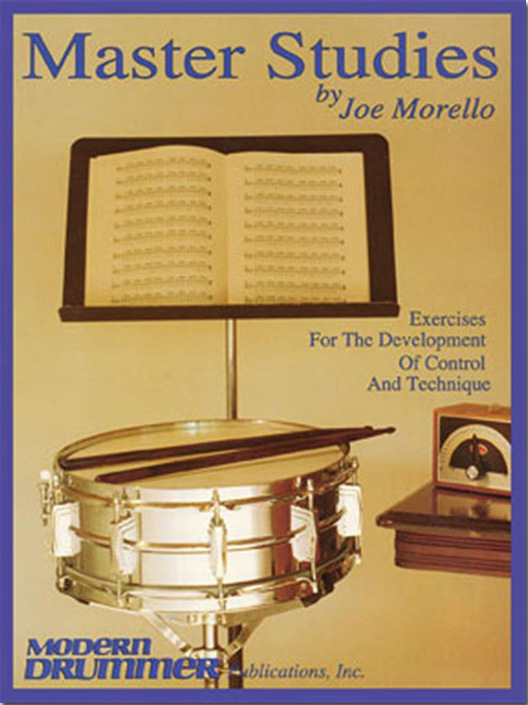
Stick Control, written by George Stone, is a very old book of relatively simplistic patterns in sticking and rhythm for which it was used to teach snare drum for marching music. Since its inception, people have taken Stick Control to a whole new level and reconfigured the use of the patterns in very unique ways. It has become one of the most important drum set practice books ever written. Many years later, Joe Morello (of notoriety from Dave Brubeck's classic "Take Five"(Listen on Amazon Music)) a student of Stone, wrote the book Master Studies which takes the patterns and a slew of new ones in Stick Control and explains the different ways you can use them. “Master Studies” is the perfect title for this book. (Stick Control on Amazon.com / Master Studies on Amazon.com) (commissioned links)

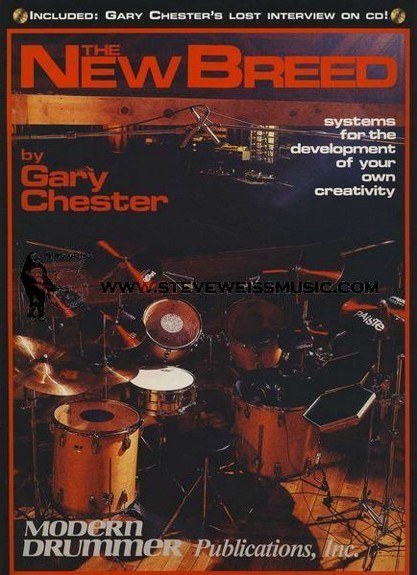
A very interesting conceptual book that integrates a series of systems into your playing to ultimately help you develop your own creativity. I especially like the addition of your “fifth limb”, your voice, which synchronizes your breathing and entire body with the rhythms at hand. (view item on Amazon.com) (commissioned links)

I will also implore you to check out the comprehensive list of timeless drum books from Modern Drummer:
Timeless Drum Books from Modern Drummer

Now, here are some practice tips to keep your eyes on the prize.

How do I work on my "groove" ?

The great Jon Fishman of Phish once used a great analogy to describe time and groove. Just picture a road where the yellow line represents perfect time and the outer white lines to the left and right represent playing on top of the groove and behind the groove. The road's center is usually defined by the rhythm section in the band and where they are implying the song's time exists.

It usually goes unspoken about where each musician chooses to lie on this road. Sometimes the bass player will sit on the back while the drummer pushes the time a bit. Sometimes it's the opposite. The years you spent listening to the music you love by master musicians has given your playing a natural feel that probably sits on its own unique position.

At your next rehearsal, try to start a conversation about where everyone likes to sit in each song. Sometimes when you talk about it, it can solidify the groove. But it can be a confusing concept to some so don't push the idea too hard.

If you are playing slow funk, soul, or any music that asks for a relaxed feel, you would want to consistently play a little bit behind the groove. You should also make sure you relax your shoulders and body when you play. At first, you may feel like your falling behind but as long as you consistently hit your beats a little bit behind, it will have a naturally relaxed feel or sometimes heavy feel.

If you want to give the song some energy, you can sit on top of the beat. This sounds like your speeding up but if you consistently playing a little bit ahead of the beat, you will give the song a front-edge sort of energy. Most rock and metal drummers play like this naturally. If you're not aware of this, it can limit your ability to offer different feels for other songs that might require a relaxed feel like ballads or slow heavy tunes.

Some great examples of drummers playing laidback feels that sound great are ?uestlove of The Roots on the album "Things Fall Apart" (listen on Amazon music), Jeff Porcaro of Toto on the album Toto IV (listen on Amazon music), Chad Smith of the Red Hot Chili Peppers on the album "One Hot Minute" (listen on Amazon music).

Some great examples of drummers playing a front-edge energetic feel are Stewart Copleland of The Police on the album "Regatta de Blanc" (listen on Amazon music), Nicko McBrain of Iron Maiden on the album "Piece of Mind" (listen on Amazon music). (commissioned links)

These are just a few but there are countless other examples you can explore. Here's an article from DRUM! magazine that lists some of the best groove drummers of all time: 15 Greatest Groove Drummers of All Time

This article from DRUM! magazine covers the idea of groove and what kind of feel fits with different styles/genres. Check it out here: Vital Beats Every Drummer Must Know

To work on your groove without a band, you can experiment with a metronome. Try taking different grooves that you are working on and consciously play them on top of the beat, then behind the beat, and then right in the middle of the beat. The more you practice different grooves and styles this way, the easier it will be to hear the differences and apply them to music.

Is it a physical limitation or a coordination issue?

Depending on how long you have been playing and how developed your muscles are, you could find yourself with some physical limitations. These are limitations that require muscle building over time in order to execute. One of the best examples of a physical limitation would be speed.

Hand or foot speed is not something you can work out in a day…it takes time. So, you have to differentiate the elements of what you’re working on so you don’t get frustrated. If there’s an element of speed as part of the groove or style you are working on, allow yourself the time to build the muscles. You could set a time aside during your practice session to work you hand or foot muscles until they burn! If you stay consistent, you will eventually build up that speed.

If you are finding a coordination issue in what your working on, it usually takes a lot less time to work it out. If you slow down the exercise and repeat it over and over slowly, the coordination with come around. You can also work on coordination with mental practice and visualization which I will cover in the next section!

“Amateurs practice until they get it right. Professionals practice until they can’t get it wrong.”​ -Unknown

Mental Practice

Sometimes we don’t have the time to practice…or, maybe we have idle time when we are away from our drum set. How about when your riding the bus home from work? …when your on an airplane? …when your working out? These are all times that you could visualize practicing and receive the benefit of practicing. Visualizing your practice helps you almost as much as actually practicing!

Here’s a great article from the reputable “Scientific American” which explains that this actually does work:
Can Visualizing Your Body Doing Something Help You Learn to do it Better?

As I said, visualization is a great way to work on coordination. While your riding the bus, plane, treadmill, etc., think of the groove you were last working on and visualize yourself completing the necessary movements to kill that groove.

You can also use mental practice for memorization. Repeating patterns over in your head will engrain them into psyche so you can improvise with them comfortably—especially odd meters! Also try repeating that complex song form in your head so you stop going to the bridge at the wrong time at band practice!

Ari Hoenig wrote a fantastic series of articles for Modern Drummer with the idea of mental practice called “Polyrhythmic Coordination”. He talks about one way to practice mentally is to teach yourself rhythms you couldn’t hear before. The articles he wrote appear in the July 2012, September 2012, November 2012, and February 2013 issues of Modern Drummer. Unfortunately, there’s only the fourth part available online unless you have a digital subscription to Modern Drummer. Here’s a link to Part 4:

Modern Drummer: "Polyrhythmic Coordination" - Part 4 - Six Note Base Rhythm

I hope you enjoyed this article and got something out of it. Be sure to check out some of the other articles I have on my page and keep up the good work.

Be well!

Other articles that may interest you:
Definitive Drum Practice Guide from Beginner to Advanced - Part 1 - Scheduling and Gear
Everything You Need to Become an Online Session Drummer - Part 1 - Getting Gear

**Full Disclosure: I earn a commission if you click any of these links and make a purchase, at no additional cost to you.**
>