Archive
Monthly Archives: January 2019

Definitive Drum Practice Guide from Beginner to Advanced – Part 1 – Scheduling and Gear

“Every positive change in your life begins with a clear, unequivocal decision that you are going to either do something or stop doing something.”   - Anonymous

Practicing a skill in any medium takes a lot of dedication, love, and discipline. Every sports player, musician, or professional in any field, spent countless hours working on their craft. The idea of being born with talent is simply a myth.

If you ask any one of these individuals if their “talent” came naturally, they would give you one of two answers. They would either tell you that their level of mastery came with extensive practice and sacrifices, or they would tell you it came easily. The individual providing the latter answer would simply not remember the time they put in to their craft because they loved it so much and they have no recollection of the “grueling” work they put in.

What I am getting at is if you want to get good at drums, you have to put in the time. Just like in anything else, experience is key. You need to practice and play with musicians as much as you can. When you are amazed by a drummer’s playing, you are actually amazed from the time and effort they put into it. “Wow, that would take a lot of practice to be that good!” It sounds silly but it’s true.

If you already have the basic gear necessities to play and practice, you can skip to the “Scheduling” Section.

If you literally have nothing to play drums on, then I'm going to help you figure out what you need. Some items will seem obvious yet others will not. I am going to share with you everything you need to start playing drums.

What You Need to Buy

Sticks

Every drummer needs drumsticks, but what kind? There are literally hundreds of different types of drumsticks. So, if you are playing drum set, a good size to buy is 5A in any brand. This size is pretty standard for drum set. They are the “just right” size—not too heavy, not too light. If they seem a little heavy or too loud, you could go with 7As. 7A is the standard jazz drumstick size.

Vic Firth 5A (view item on Amazon.com) (commissioned links)

Vic Firth 7A (view item on Amazon.com) (commissioned links)

If you are joined school band or a community band, then size 2B is what you'll need. They are a bit bigger but they work better for concert snare drum and tom work.

Vic Firth 2B (view item on Amazon.com) (commissioned links)

Drumset, Snare Drum, or Practice Pad?

The next thing you need is something to hit with those sticks. Obviously there are drum sets of all sizes and colors. But you don’t need to start out by spending $800 on a drum set. You could start out with a snare drum or a practice pad. This would get you started practicing techniques like single stroke or double stroke rolls. Even learning to hit a drum properly can be tricky at first.

Drumset

If you are ready to buy a drum set, I have a great cost effective choice linked right here. Ludwig is a brand that has been around for over 100 years and they have always made great products. One other thing is that not all drum sets come with cymbals, stands, drum throne, or sticks. This one does! I’ll admit the quality of these cymbals aren’t very good but they will work great to start out. Good cymbals can cost anywhere from $200 to $500 a piece so that is an expense you can wait on! However, the drums are great quality Ludwig drums.

Ludwig LC175 Accent Drive Complete Drum Kit (5-Piece) (view item on Amazon.com) (commissioned links)

Snare Drum & Stand

If you want to start now but don’t have the money for a drum set, get a snare drum. This snare drum I have listed here is also a Ludwig so the quality is there. Snare drums are ideal if you are going to play in school band or a community orchestra or band. If you do buy a snare drum, you will need a stand to go with it. I have an affordable option shown here:
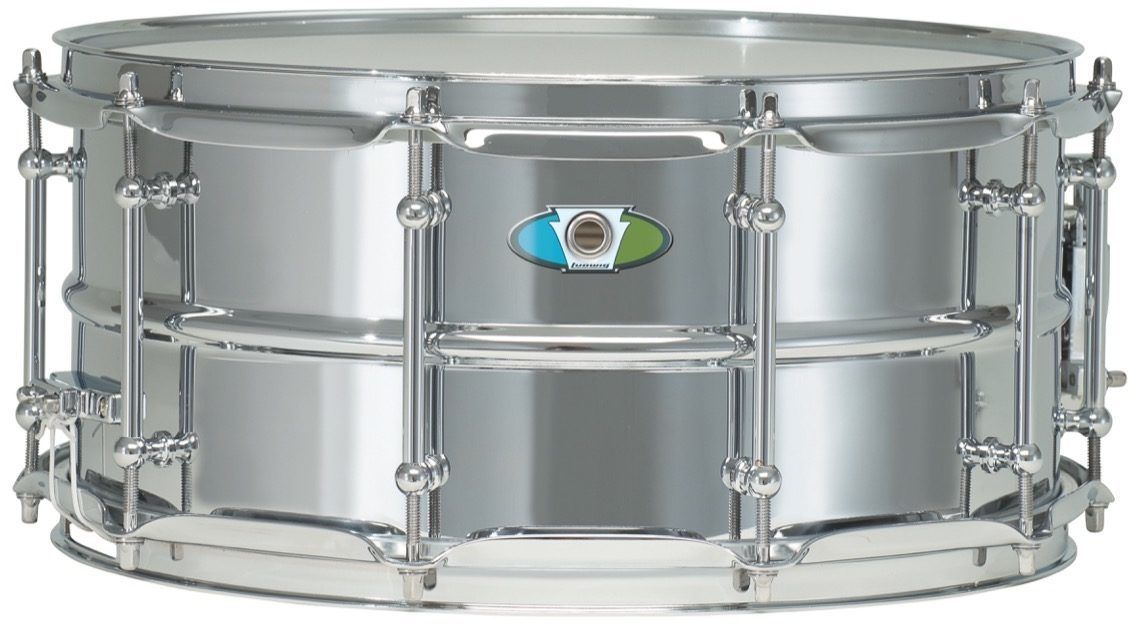
Ludwig Supralite Steel Snare Drum, 6.5x14" (view item on Amazon.com) (commissioned links)
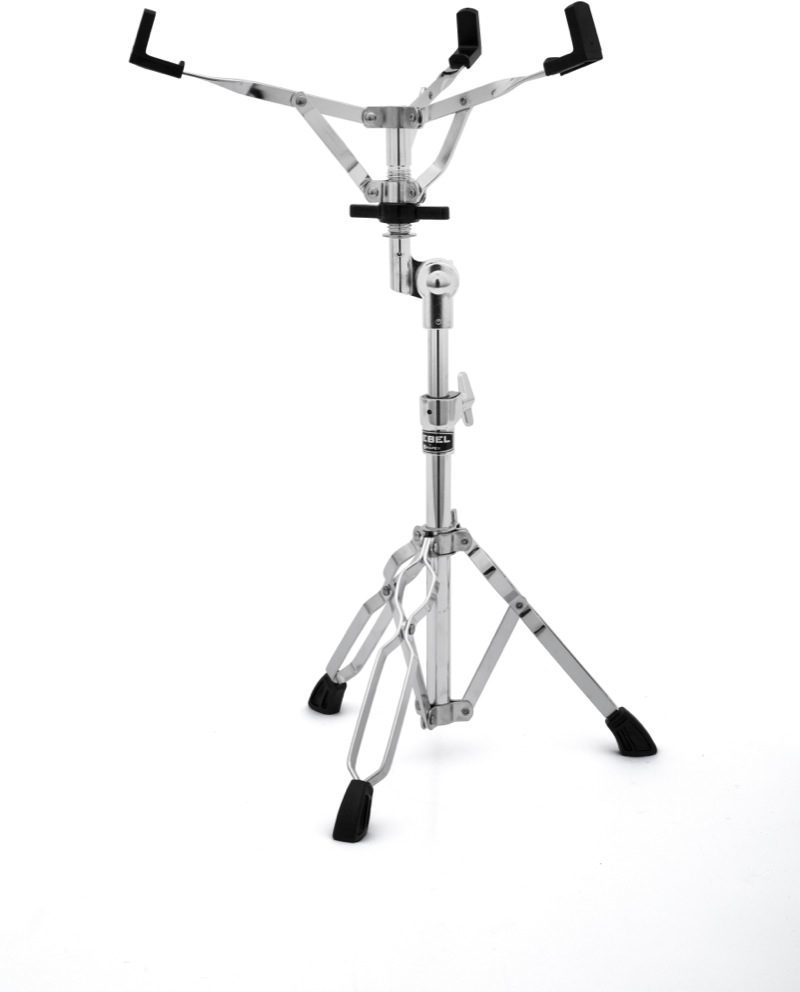
Mapex S200RB Rebel Snare Stand (view item on Amazon.com) (commissioned links)

Practice Pad

For around $20, you can get a practice pad and work on almost all the drumming techniques you will need in order to sound good on a drum set. And you will always need a practice pad. I have three myself and I use them all the time. You can use them for warm-ups backstage before shows, late night practice when you can’t be loud, practicing on a beach, or on the john! They’re smaller and easier to transport than a drum set!
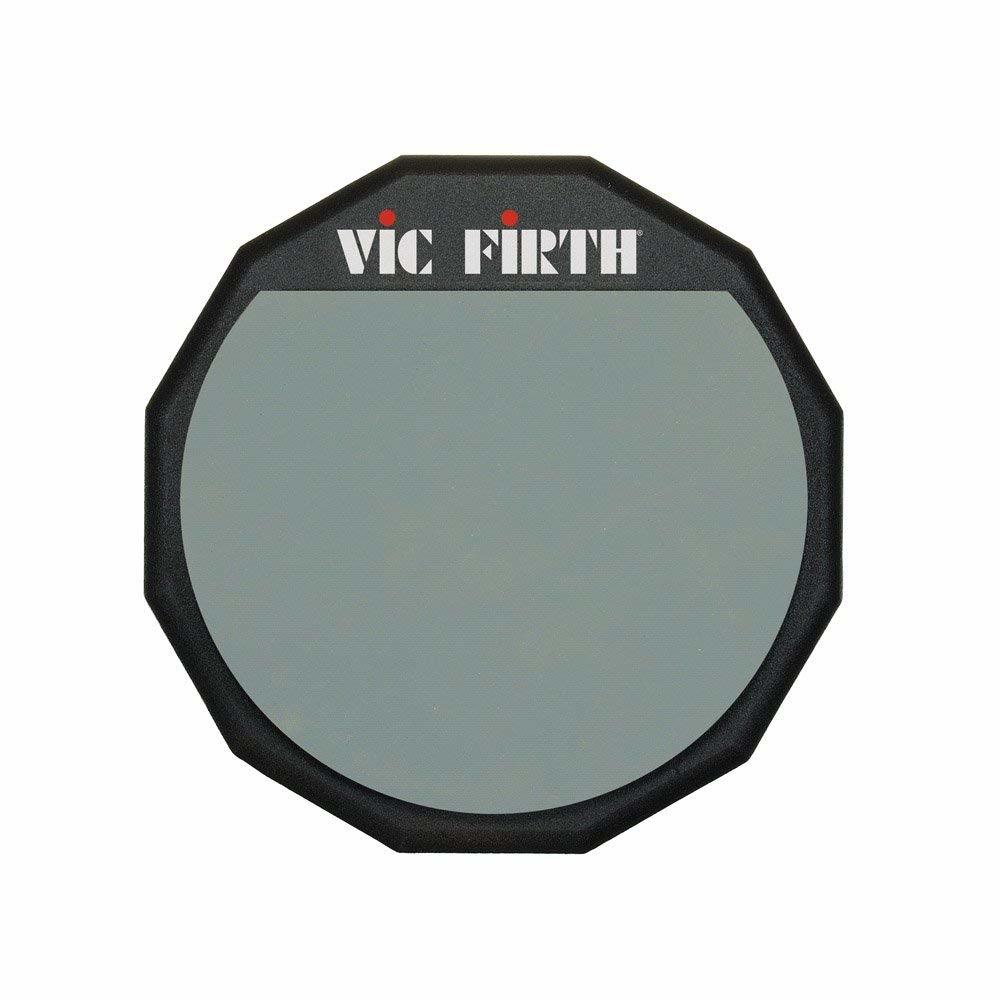
Vic Firth 6" Single Sided Practice Pad (view item on Amazon.com) (commissioned links)

Percussion Kit

When a student joins the school band, a lot of schools require that you purchase a percussion kit. This is a kit that includes sticks, practice pad, bell kit, mallets, and a multi purpose stand. I would highly suggest getting a good quality one for two reasons. First, the cheap ones are really bad and will fall apart before school years end. Secondly, the resale value on a brand name kit will not go down by much. It will sell without trouble because people are always looking for these.
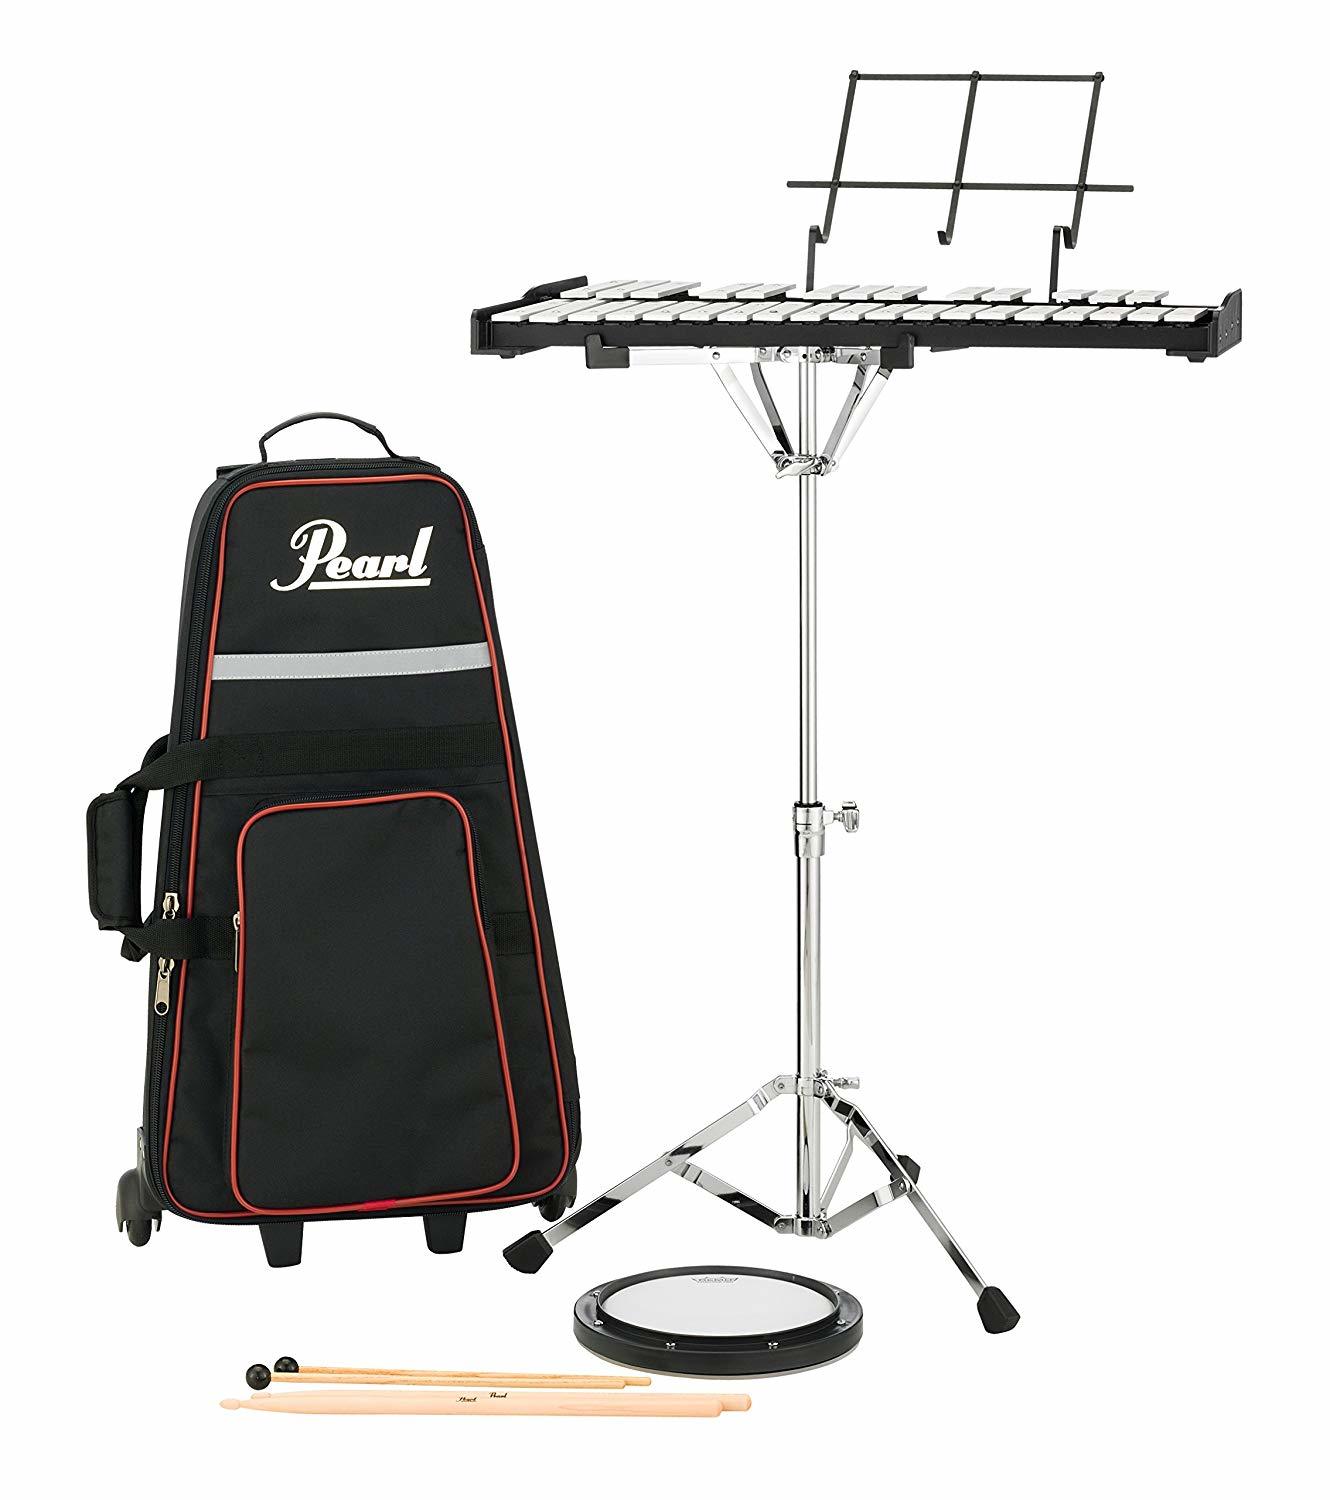
Pearl PK910C Educational Bell Kit (view item on Amazon.com) (commissioned links)

Metronome

One item that musicians overlook is a metronome. This is an essential practice tool for any musician. A metronome is a small electronic device or a phone app that makes a “click” noise at a perfectly constant speed that you set it to. The clicks are measured by “beats per minute” or BPM. For the math junkies, a metronome set at 60 BPM will click 60 times in one minute.

Almost all music is set to a constant pulse and it is essential for all musicians to have a solid internal pulse that doesn’t speed up or slow down (unless intentional). The only way to practice your internal pulse is to practice along to a metronome set to a perfectly constant tempo.

As a drummer, it is a bit more difficult to practice with a metronome because our instrument is naturally loud. And, as a beginner, it is difficult to control the volume at which we play. So, a lot of metronomes are too quiet to hear while we practice with them. The solution is to get some sort of an in-ear monitor or headphones. This helps block the outside sound allowing us to hear the click.

There are many metronome apps available on our phones that are free. If you go that route you could get these sound isolation headphones: Shure SE215-CL Sound Isolating Earphones. Or, you could use other headphones you already own for the time being but they might not provide very much isolation. Otherwise, you can purchase this ‘all-in-one’ in ear metronome: Korg In-Ear Metronome.

Shure SE215-CL Sound Isolating Earphones (view item on Amazon.com) (commissioned links)
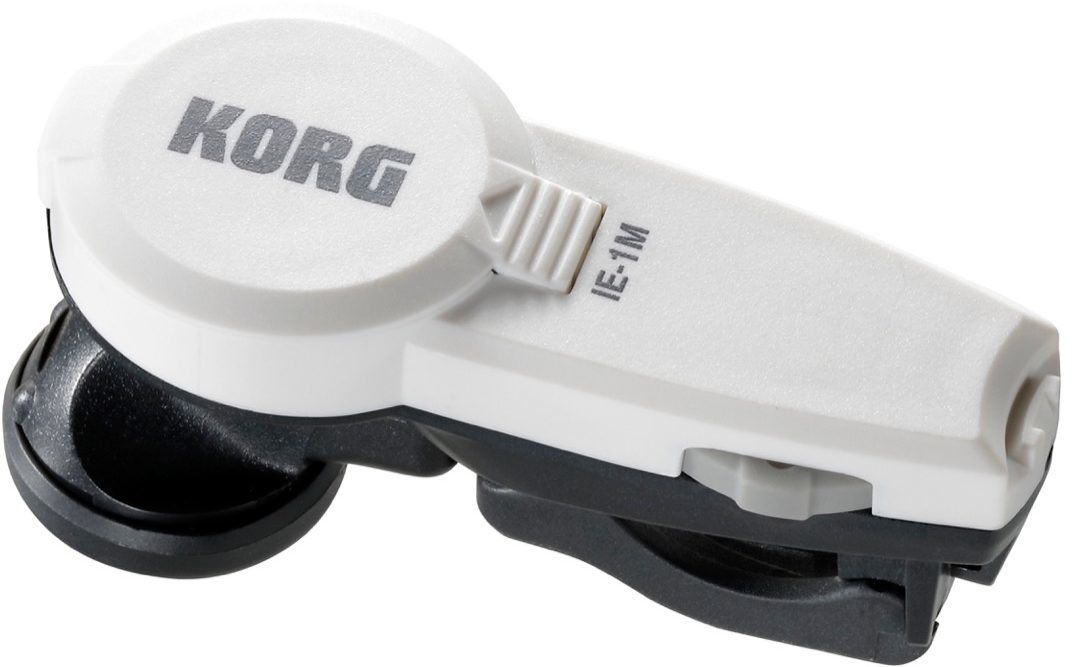
Korg IE1M In-Ear Metronome (view item on Amazon.com) (commissioned links)

So here’s where we’re at for items needed to start playing drums:

Let’s get on to scheduling.

Scheduling

So how do you find time to practice?

Believe it or not, many players do not know how to practice.

The magic is in “learning how to practice”. You need to be aware of how to practice, how much to practice, and what methods to use to reach your goals.

Sometimes players have the speed or facility, but they don’t know what they are listening for with aspects of groove or feel. Sometimes players have good time and feel, but don’t know the techniques to push their chops.

When practicing drums, there are the two aspects of time management:

You need to schedule out your weekly practice time, and you need to schedule out what you work on during your practice time.

You can get so much more done in a week if you do this. 

Weekly Practice Schedule

With weekly practice, you have to spread out your time. Your brain needs time to digest what it has learned.

If you practice 15 minutes every day for 5 days, it’s better than one 2 hour practice session in 5 days.

Have you ever worked on a lick or beat to death and you just couldn’t seem to get it down? So then, you quit practicing for the day because you are frustrated. Then, the next day you come back to it and nail it on the first try? That’s because your brain muscle memory need time to process what you have learned to be able to repeat it the way your ears want to hear.

I have made a flexible 12-hour, weekly practice schedule for you. I am telling you that I need this to stay sane! I have ADHD so I need to have tasks scheduled out or I meander through the day and get nothing done! Sound like you?

Use this schedule to plan out your week so you know when you should be practicing! You can enter the time that you normally start your day and continue for 12 hours in 30 minute increments. If there is a extended period of the same activity (ex. WORK), just put a dark squiggle line below that time period and start with a later hour of the day below that.

Fill in these slots with your normal weekly schedule like WORK, GYM, CLASS, LUNCH, WALK DOG, and PRACTICE. You can print a new one out every week if your schedule changes a lot, or just print one out every season. This schedule will help you out with life in general, not just drum practice…but drumming is life right?

I would urge you to start the schedule in the morning even if you work early. If you got 5 minutes on the practice pad with your coffee, you would be doing yourself a great service!

Once you have your weekly schedule figured out, now you need to plan what you do during your practice time.

Practice Schedule and Log

I created a practice schedule and practice time log to help you here. I use this practice schedule with all of my students. It gives clear start and end dates of your lesson week, the materials to work on for the week, and a log of practice time. I even use this for myself every single week!

The practice materials list keeps me focused on my goals so I don’t get distracted, and the practice log holds you accountable for the actual amount you practiced all week.

This is a visual reminder and it helps tremendously. Remember, you have to spread out your practice time—no playing catch up on Saturday! If you did, you will see that from the previous week.

Now you are all scheduled out and organized to start practicing! Trust me when I say, "this is half the battle!" It's just like when they say, getting to the gym is half the battle. This just might even change your life...it changed mine!

I had to make this a two part series because I still have a lot to go over!

Thanks for reading!

Here is a link to Part 2:
Definitive Drum Practice Guide from Beginner to Advanced – Part 2 – Practice Session

Other articles that may interest you:
Everything You Need to Become an Online Session Drummer - Part 1 - Getting Gear

**Full Disclosure: I earn a commission if you click any of these links and make a purchase, at no additional cost to you.**

Everything You Need to Become an Online Session Drummer – Part 1 – Getting Gear

So you’ve honed your drumming craft by practicing and performing. You have good feel, rhythm, and time and you make good musical choices when you play. Why not share your talent with even more people and make extra money in the process? I make it sound simple but it really is. People would say I’m crazy but I am here to tell you why it’s not that crazy.

There are 3 reasons why I know you can be an online session drummer:

  • It costs around $1500 to buy all the gear you need to start. (it could be even less if your savvy)
  • You don’t need to be the amazing Kenny Aronoff to get session gigs.
  • There are so many writers/composers and such a high demand for music in media today.

Yes, $1500 is a lot of money. There are some work arounds. There are free pieces of software you could start with. You could borrow microphones and other gear from friends. But, in this article I am going to focus on the most inexpensive gear that will get you professional results right out of the box.

You really don’t need to be an amazing drummer to do sessions. You don’t use virtuosic chops in a session gig…like EVER! You just need a solid feel and some experience in different musical styles.

Music that requires session drummers is very functional and rarely virtuosic or complicated.

A lot of times, the music calls for a very simplistic or cliche version of a style you have heard, because that’s what will get the point across in the track for the average listener. If a track is supposed to sound funky, it needs to sound like the most cliche funk you can think of, like Tower of Power or James Brown. Get it?

You don’t need to be Kenny Aronoff! If you don’t know who Kenny Aronoff is, he is basically the quintessential modern session drummer. He’s been on hundreds of huge recordings and played with artists like John Mellencamp, Stevie Wonder, John Fogerty, Jon Bon Jovi, Smashing Pumpkins, John Mayer, Alicia Keys to name a few. But, you don’t need to be him. He is the “goto guy” for huge name acts and has been doing it for 40 years! His name gets him gigs but also a hefty payout for the one hiring him! You’re affordable!

Also, do you ever think about all the media we see on a daily basis these days? Back in the 90s, you only heard music on TV, in movies, at malls, and in elevators.

There’s a greater demand for music now than there ever has been in history.

Almost every single business has a YouTube ad or some type of corporate video with music behind it. Apps, YouTube channels, Podcasts all have music!

And, just like indie bands that don’t have a big name, don’t get a lot of plays on the radio, or win Grammys yet still making a good living; there are countless indie filmmakers making short films and artistic pieces yet still making a good living. And they need music with session drummers too!

So, you don’t need $10,000 in gear, you don’t need to be drum set wizard, and the need is out there. You need to fill that void! Let’s get down to what you will actually need to get started.

What I Assume You Have

I have lead this article with some assumptions about you and your situation. If you’re reading this, you probably already knew what an online session drummer was which also means you probably are a drummer and you have a decent sounding drum set and some sort of practice space or room that you practice in.

I would also assume that you are reading this post on a computer. Not an ancient computer, but something that is no more than 5 to 8 years old with decent memory. A computer with at least a dual core processor and at least 8 gigs of RAM (you can get by with 4). This will get you started. Obviously, things will run more smoothly if you have more.

I am also assuming you sound good, play solid time, make good choices musically, and have experience in many different styles. There are a lot of different styles that can be specific but the main idea is that you can play all the “cliche styles” in music. Styles like rock, jazz, funk, “latin”, etc. This is where making good choices comes into play. You have to fulfill what the composer is going for so you need to be familiar with many styles. More on this later.

With online sessions, 99% of the time everything is sequenced to a click track (metronome). This means that you have to be able to play solidly to a click track so you can record something that will sync well to the writer’s music.

Some would say that being able to read music is a requirement. I would highly suggest learning how to read music if you don’t know how. But I personally don’t think it is essential.

So you already have a decent drum set and practice space, a decent computer, and intermediate to advanced drumming skills including the ability to play to a click track. Let’s move on to the gear you might still need to get.

What You Need to Buy

Audio Interface & Music Production Software (Digital Audio Workstation - DAW)

An audio interface is a piece of equipment that converts an analog signal (from a microphone) into a digital signal and then into your computer (usually connected by a USB cable). I love my Focusrite Scarlett 18i20. Focusrite makes very solid gear for their price point. This particular unit has 8 high-end mic preamps which is enough to record an 4-piece drum set. It connects via USB and is easy to set up. This will be one of the essential pieces you purchase because it is difficult to find someone that is willing to borrow out an interface. I am not kidding when I say that Focusrite is the way to go if you want professional level recordings.

Focusrite Scarlett 18i20 with Ableton Live 10 Intro Music Production Software (view item on Amazon.com) (commissioned links)

There’s another reason why this particular purchase is so important. The Focusrite units come with Ableton Live Intro for FREE! That’s the music production software that you need to record with. It’s basically impossible to borrow someone else’s software so you will need this! You can always upgrade to the Standard or Suite version later but you will be able to record with the Intro version right away.

Ableton Live 10 Intro Music Production Software (view item on Amazon.com) (commissioned links)

There is a lot of chatter about which DAW is better (ie Pro Tools, Logic, Cubase, etc). I can put all those debates to rest right now. All of these DAWs basically have the same quality and recording capabilities. They all can use the same high-end third party plugins.

The reason you should definitely buy Ableton Live is because the live performance capabilities blow all other DAWs out of the water.

If you perform live at all as a musician, you need Ableton Live. Even if you don’t run backing tracks to your music, you still need it for segues, cues, sounds, live recording, DMX lighting controls…you name it. This is the end all for live performance and it’s recording capabilities are just as good as any of the others. Period.

In-Ear Monitors or Headphones

You will need isolation of the music or click track when you record your parts because you can’t just crank the music out of a speaker. Otherwise your drum microphones will pick up those sounds and make your recording quality vastly deteriorate. This is where a nice set of headphones or in-ear monitors become necessary. I use in-ear monitors because they are less bulky so I can use them live, and they seem to give me better isolation. While you’re recording, some headphones won’t block enough of the outside sounds of your drum set and it will make it difficult to hear the click track or music you’re recording to.

Shure makes very solid equipment and the Shure SE215-CL sound isolating earphones are a very affordable option for in-ear monitors. They will give you the isolation you need and sound quality that will help you create the best tracks you possibly can.

Shure SE215-CL Sound Isolating Earphones (view item on Amazon.com) (commissioned links)

Microphones

Microphones are essential to capturing the best sound from your drum set. There are so many different microphones out there that do a good job, but I literally have the most affordable options listed right here that will give you professional quality recordings.

Shure Drum Microphone Package

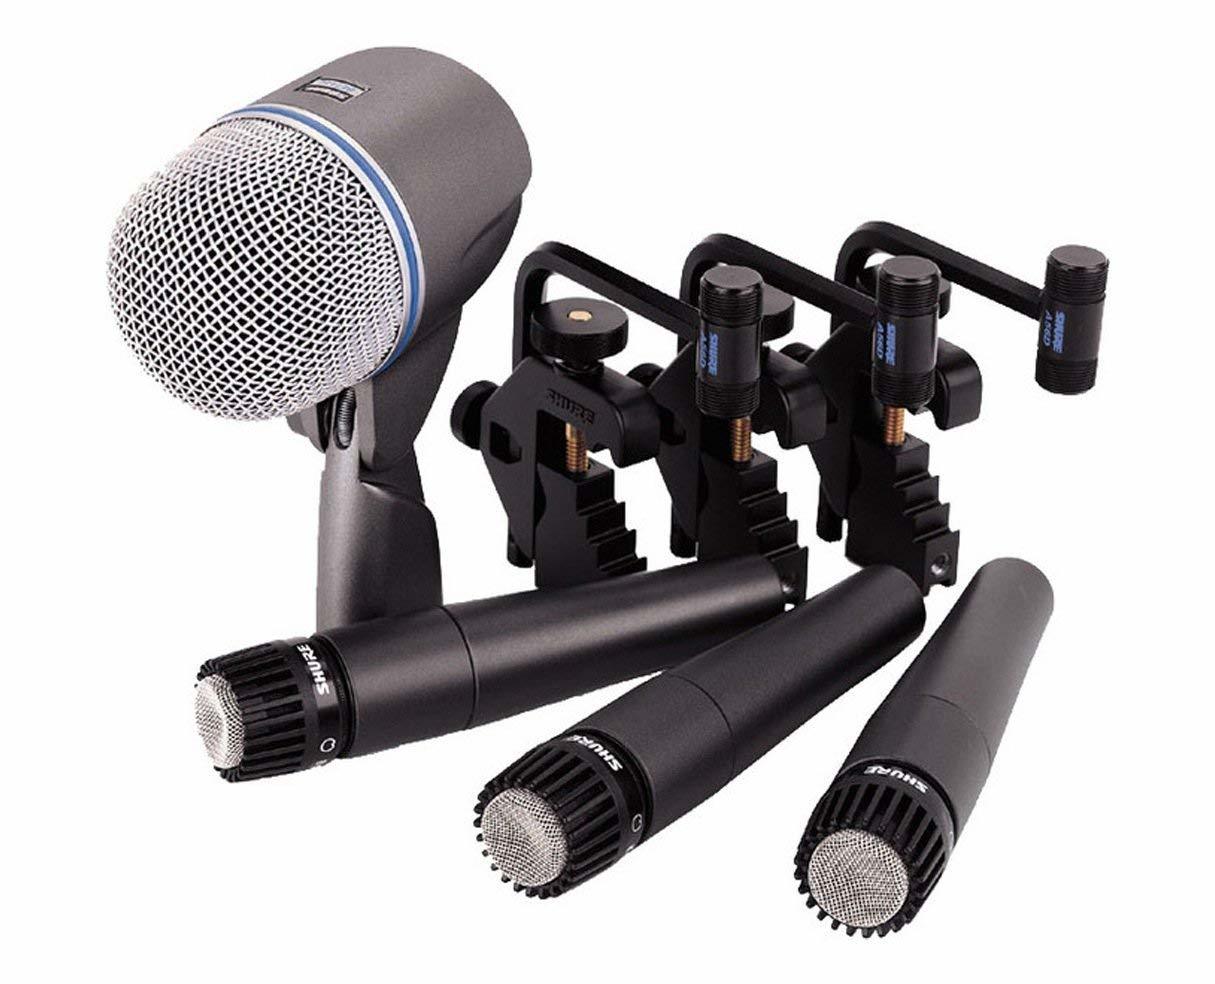
Again, Shure is a top brand. I will tell you right now that all the microphones in this package are literally industry standards in almost any recording studio. That means, these microphones are as good as you’ll ever need and they are extremely affordable. This Shure DMK5752 Drum Microphone Package comes with the amazing Beta 52A kick drum microphone, three SM57 microphones for two toms and your snare drum AND three microphone clips to mount to the rim of the drum. This package gets you well on your way to pro level recordings.

Shure DMK5752 Drum Microphone Package - 3 x SM57, 1 x Beta52, Case, Drum Mounts (view item on Amazon.com) (commissioned links)

Rode NT5 Condenser Microphone - Matched Pair

You have all your drums close mic’d with the Shure kit, but now you need overheads to give your kit some depth and fullness. This is absolutely essential in getting a good sound out of your kit. The Rode NT5 condenser microphone pair accomplishes a left and right image of your drum set while saving you money. There are other options out there, but not this level of quality at this price point—that is why I stick with this paired set.

Rode NT5 Matched Pair (view item on Amazon.com) (commissioned links)

Accessories

Sometimes you can find microphone packages that come with cables and stands which always saves on the budget. But, to setup the overhead microphones, you will need some tall boom mic stands and cables. These are solid choices I have listed here and you'll need two (2) of the boom mic stands for the overhead mics and one (1) short mic stand for the kick drum mic. I prefer the weighted base over the tripod so you're not tripping over the tripod legs in the walkway in front of the bass drum.

You'll also need as many microphone cables as you have microphones. You usually get a better deal with cables if you buy them in multi-packs. This one I have listed here is a pack of two. You'll probably want 20 foot cords but you could maybe get by with 15 footers.

On-Stage Combo Stand (view item on Amazon.com) (commissioned links)

Cable Matters 20-foot XLR Microphone Cable - 2 pack (view item on Amazon.com) (commissioned links)

On-Stage Tripod Boom Microphone Stand (view item on Amazon.com) (commissioned links)

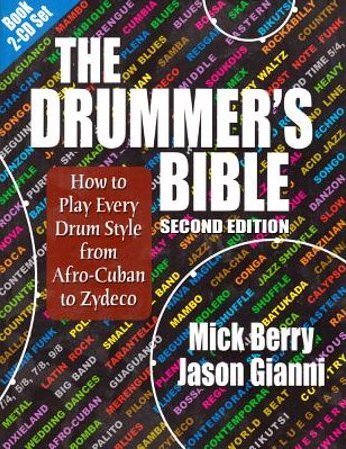
I would also suggest you pick up the book “The Drummer’s Bible” by Mick Berry and Jason Gianni. It covers a very extensive range of styles with audio examples of the beats and it lists the artists that were best known to play the style. Playing styles for film and TV is all about “cliche styles” and what they sound like to the average listener, not a musician. (commissioned links)

That’s all the gear you need! If you’re not sure what to do next, I will be releasing part 2 of this series soon to keep the momentum going. It will be all about getting a good quality sound recording from your drum set. But, I will urge you that you need to start, and start now. You won’t get better at recording unless you do it…a lot. You can start practicing recording and getting quality sounds from your drum set while you work on promoting yourself. The networking and promoting portion will be part 3.

This checklist is very helpful after reading this article. It's laid out, plain and simple, so you can check things off as you go and plan your strategy.

I have provided a checklist of the gear I spoke about to get you going. Print this list out and put it next to your drums or work area. Goals need to be visible. I truly believe you need to see your goals on a daily basis to inspire you in order to have them manifest themselves into your life.

Thanks for reading!

Other articles that may interest you:
Definitive Drum Practice Guide from Beginner to Advanced - Part 1 - Scheduling and Gear
Definitive Drum Practice Guide from Beginner to Advanced – Part 2 - Practice Session

**Full Disclosure: I earn a commission if you click any of these links and make a purchase, at no additional cost to you.**
>